Giraween National Park

  • 19/11/2015

“Fancy a road trip?” “Sure! Where to?” That’s the typical question and response muttered between my friends and myself. The conversation this time happened to be for a long drive to Giraween National Park with stops along the way to make the most of the venture.

Friday night, 2:15am; The time I’m supposed to be at Mark’s house ready for the road trip. I wake to a number of missed calls, texts, and a knock at my door; It’s 2:40am! Oops, I’ve slept in, my alarm either failed to go off or I’d swiped snooze without batting an eyelid. He had driven to my place! Quickly I pack all my gear, we load up his 4×4 and we’re off, but I’ve put us behind schedule. I’m usually prompt, so although I’m still waking up I am feeling awful knowing that we’re behind schedule because of me. We make great time though, and arrive into Aratula to meet another friend, Gareth, who jumps in and three strong we head to our first location; Sunrise at Lake Moogerah.

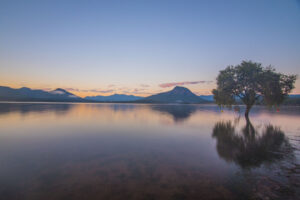
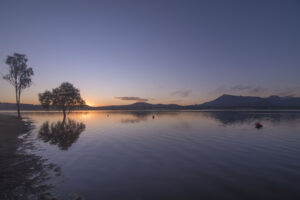
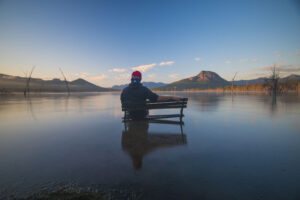
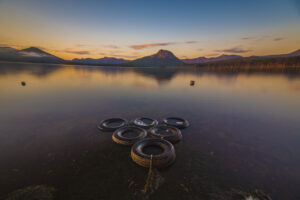
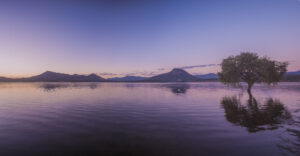
It ends up being a rather cloudless sky for us at Lake Moogerah. It’s not a disaster though and we make good use of the conditions and and makeshift props available to us by the waters edge as the sun rises over the distant mountains.


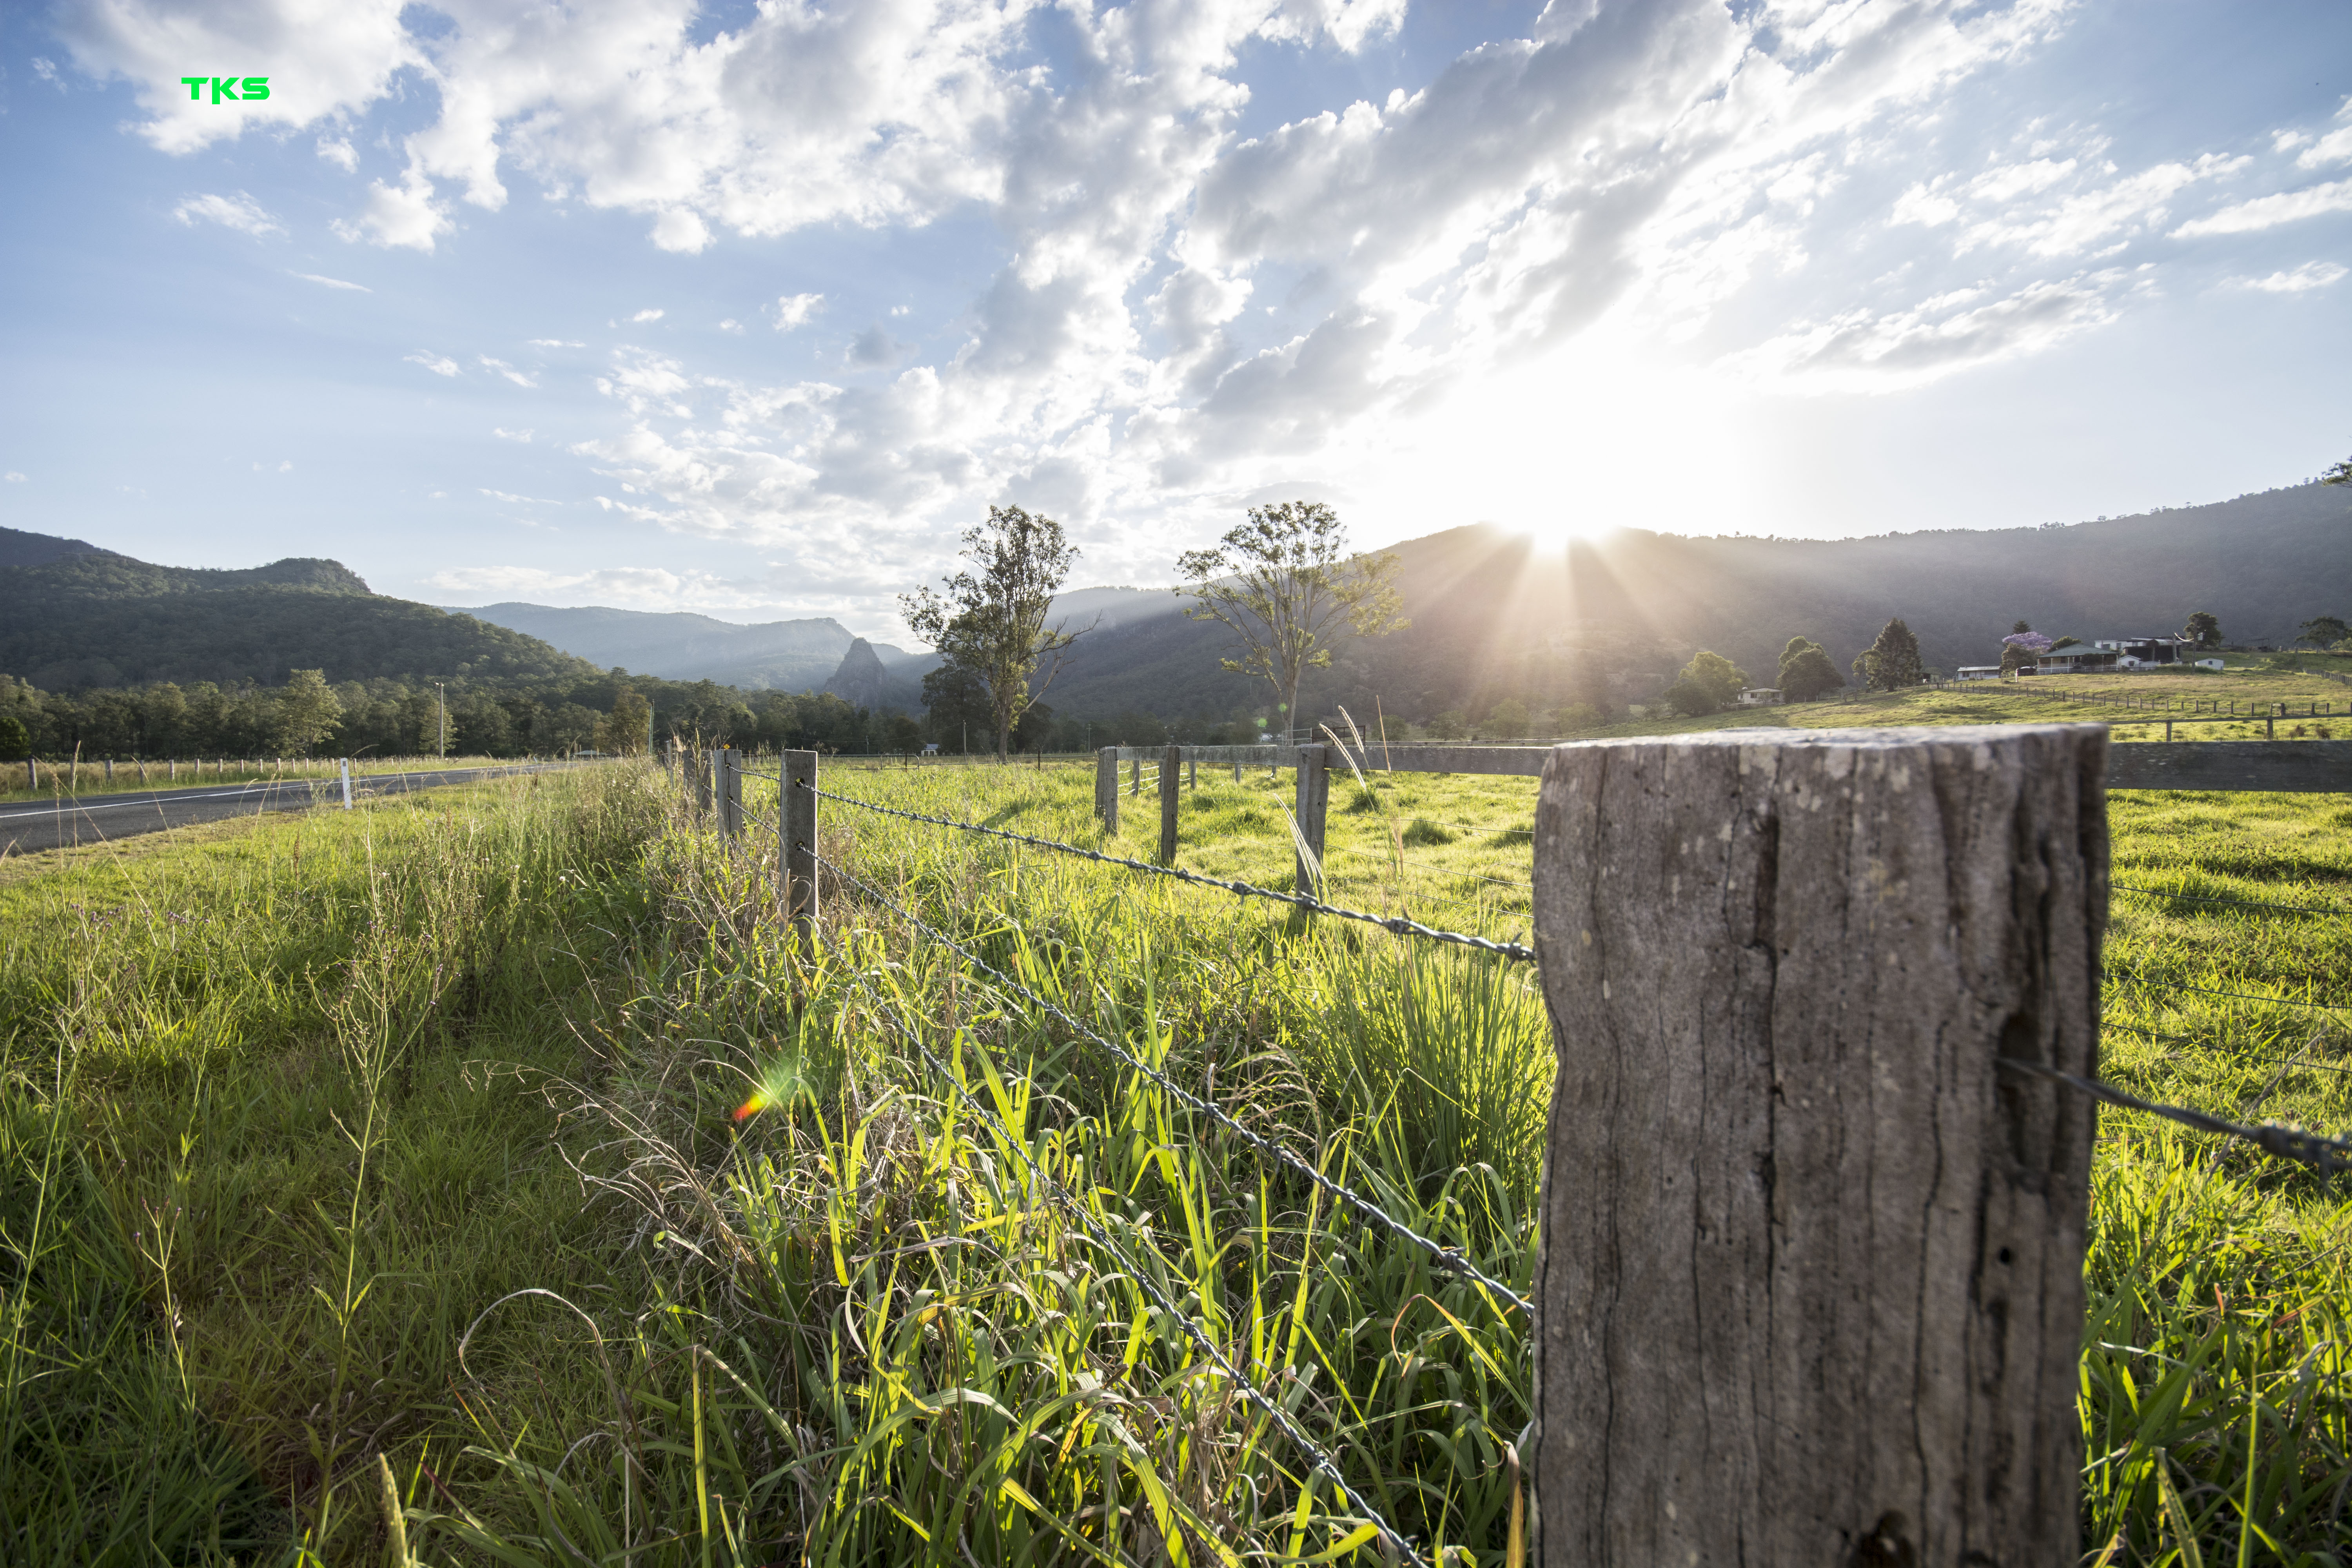
On the road again, heading further from Brisbane, but with stomachs rumbling we make a breakfast pit-stop. Filled and fuelled we’re off again, detouring via Allora to see if the sunflowers are in bloom. Premature was our visit, with no hint of their golden faces shining upward. Disheartened we drive back through Allora and onto the highway continuing toward Giraween National Park.

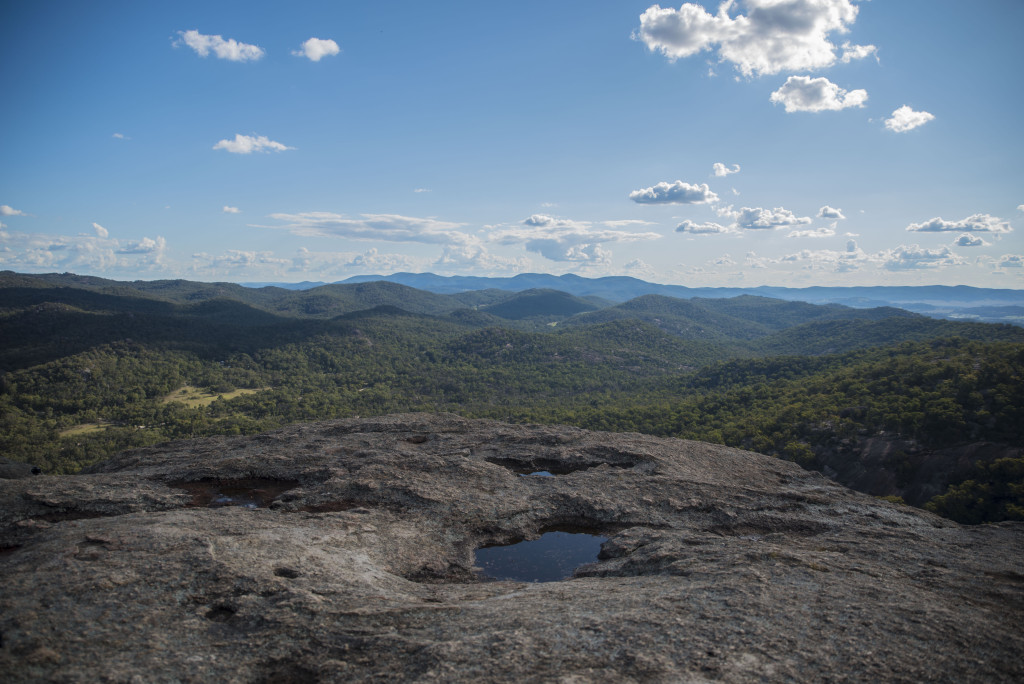
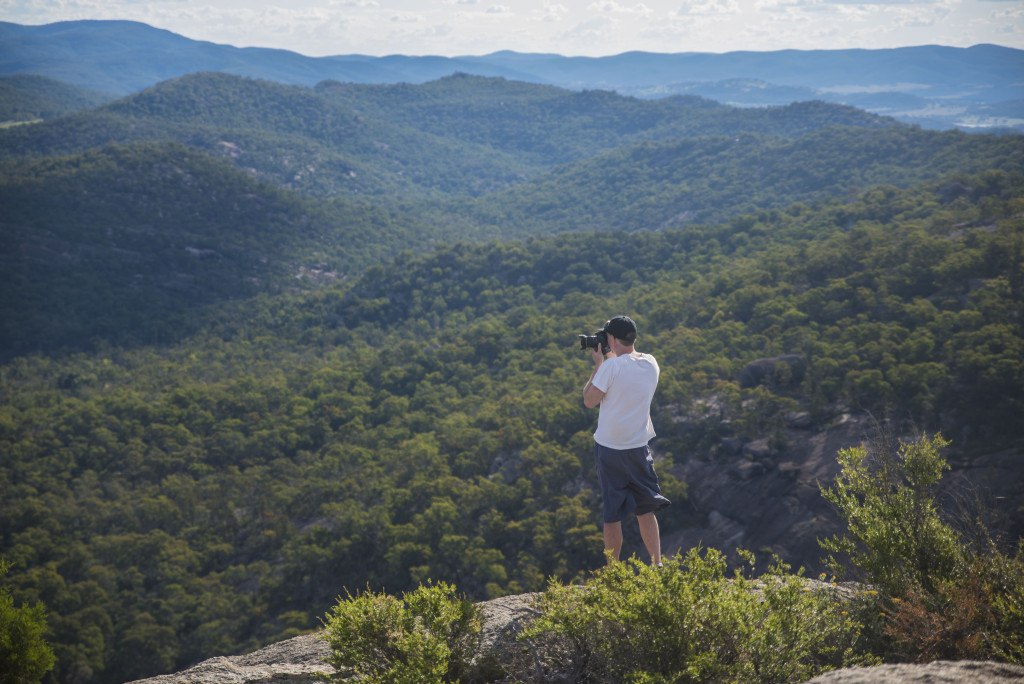
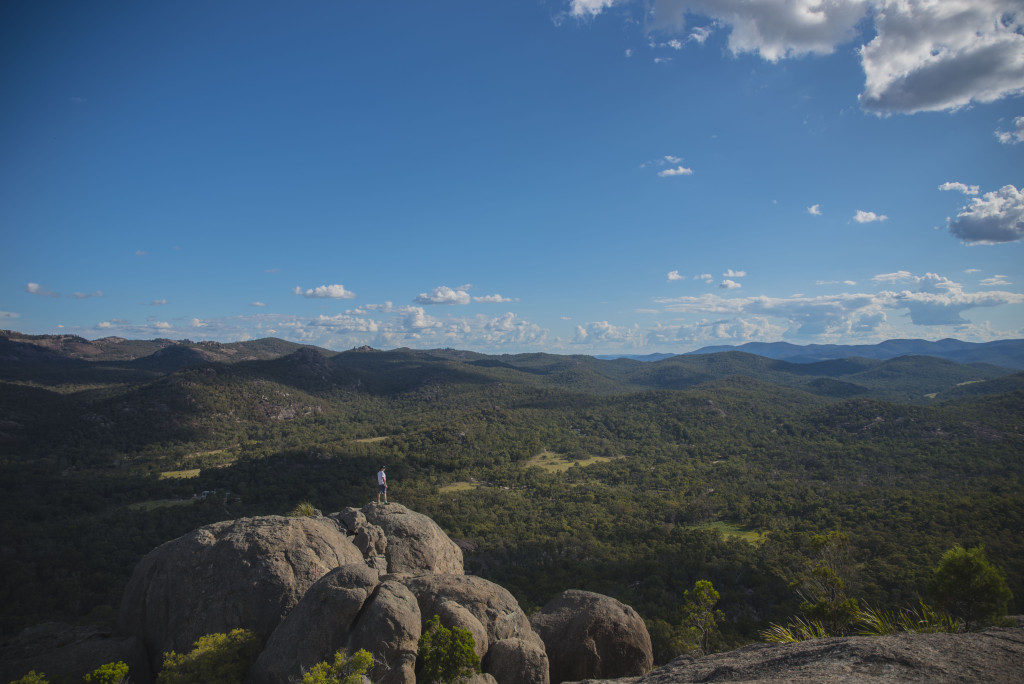
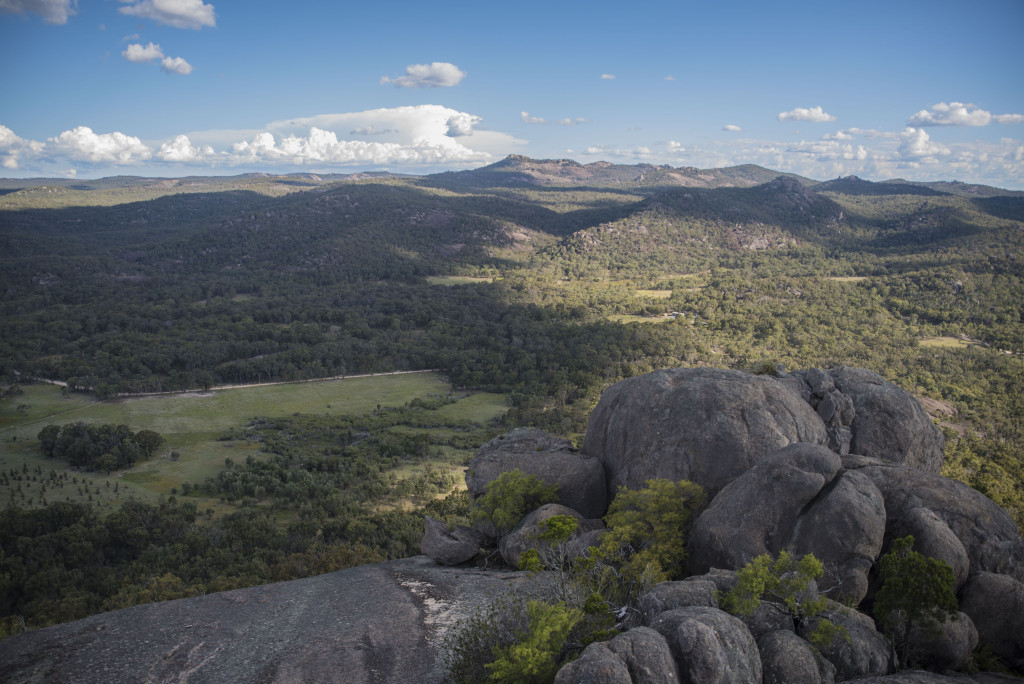
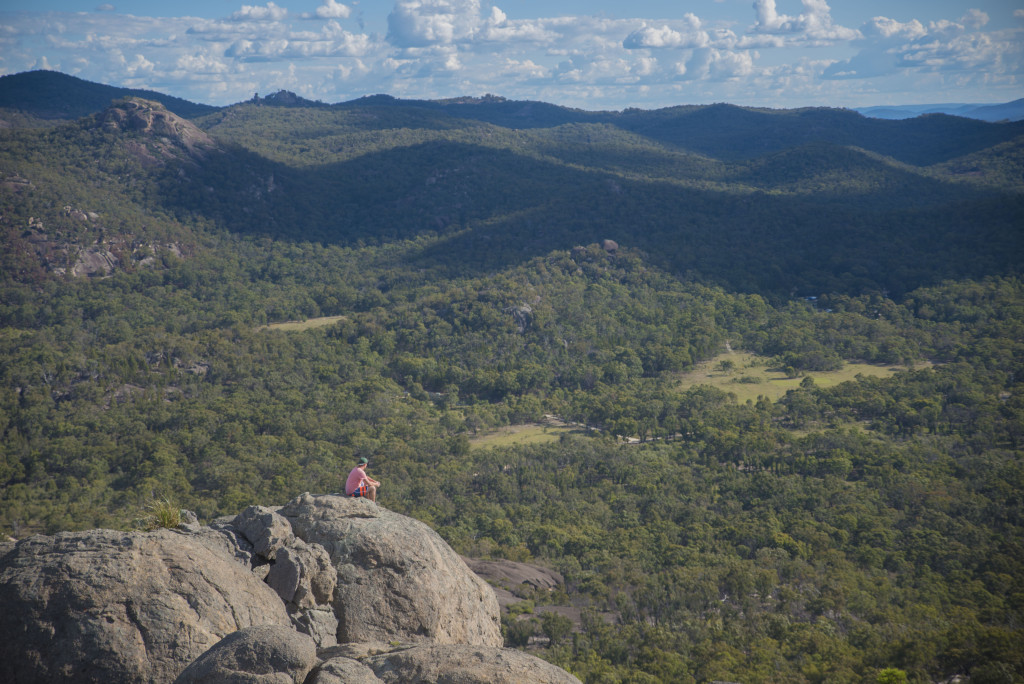
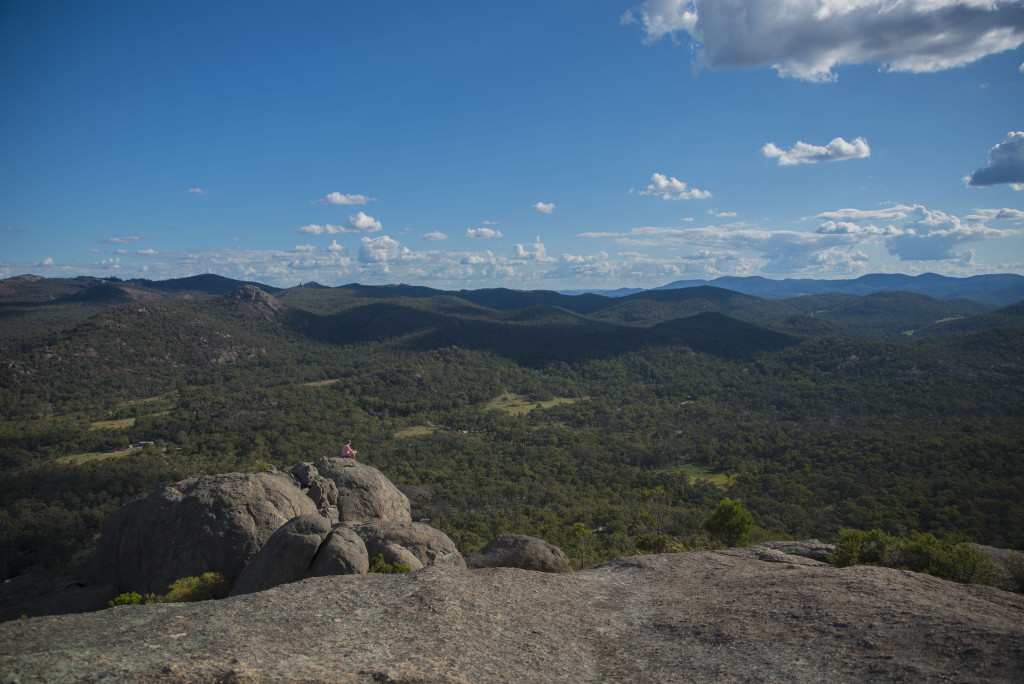
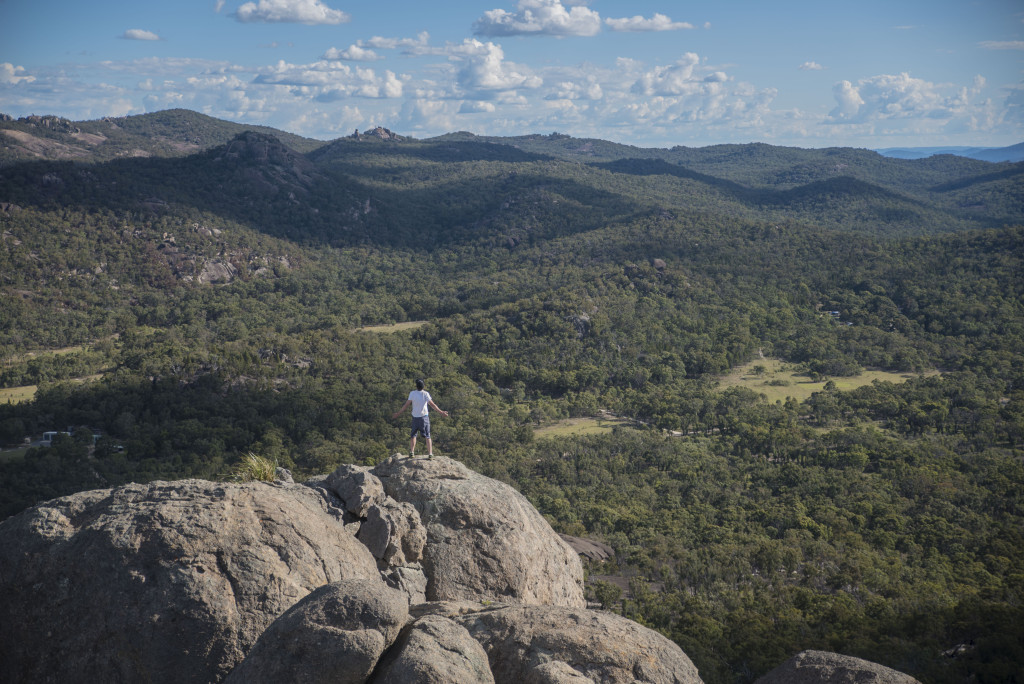
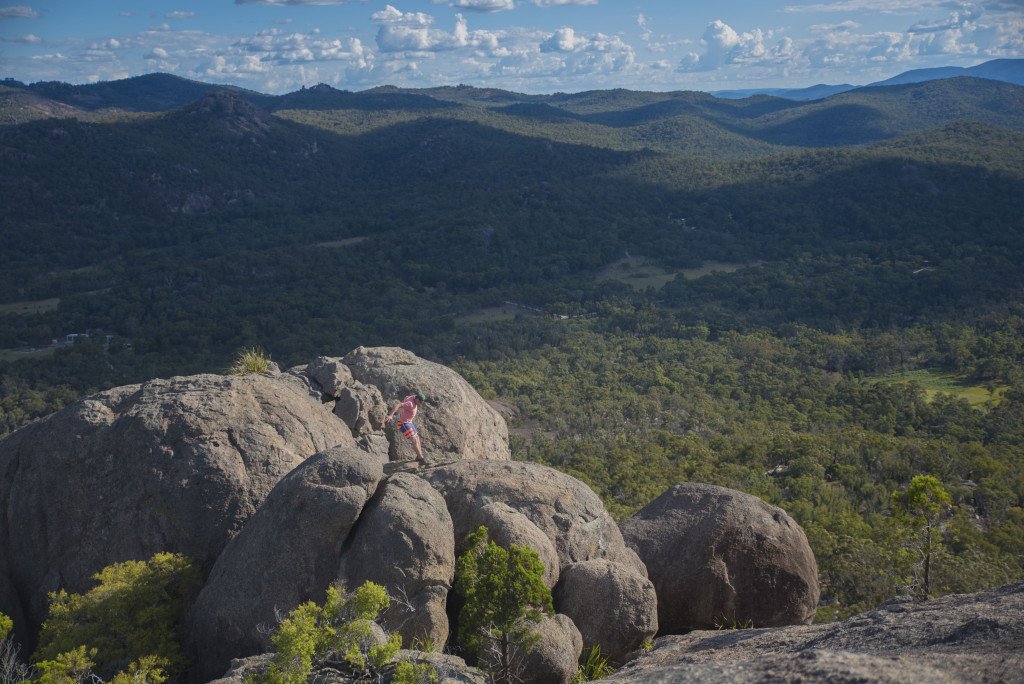
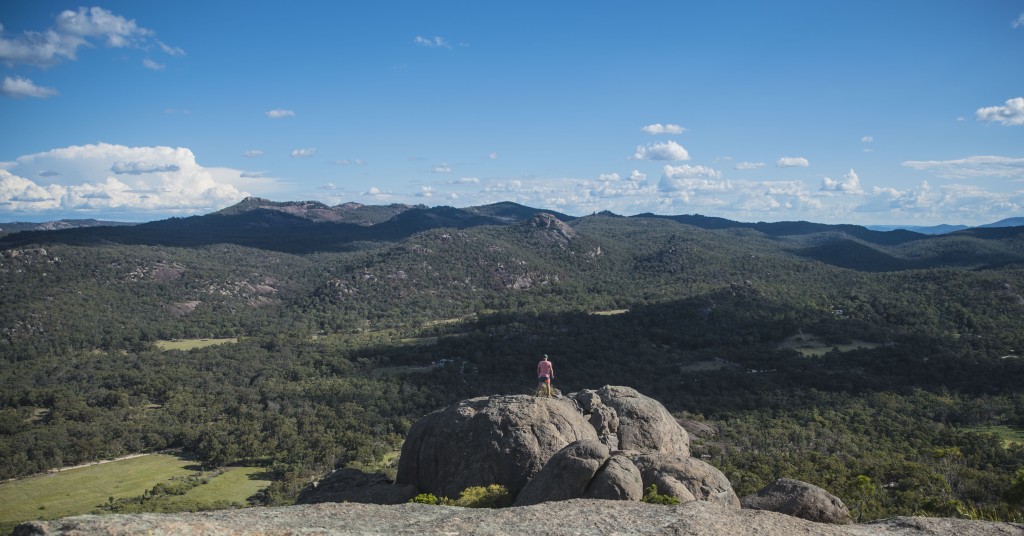
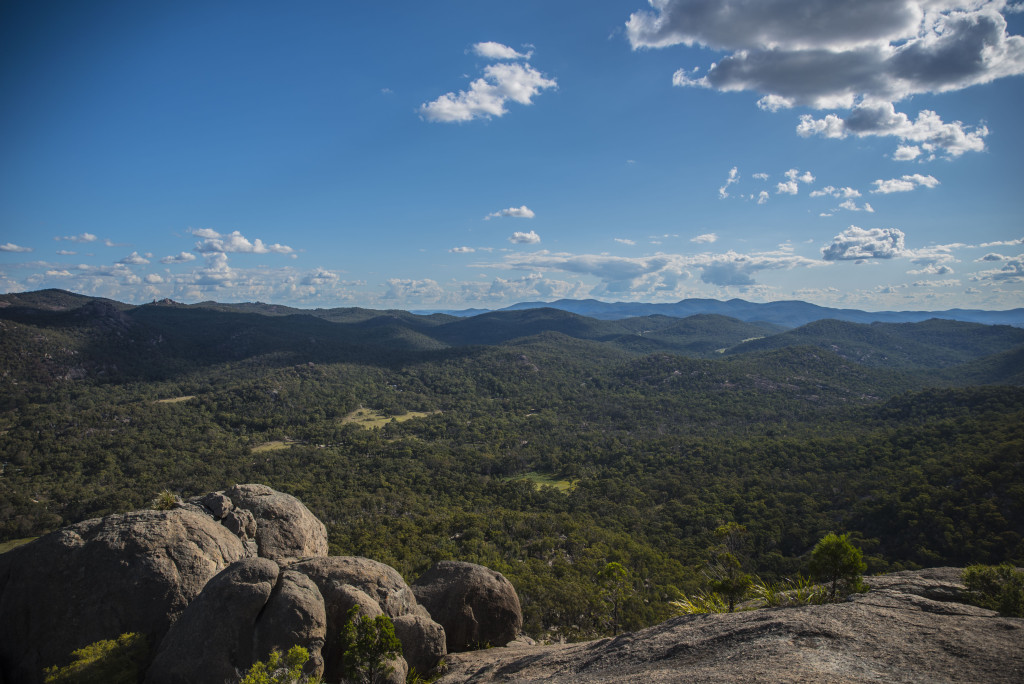
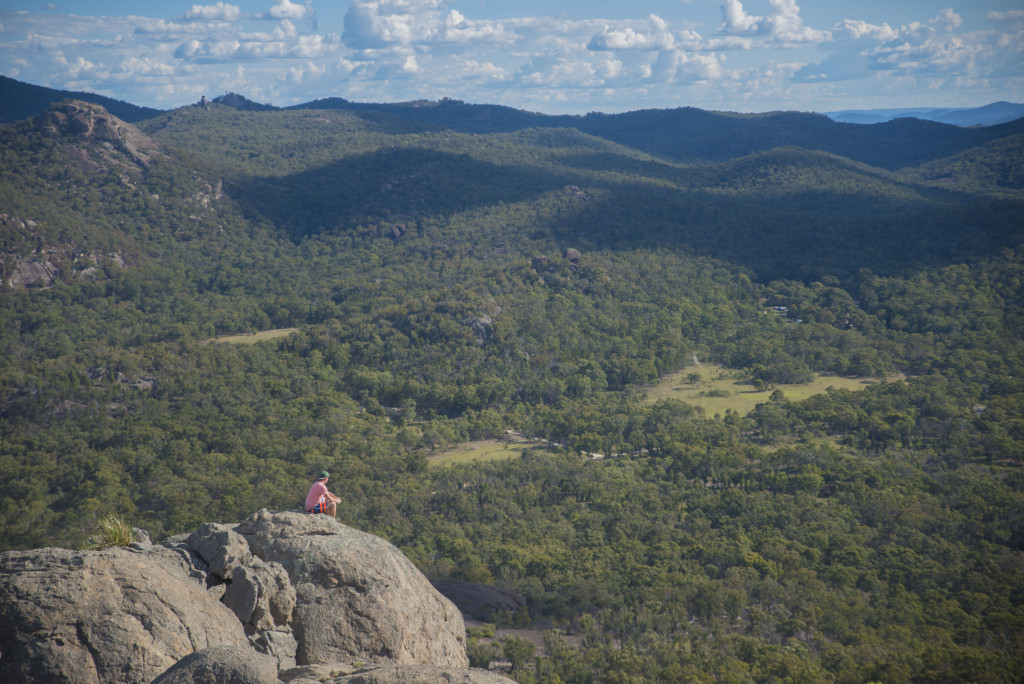
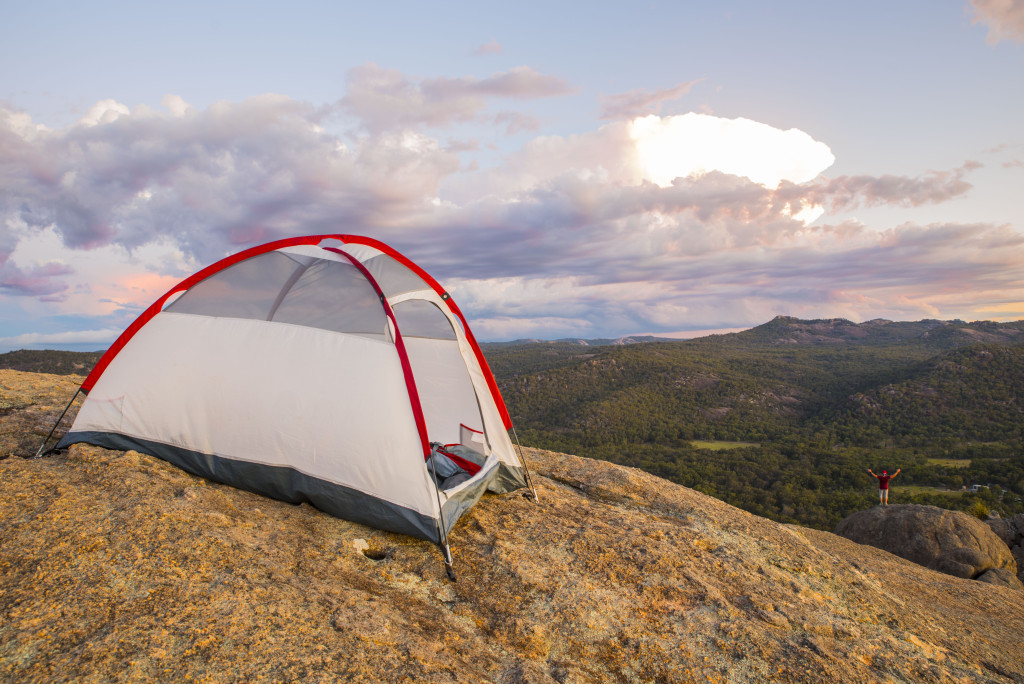
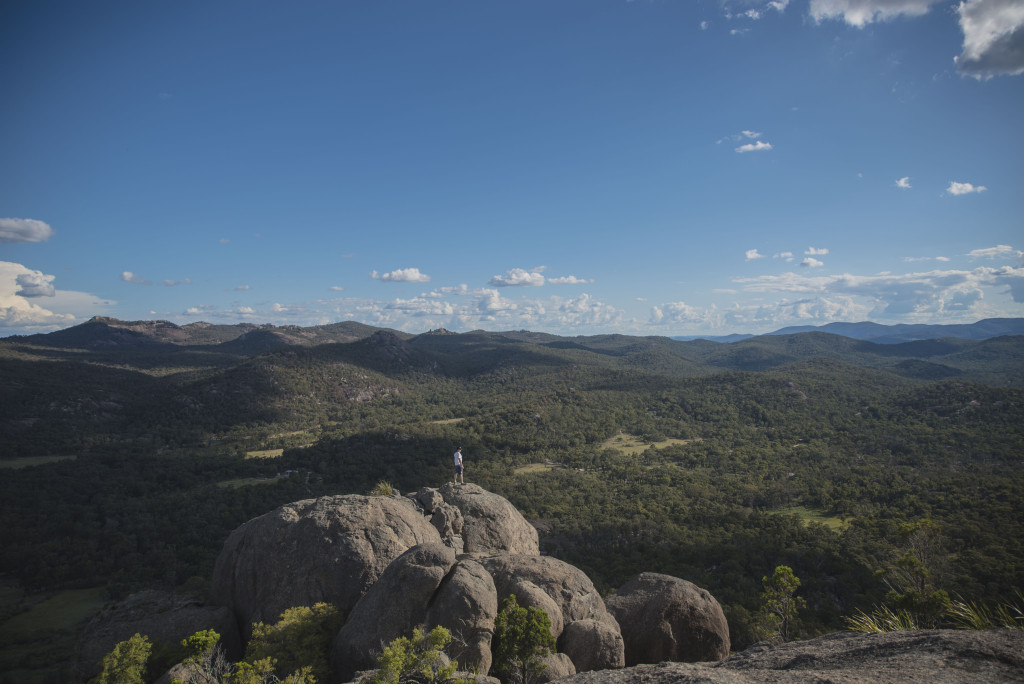
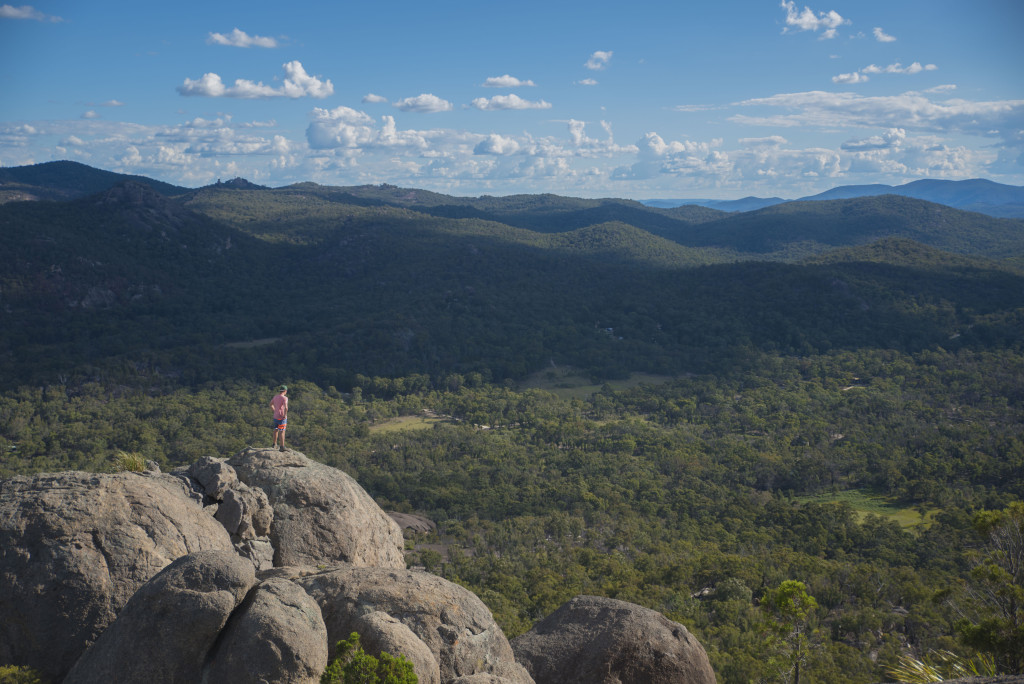
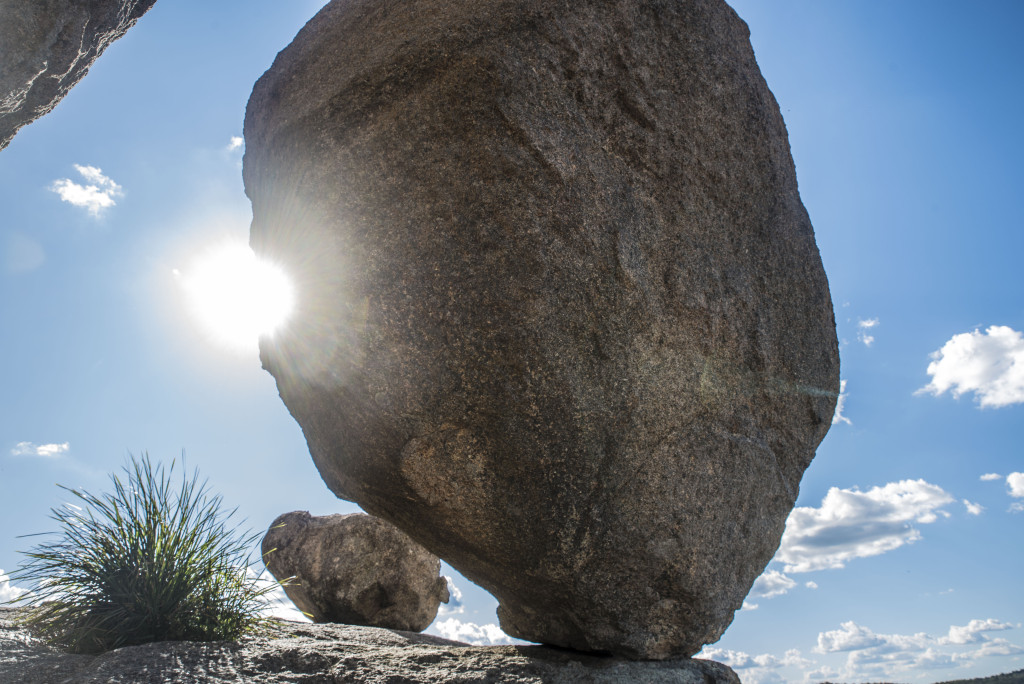
We made a short pit-stop at Underground Creek, a little deviation off Pyramids Road. The flat dirt walking track starts at the small carpark and is a very easy walk. After about 300m there’s a choice of venturing right to Dr. Roberts’ waterhole (~1.2km return) or Underground Creek (~2.8km return). We did both, but Underground Creek was worthy of most of our time. Underground creek follows Bald Rock Creek upstream, and there’s a rather spectacular over hanging cliff carved into the granite boulders. After our short walk and wandering around, under, through and over Underground Creek, we were back on the road driving around the corner to the carpark for The Pyramids. At this point, we had left Brisbane, viewed sunrise from Lake Moogerah, drove around Allora, had breakfast, checked out Underground Creek, and made it to The Pyramids carpark all before 11:00am. Hungry and thirsty once again under the scorching Summer heat, we went for a quick stroll around the base of The Pyramid in Giraween National Park to check out the cascades and granite formations. Giraween National Park is 260km south-west of Brisbane near Stanthorpe on the Queensland and New South Wales border but it is worth the drive through some beautiful scenery to be enjoyed along the way. Giraween is not the typical National Park, well, not the tropical parks on the outskirts of the Queensland coastline people may be accustomed to. Giraween (place of flowers), is home to precariously perched giant boulders, with gorgeous wildflowers in Spring. You’ll be likely to see a few Kangaroo’s too!

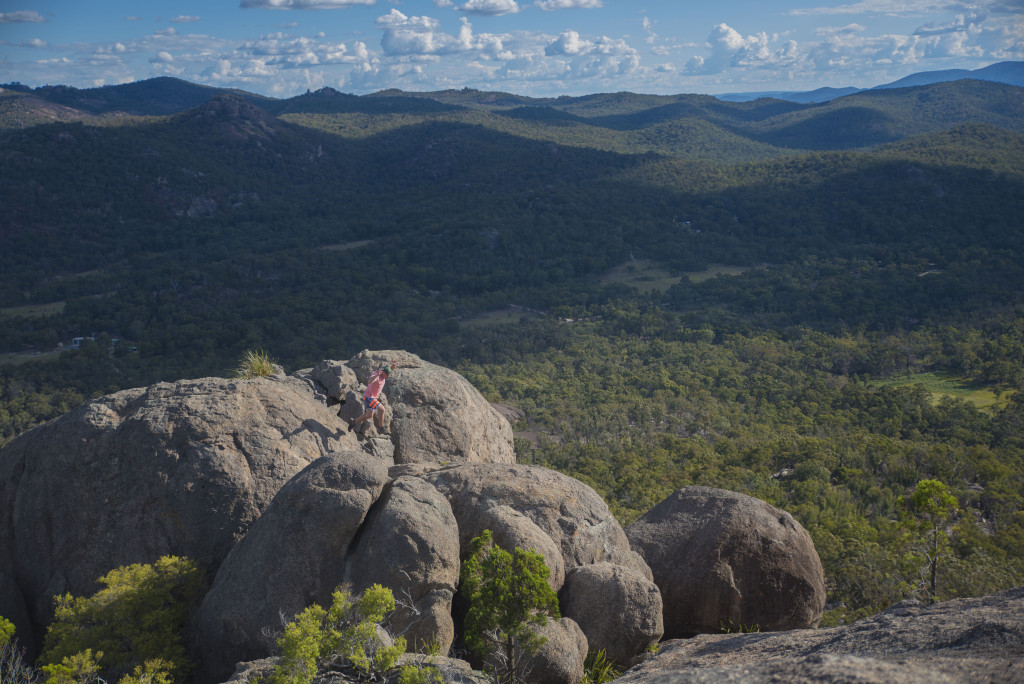
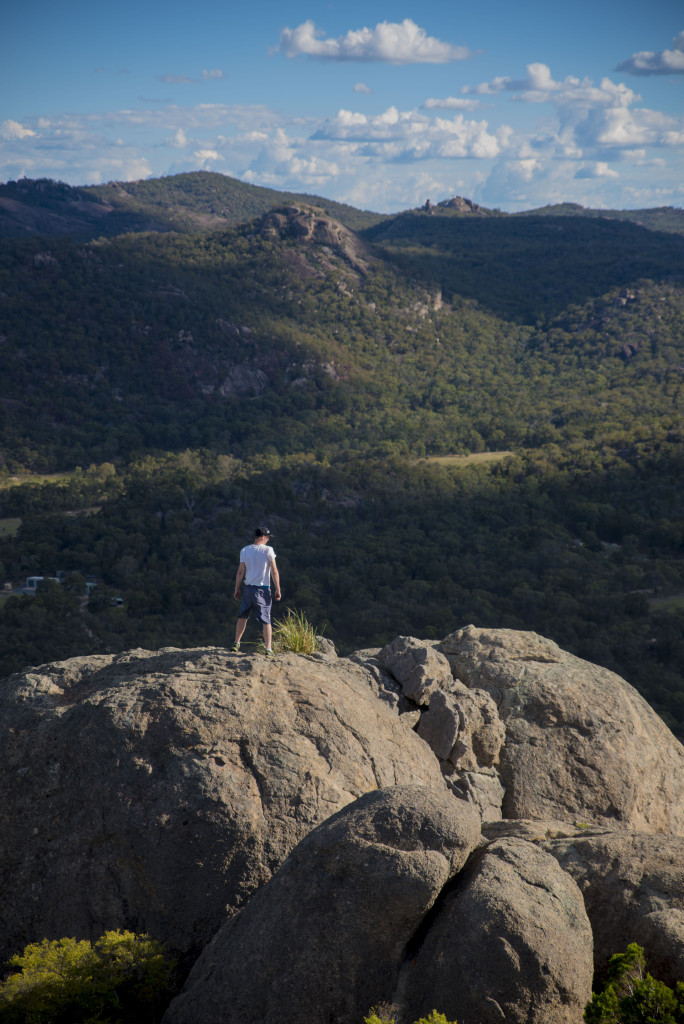
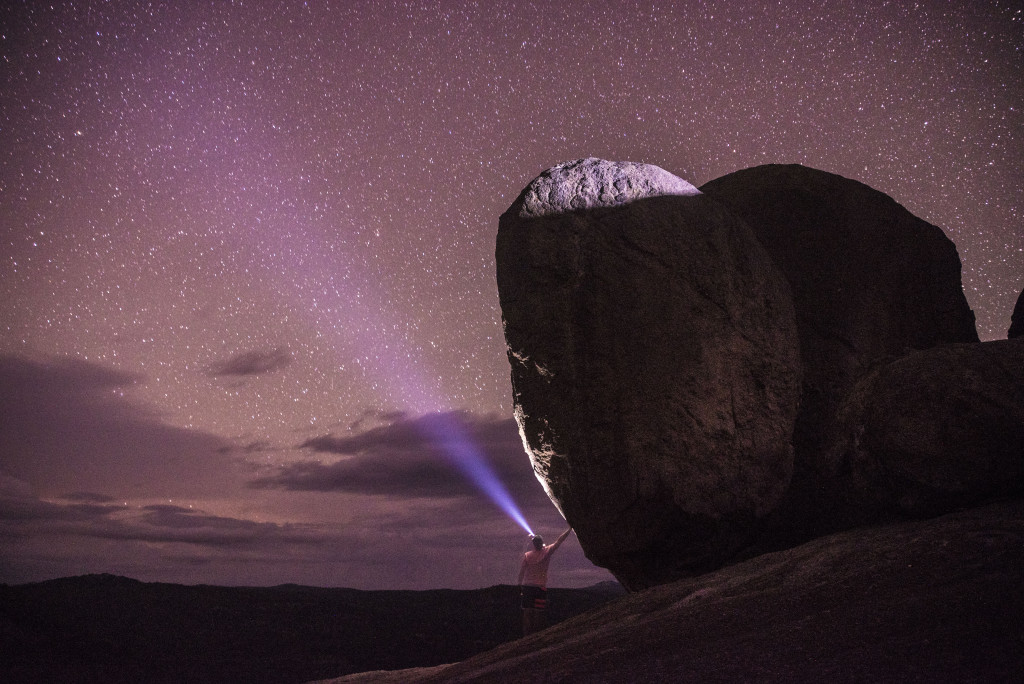
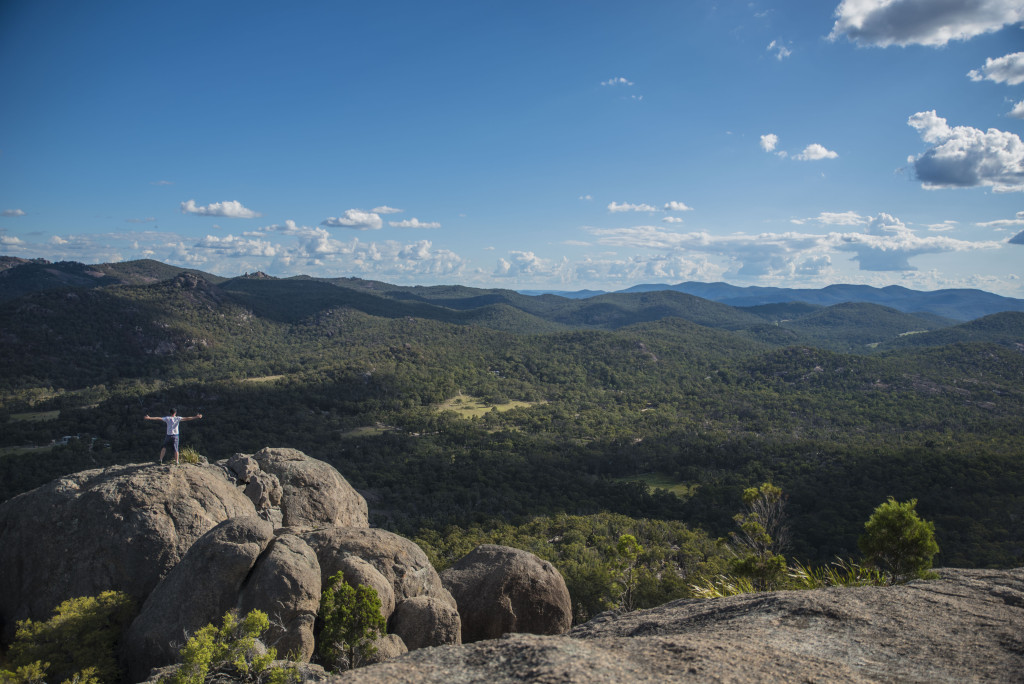
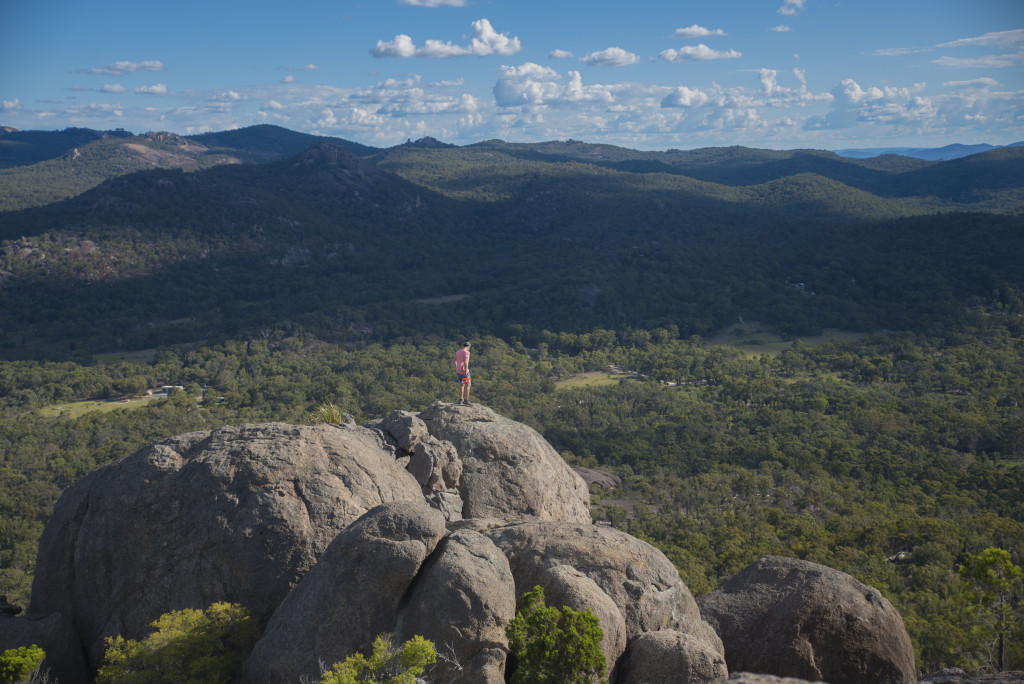
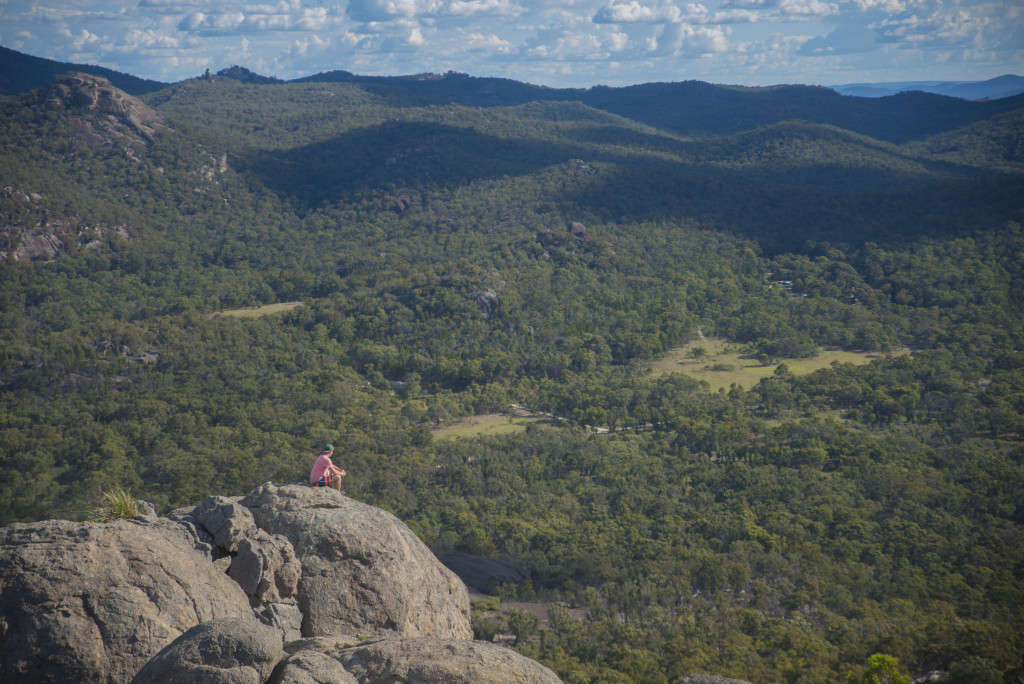
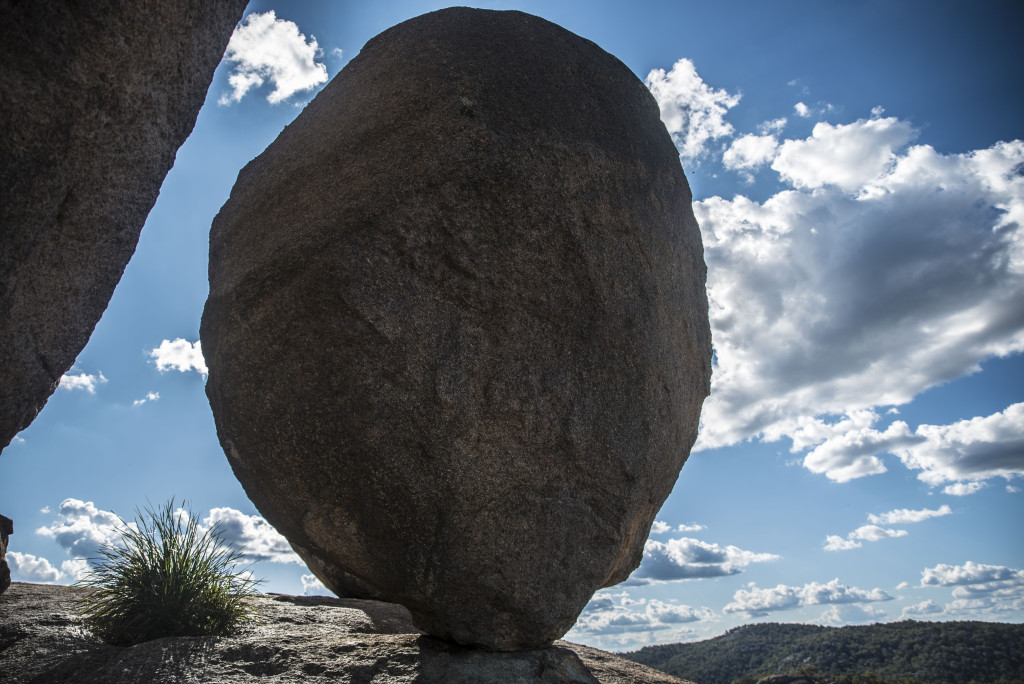
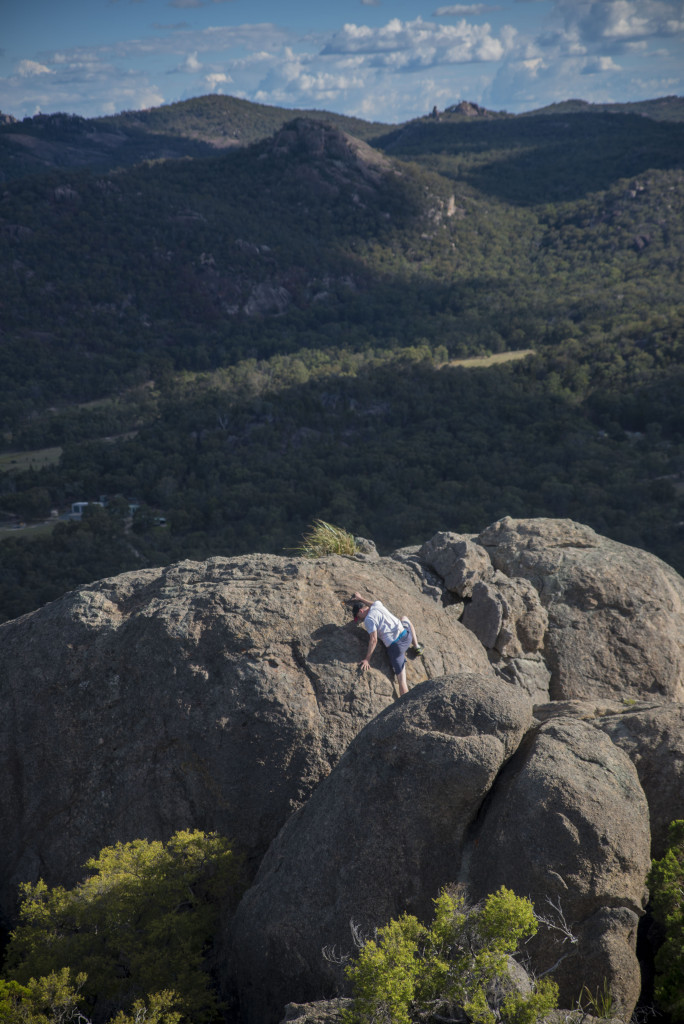
Back to the carpark and time for more food and drink, lunch time! Food devoured and thirsts quenched, we collected our gear, and made our way upward to the summit. The Pyramid is an unusual one. It doesn’t really require any climbing (unless you choose to scale the boulders along the way), but it is incredibly steep and there are with all outdoor activities there are some things to consider before attempting the summit trek. The granite rock is smooth and in wet or moist conditions becomes dangerously slippery. Attempting The Pyramid in such conditions would likely be perilous or at least resulting in grazed limbs; Do not attempt this in wet weather or in winter months early morning with precipitation on the surface. Shoes with thick tread are essential. Wear protective clothing and apply sunblock – there is not too much shade up the top and the direct sunlight can be harsh. Before you make your way down, take a photo of the balancing rock – there were many groups that day who went up and down without even viewing the balancing rock, it’s one of the best features after all that effort!

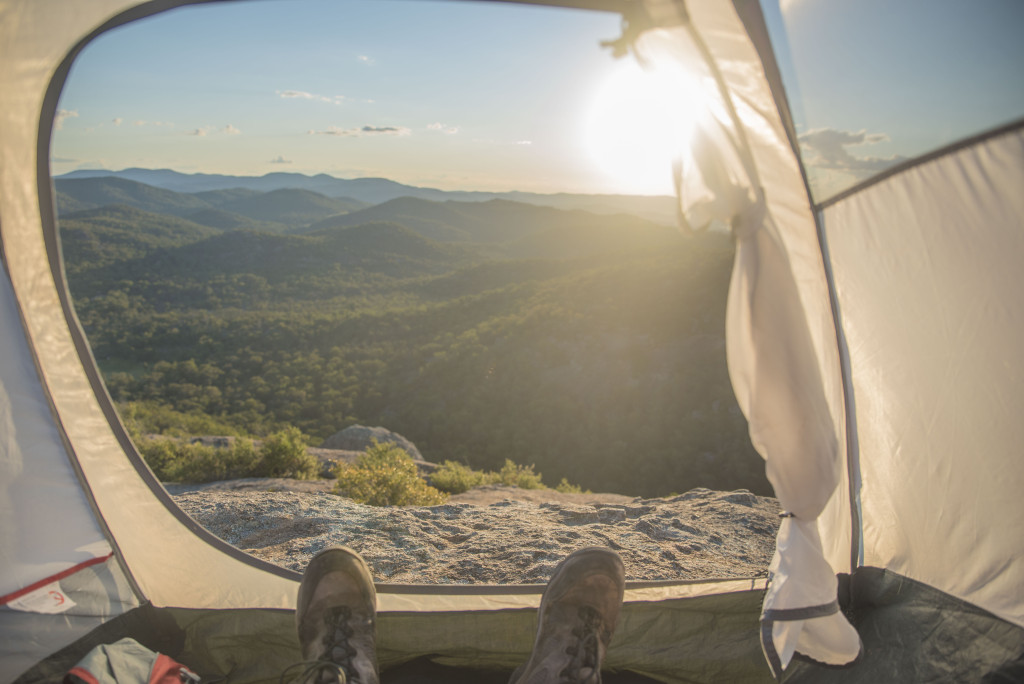
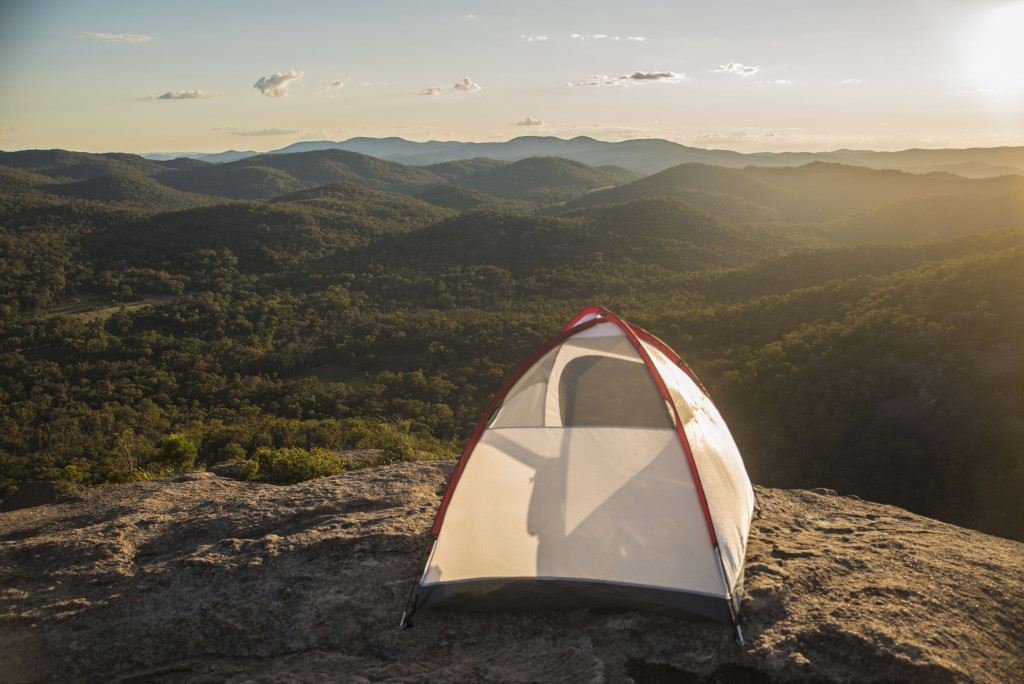
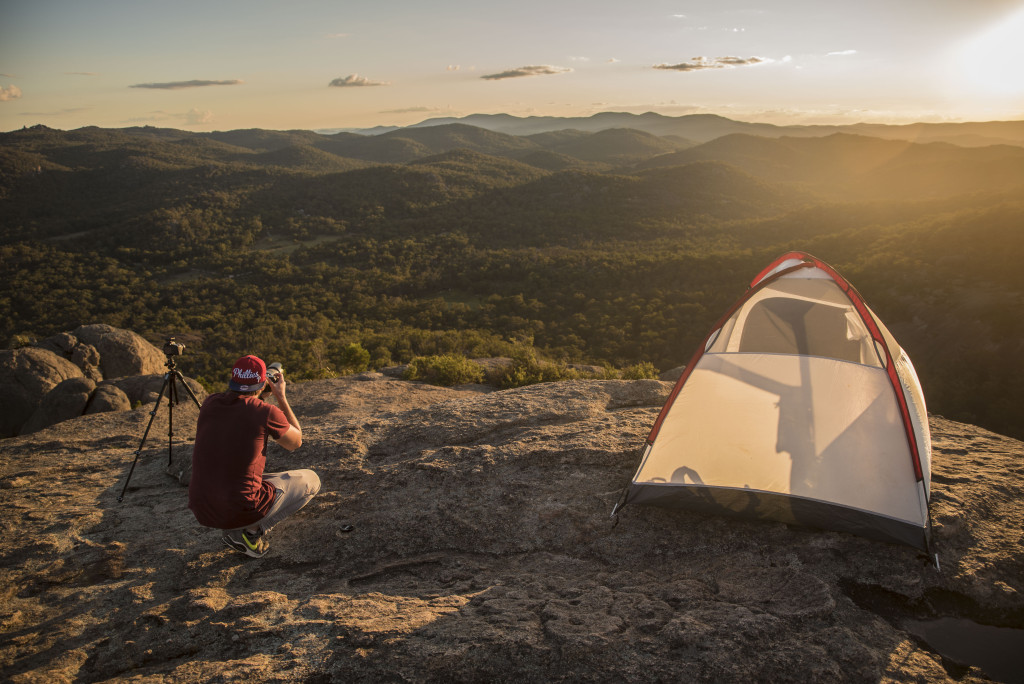
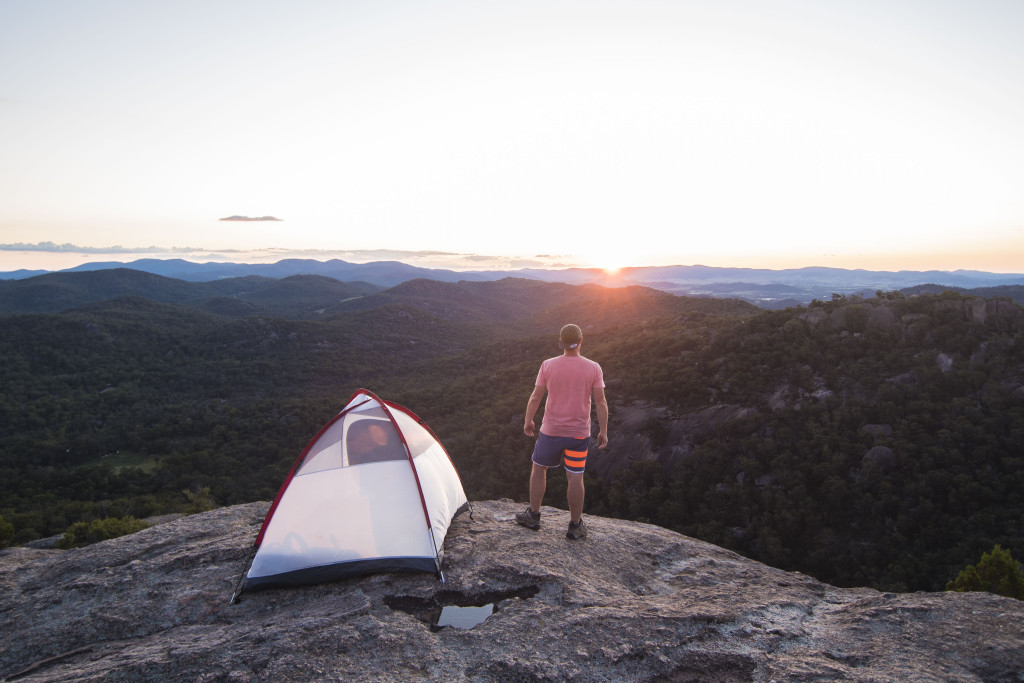
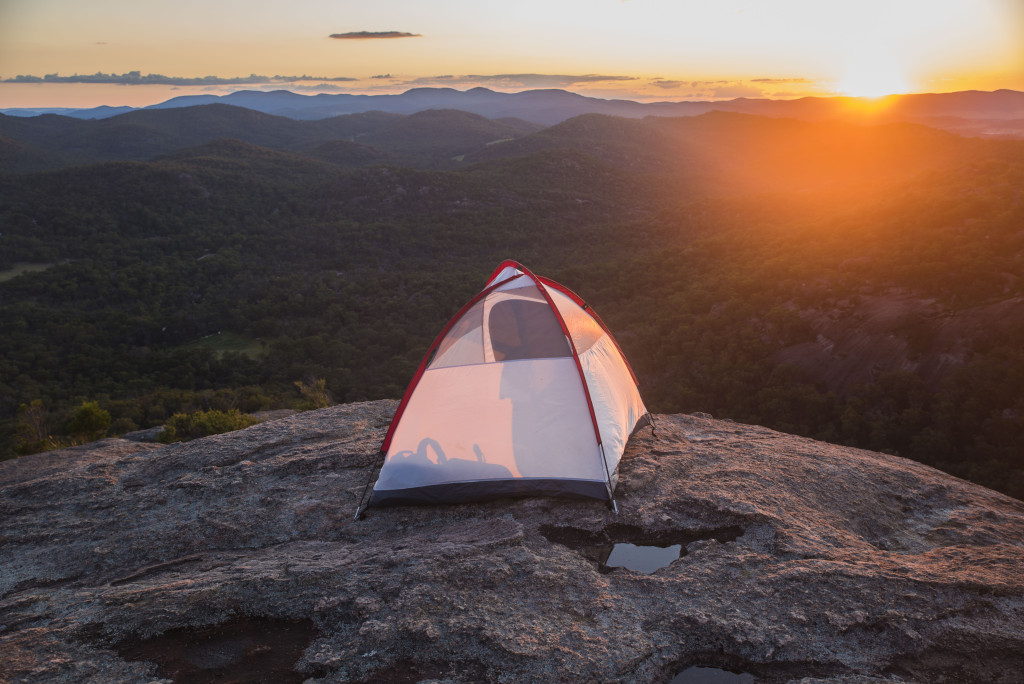
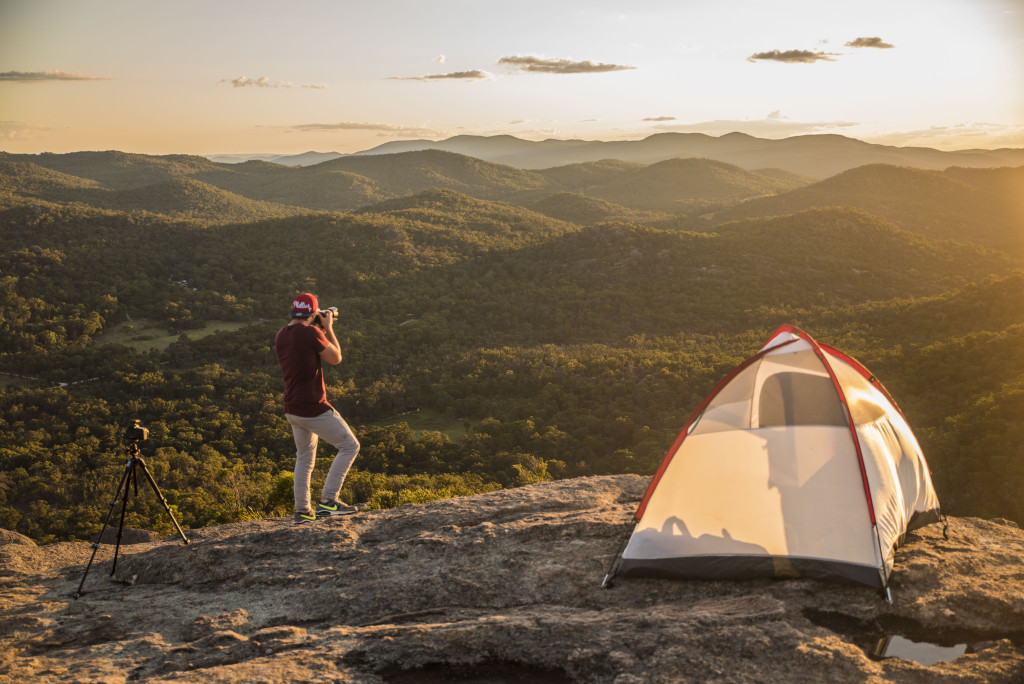
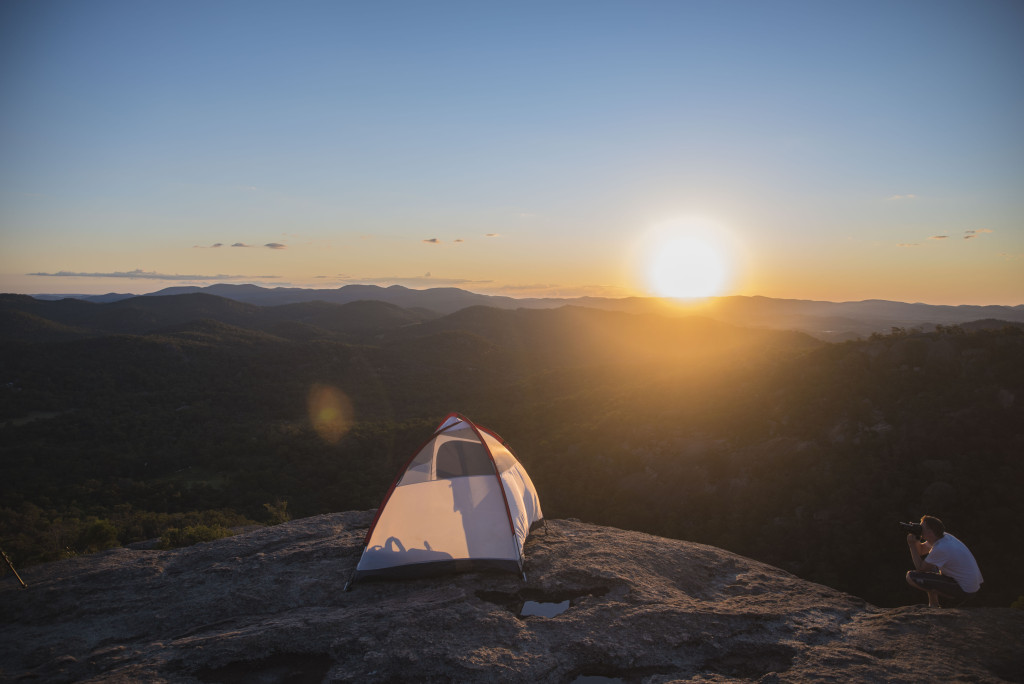
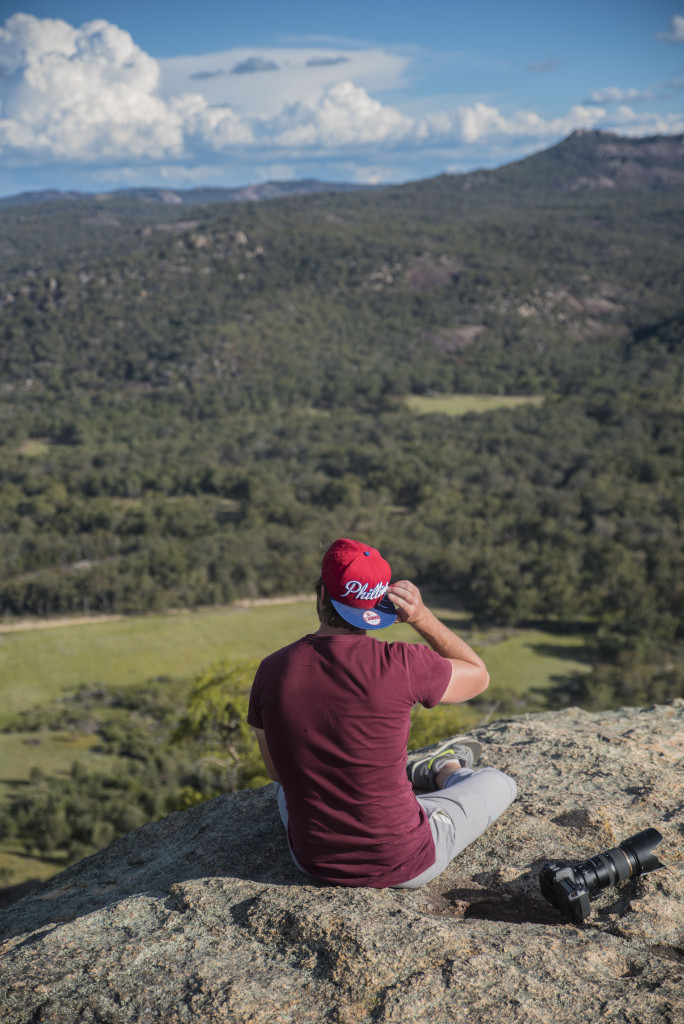
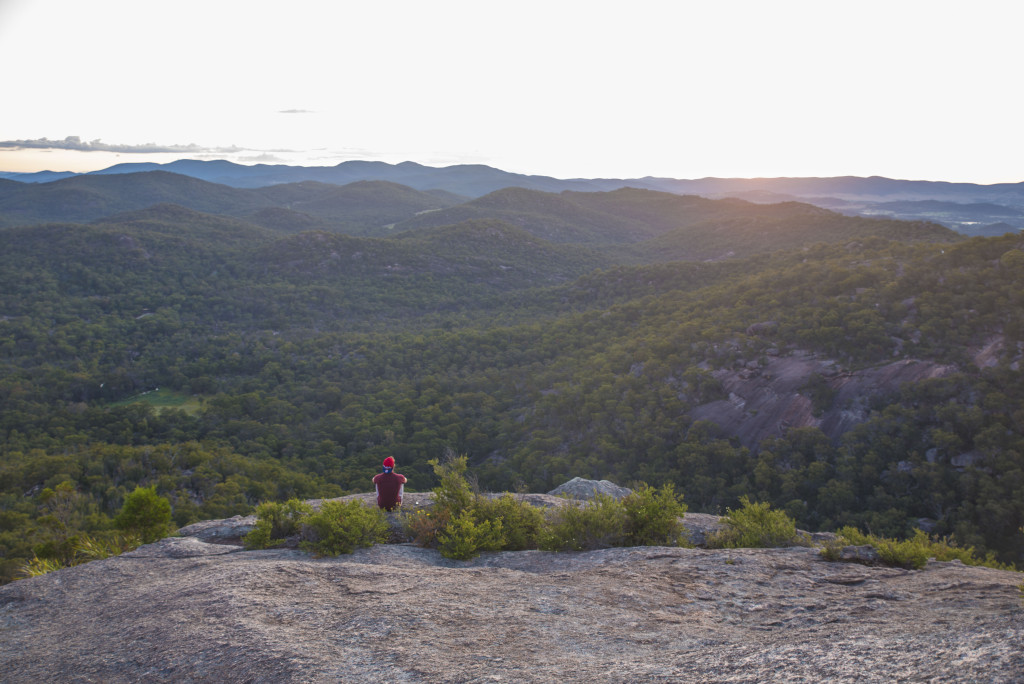
Onward we marched. There is no phone reception at the bottom of The Pyramid, but half way up once the rock formation stairs are reached, there’s some reception all the way to the top – A Godsend for someone like me who had to check back in at home on a loved one. I have trekked to the summit previously, but this time I felt it was a little harder – perhaps accounting for the sleeping bag and 3 man tent I was carrying this time. Reaching the summit with hours to spare before sunset, we fired off a few timelapses from various points around the boulders.

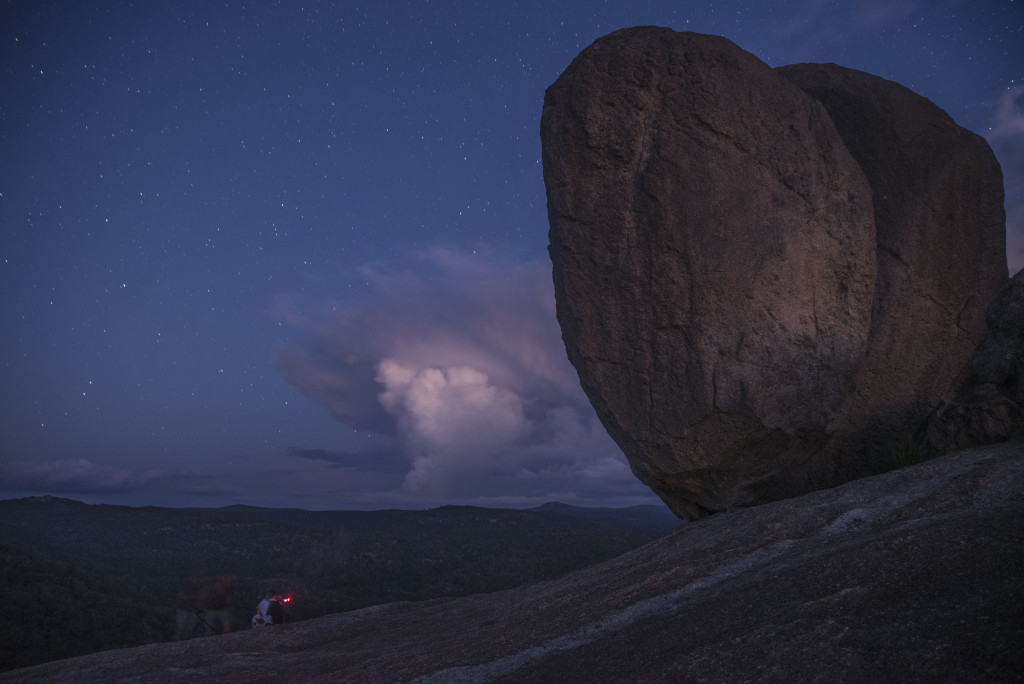
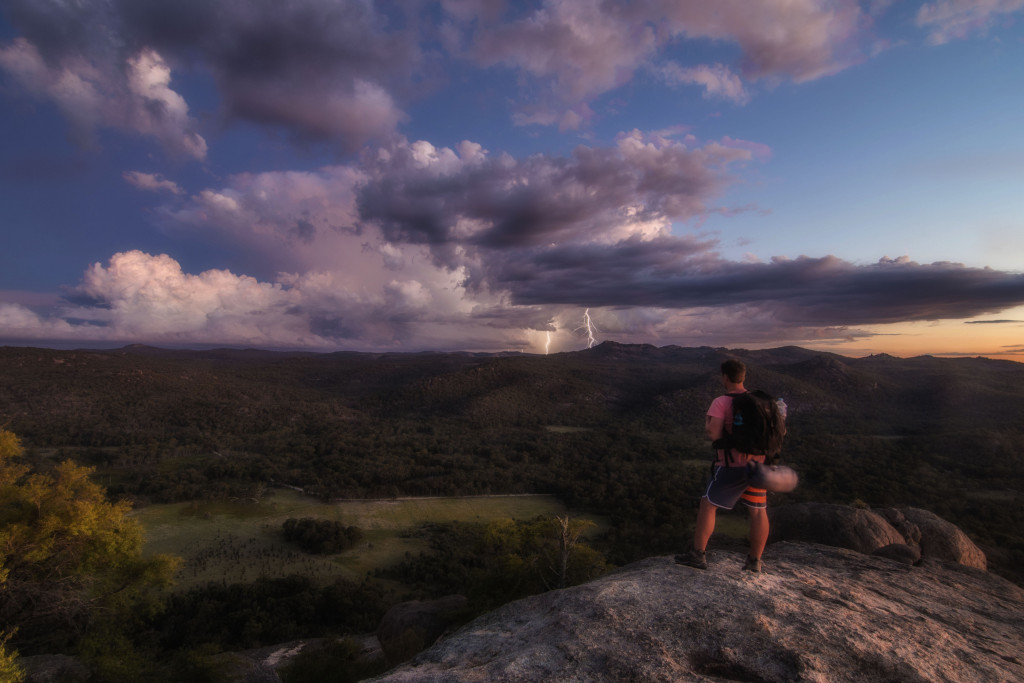
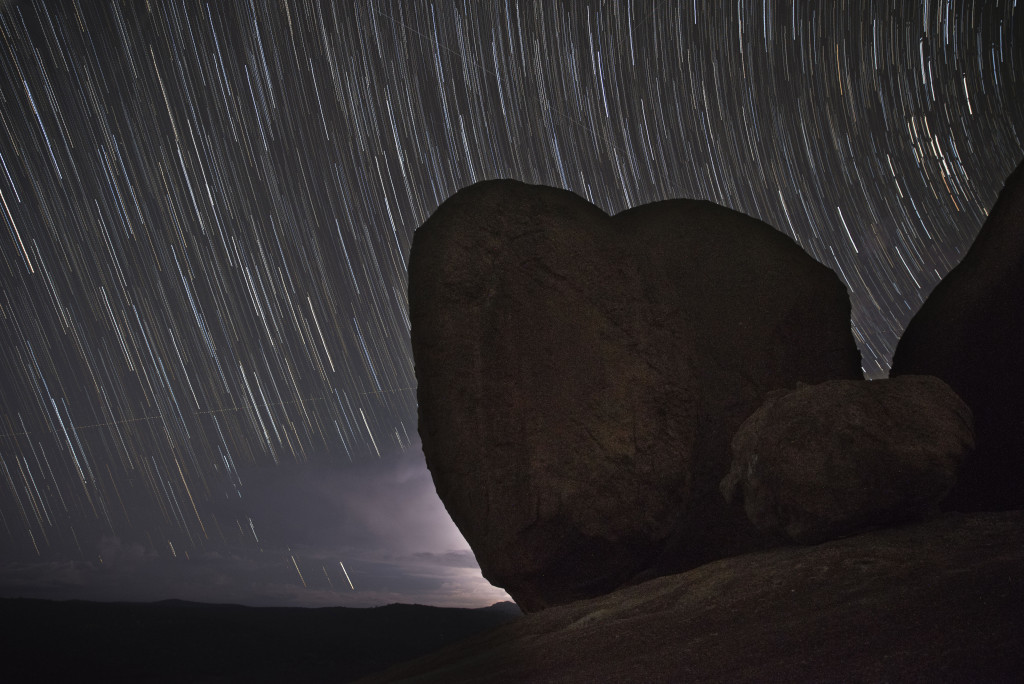
As the sun made it’s way down behind the horizon, on the other side of the mountain we could not help but notice the monstrous cloud formation in the distance brewing a violent storm. The Heavens were on our side as we stayed dry and with the best views around. We were presented with an illustrious masterpiece; a stunning sunset, clouds that became violent with thunderstorms so active and chaotic we didn’t know where to look.


After watching the sun set, for the stars and thunder storm to light the night sky, we made our way down through the night guided only by torchlight. After all, what goes up must come down. I will confess that going down is much easier on the legs, but my toes felt snug pushed hard against my shoes which had a bit of give. Back at the 4×4 we made our long way back to Brisbane. Arriving at home I found my way into bed seemingly exactly 24 hours later to where my adventurous road trip began with me frantically waking up.

Whilst only The Pyramid was scaled this time round, we will surely be back, perhaps when the Sunflowers are in bloom, to tackle the rest of Giraween National Park; Castle Rock, The Sphinx, Turtle Rock, and Mount Norman.


To follow myself or my friends on Instagram you can find us here:
Me
Mark
Gareth

If you have any questions about this road trip and hike to know more, feel free to contact me! Let me know your thoughts!

Camera Basics: Turn off Auto!

  • 13/05/2015
Camera Basics: Turn off Auto!

I love meeting photography enthusiasts who are beginning their own journey into photography; it’s new, it’s exciting and there are no limits. In my workshops I’m often bombarded with the technical questions (which I welcome!), and although learning by doing in the moment with examples is great, it often helps when you have something to read over repeatedly and go through the motions yourself after it sinks in. It is my hope then that this guide will come in handy when you’re out in the field, to explain some aspects of your new toy.

Tony’s Photography Essentials 101; A crash course for any beginner in better understanding the camera for the first time. It’s time to take the camera off AUTO and claim full control of your DSLR!

Essentials:

1. Shooting Mode
2. ISO
3. Exposure Triangle
4. Metering
5. Focusing

1. Shooting modes

On top of most cameras is a rotational dial with various symbols and/or letters. With different camera manufacturers, come different abbreviations but the shooting modes available are essentially the same.

ZPR-NIKON-D750-TOP

It is here where we control the shooting modes and whereby the selection made determines the type of photo potentially achievable after pressing the shutter.

AUTO
In automatic mode (Green symbol in above image) all aspects of the photograph are determined by the camera; exposure, aperture, focus, light metering, white balance and sensitivity. Although technologically efficient in their own right, cameras do not always create the image you may envisage, and as a result I avoid using Auto mode myself; I prefer the additional creative freedom found in Manual mode (explained further below) to tweak each parameter specifically.

Aperture Priority (Av / A)
It is essentially a semi-automatic shooting mode. With this mode enabled aperture is manually controlled as the camera automatically corrects shutter speed accordingly.

If this word aperture is foreign to you, then technically speaking, it relates to the size of the opening in the lens through which light will pass when the shutter is open. With a larger aperture, more light will pass through, and conversely, a smaller aperture, results in less light passing through the lens. It is measured by ‘f-stops’; a ratio of focal length over diameter of the opening of a lens:
– Larger aperture (wide opening) has a smaller f-value
– Smaller aperture (small opening) has a larger f-value
1

When the aperture is changed it directly alters depth of field (D.O.F) – i.e. the amount of an image in focus. A large D.O.F (small aperture / large f-stop) creates images where most of a scene is in focus. This type of aperture setting is typically good for landscape photography. Conversely, with a shallow D.O.F (large aperture / small f-stop) the subject is the only thing in focus, with the background soft and out of focus. This type of aperture setting is typically good for portraiture and wildlife for the ability to isolate the subject from the background.

Essentially, using this mode allows for control of D.O.F, whilst the camera compensates and does the rest.

Shutter Priority (Tv / S)
Another ‘semi-automatic’ shooting mode. This time shutter speed is controlled whilst the camera takes care of the aperture. Shutter speed, measured in time (fractions of a second, seconds, and even minutes if using “Bulb” mode) is the duration the shutter stays open during a photograph. The longer a shutter remains open, the more light passes through to the sensor. A short shutter speed is best for freezing fast moving objects and is best suited for sporting events and wildlife. Conversely, a long shutter speed is best for blurring moving subjects and scenes with waterfalls, cars moving at night for light trails, or fireworks. A sturdy tripod (unless resting on something immobile and holding perfectly still) is essential for capturing images requiring a longer shutter duration as any camera shake will create undesired results.

Essentially, this mode allows for control of suitable shutter speed duration for a given scene whilst the camera corrects the aperture for an appropriate exposure.

Program (P)
This mode is the convergence of both aperture and shutter priority mode with manual mode. Program mode enables control of either aperture or shutter speed mode, whilst the camera adjusts the alternative to correctly exposure the image.

Essentially, change one, the other changes, but you don’t have to keep changing between shutter and aperture priority modes to change either. As a result there is some additional freedom albeit still with restriction.

Manual (M)

Manual mode is all you. You have total control over exposure, aperture and shutter speed. The power is in your fingertips and you are free to set them as you wish. The exposure indicator meter in your viewfinder (or on screen if live view is enabled) will help guide you if your shot is over or under exposed.

As mentioned earlier, this is my preference. This is the mode I learned with as it allowed me to fully understand the impact of the different settings and allowed for greater creativity. It’s the mode I use today, and why it’s my recommendation you explore its capabilities as early on in your journey as possible.

  1. ISO

This is a measure of how sensitive a camera sensor is to light. It originated in film photography; depending on shooting conditions, specific film of varied sensitivities would be used. This concept is carried over into digital photography whereby ISO sensitivity is represented numerically typically from ISO 100 (low sensitivity) and upwards to beyond 6400 (high sensitivity); it controls the amount of light necessary for the sensor at a given exposure. In essence more light is required at low sensitivities to achieve a given exposure whilst less light is required at higher sensitivities for the same exposure. The bigger a camera sensor, the better quality photo achievable at a higher ISO.

As a rule of thumb, keeping the ISO low will reduce picture grain (noise) and produce the highest quality image (useful if you want large prints). In a well lit environment (i.e. daytime outside) the correct exposure is likely achievable at a lower ISO (i.e. 200) where there is ample light hitting the sensor and thus reducing its necessity to be sensitive. Conversely in a poorly lit environment (i.e. inside or at night) the correct exposure is likely achievable at a higher ISO (i.e. 800) where the reduced light hitting the sensor is multiplied to increase sensitivity. Incidentally, as aforementioned, an image will likely have increased noise which will reduce the overall image quality – this is more noticeable in darker/shadowy areas of an image and when printed in a large size.

3. Exposure Triangle

Aperture, shutter speed and ISO comprise of what’s known as the “exposure triangle”. Collectively, they control the amount of light entering the camera (aperture and shutter speed), or the amount of light necessary at a given exposure (ISO). As these three elements are intrinsically linked to a correctly exposed photograph, an understanding of their interwoven relationship is essential for controlling your camera. If one setting is changed, the other two elements will be influenced. Understanding their relationship to each other is another tool in your arsenal to better mastering your DSLR.

Aesthetic_Exposure_Triangle2

This essentially will come down to trial and error and knowing the basic effects altering aperture, shutter speed and ISO will have on an image. Use a tripod in scene that is likely to remain constant (i.e. inside focused in your kitchen with the lights on), and take an initial photo. Then change the aperture to various settings, then the shutter speed, and then the ISO. Notice the differences, and when there’s a balance where they are correctly exposed it is likely that your metering will be correct, which is the next aspect to consider.

  1. Metering

When the settings (aperture, shutter speed, ISO) above are tweaked the camera processes for the scene and tries to calculate average exposure, for both bright and dark areas. It averages the tones, a middle grey which is 18% averaged grey from the scene.

This is termed metering, and it accounts for why, depending on the scene, an image will be potentially darker or brighter than in actuality (what you see). That’s due to the average scene being exposed, which is correct most of the time. The in camera viewfinder or Liveview screen will depict this on a scale that changes for under or over exposure depending on settings.

images (1)

In continuance with exploiting the creative abilities in Manual mode and altering our settings we can also alter metering. There are typically three metering modes:

Average – The entire tonal contrast of an image from corner to corner is identified by the camera and exposed at 18% grey.

Centre-weighted – The centre of the scene is the focal point for exposure balance at 80% of the image, with the corners of the image not accounted for.

Spot metering – A specific focal point of a scene selected for approximately 5% of the area that is exposed and using the dark/light tones of that region, exposes the total image at middle grey tone.

  1. Focusing

Quite simply, the correct focus is essential. Irrespective of if an image is correctly exposed for aperture, shutter and ISO, if the subject of your image is out of focus, the photo will likely be undesired. There are a range of autofocus modes available within your DSLR but the most useful are the Autofocus- Single (AF-S) and Autofocus-Continuous (AF-C) modes.

AF-S 
Focus mode best for stationary subjects; Portraiture, landscapes, buildings, and any other immobile object.

AF-C 
Focus mode best for moving subjects; sports, wildlife, vehicles, and any other moving object or activity.

Focus points
To exploit these two focus modes, focus points are used to allow in camera processing to identify the focal target within the scene. When looking into the viewfinder focal points will overlay the view. These are a set of squares or dots that when selected on the back of the camera (become highlighted in red) indicate the active focal point within the scene of your image.

Nikon-D600-vs-Canon-6D-AF-Points

On many newer DSLR’s with up to 50+ focal points there is temptation to keep them enabled. I personally find that this is over zealous and does not allow for specific focal point focusing. As a result I always use a single focus point to ensure my subject is in focus. With the navigational pad on the back of the camera it is possible to choose different focal points within the same frame. This will potentially change the look of an image.

It is important to note that these focus modes are different to the Manual (M) and Autofocus (AF) functions on the camera and lens. Manual mode enabled allows for full focus control, whilst to exploit the AF-S and AF-C modes, AF must be enabled. Depending on your environment and scene they are all relevant. Personally, I have my camera and lens switched to Manual and don’t worry about AF-S and AF-C.

Summary
I hope this explanation on some major components of your camera helps you to discover how to move away from “Auto” and step into Manual mode and encourage your creativity flourish. Start slow and with more understanding of the significance of each setting your camera will become an extension of you. Before you know it, that shiny new toy will no longer be a mystery to you but a tool that allows you to get results, for that which you bought it for.

Carnavon Gorge, Queensland

  • 17/04/2015
Carnavon Gorge, Queensland

Each Easter long weekend I venture off the beaten track to explore and take photographs. Keeping with tradition in 2015, I hiked through Carnavon Gorge in Carnavon National Park with a good friend of mine.

We left Brisbane Thursday night around 7:00PM. Our journey took us through some quaint towns along the way; Toowoomba, Dalby, Chinchilla, Miles, Roma, and Injune to name a few. If you’re making the trip from Brisbane, keep an eye out for Injune as it is the last stop for 24 hour petrol albeit still some 100km from Carnavon Gorge. After turning off Carnavon Highway (A7) onto Wyseby Road and O’Briens Road we were greeted with 18kms of unsealed road with several creek crossings. A 4×4 is the safest mode of travel because whilst possible via car, conditions change and following a heavy downpour into creek crossings the road can become impassable. For up to date information (i.e. road conditions) contact the Park Rangers before setting off (07 4984 4505).

After eight hours driving (over 670 kilometers – one direction) with stops along the way (driver change and refueling) we made our way into Carnavon Gorge National Park pre-dawn Good Friday. In that time we learned the full advantage of the 4×4’s high beams, as we had come across a multitude of wild animals who had claimed the highway their hunting ground, crossing, or rest stop for the night. If you’re just as fortunate and also travelling through the night, you will likely be greeted by; kangaroos, wallabies, possums, wild cats, cows, the brave owl of the A7 who won’t let you pass unless it’s on the other side of the road, an echidna or two, and more birds, frogs and toads than you could ever count. For this reason, please, don’t speed and be aware of the road surroundings – What makes these long road trips special is because we go out of our backyard and into theirs for a change. Animals only get one chance at crossing the road and they don’t get the restart option like we do in the game “Frogger”, so it’s important we take care. Once inside the Visitors Carpark we made ourselves comfortable and had what felt like the shortest one and a half hour nap. Before we knew it the sun was up and shining in our eyes; it was time to get moving.

Skippy, having his breakfast just meters from the start of our hiking trail from the Visitors Carpark.

Skippy, having his breakfast just meters from the start of our hiking trail from the Visitors Carpark.

Our anticipated circuit was approximately 25km with the plan to hike as far as Big Bend (9.7km from the Visitor Carpark). We would then meander back photographing the scenic sites which diverged outwardly from Carnavon Gorge. We felt that this way was safest for if we dawdled (i.e. take too many photographs) and day turned into night, then we would know our way back walking on familiar terrain. With an itinerary planned, rations packed and cameras at the ready, we set off on our hike.

The track along the Main trail up to Big Bend was quite simple in terms of hiking. There were some initial gradual ups and downs over the contours of the landscape but once into the mouth of the gorge, it was predominantly flat and easy going. The real skill came in to play when navigating which stone to stand on when crossing the streams (especially beyond the crossings not maintained by the Rangers). At these crossings I could not help but feel like Indiana Jones stepping precariously on each rock wondering if it would hold steadfast or wobble beneath me only to ensnare me to my doom (i.e. wet boot). I slipped a few times, but thankfully my waterproof boots kept me dry!

Big Bend (9.7km)
By 9:45AM we had reached Big Bend, the furthermost destination on our itinerary. For anyone camping, and doing it over two nights I suggest you camp at the sites here (bookings essential), then make your way up to Battlship Spur for sunrise. Thank me later and show me the photos – I didn’t get that opportunity due to time constraints. Big Bend is one of those places that when you’re there, you just know you have arrived; it is gigantic, gigantic, gigantic, …antic. It’s so big it has an echo. Cooee! Make sure you test out your lung capacity if you visit! Despite the impressive sheer size of Big Bend, there was something, or rather someone, much smaller who caught our attention. Whilst photographing Big Bend we happened to notice bubbles surfacing on the water shortly preceding the emergence of a small turtle head. I called him Michelangelo – if the Teenage Mutant Ninja Turtles could survive in the sewers, then Michelangelo of Carnavon Gorge’s Big Bend could survive too. He was a big boy! We discovered Michelangelo had a penchant for strawberry muesli bar and apple, and with a little enticing coaxed him to within a meter of our lenses. With our bellies full, his belly full, and our cameras content, we left Michelangelo, our little Teenage Mutant Ninja Turtle friend and re-commenced our hike, back to the Visitor Carpark via the other sites.

Boowinda Gorge (9.2km)
Our third stop was almost within stone’s throw away. According to those indigenous to the region, Boowinda means “thunder” and the gorge is prone to flash flooding. This accounts for the large eroded walls welcoming you inside. Personally, this was my favourite site along the hike and was worth every footstep to get there. In the space of time we were there, I was amazed at how the shifting light from the sun changed the whole appearance of the canyon. The sandstone has been impressively carved from previous downpours and with many an uneven rock, my inner Indiana appeared once more as I navigated my way up the gorge trying not to roll my ankles. To get a true representation of the sheer vastness of this place photographically you must have someone stand in the middle of the canyon. If ever I wanted to do a thousand year long timelapse, it would be in this place! Telling the story of how the weather slowly shaped the canyon into what it is today. In saying that though, and knowing what I do, I wouldn’t wait around to see it fill up in a storm.

Making our way back from Big Bend and Boowinda Gorge, we stopped in at what I called Little Bend. It offered some excitement for me, as I climbed up the bank only to have some of the sandstone wall fall away from under me. There was a 5m drop into the water, and I didn’t fancy a swim, so I had to find a new way down. It got the adrenalin coursing through my body once more at least.


Cathedral Cave and The Art Gallery (9.1km and 5.4km)
Collectively these two sites hold the most significance for the indigenous people of the land. Archaeological evidence suggests Cathedral cave was a campsite whilst The Art Gallery was a ceremonial area. The Art Gallery is reported to contain over 2000 pieces of artwork – approximately 1350 engravings and 650 stencils with freehand art. Artwork thousands of years old whilst impressive to gaze upon, did not warrant me taking photos. I tend to shy away from photographing areas of cultural significance as I always feel it’s always better to look, admire and enjoy the feelings they evoke without documenting. Needless to say whilst we didn’t spend long here and I have no photographs to showcase their beauty, they are still worth a visit along the circuit if you have time.

Wards Canyon (4.6km)
Just after our late lunch and rest around 2:00PM it was time for something short and sweet, or rather short and steep. Off the Main track, Wards Canyon is easy going, besides the 20 odd steps to get up into it. Stepping into Wards Canyon evoked a sense of waking up in a land long forgotten for me; It’s a different place. It’s an isolated and sheltered area in the gorge with the diverse flora having taken full advantage of the conditions to flourish. Definitely worth a look, for it’s tranquil and peaceful setting. I wanted to take more photos but my polarizing filter was being difficult and so I couldn’t take many shots much to my dismay.

Amphitheatre (4.3km)
The second last stop, was truly a hidden gem. The Amphitheatre would largely be a hidden treasure only ever visible if peered down into from above the ridge of the gorge itself. Though it would not be for anyone afraid of heights; the walls are huge! It would be easy to miss within the large sandstone cliffs of the canyon surrounding that’s for sure. Thankfully, there is a precarious metal stairway (I personally think needs a bit of maintenance – Don’t step on the central sheets on the platforms, but stick to the framing joints) which 
guides you up and in via the narrow slot canyon to reveal a piece of tranquillity. The Amphitheatre, akin to Big Bend, has a nifty echo, so catch your breath after scaling the stairway, and test it out! It’s well worth the visit, for being enclosed in a 360° wall of sandstone is just next level impressiveness. I would describe it best by suggesting you imagine yourself walking into a scene from Jurassic Park or Journey To The Centre Of The Earth where your jaw drops and you just marvel in the wonder of a secret oasis thriving with life. It’s a must see when visiting Carnavon Gorge.

Moss Garden (3.5km)
The final site on our hike around Carnavon Gorge was to this oasis tucked away from view. With flora growing rampant around the body of water below the falls it was easy to lose sight that essentially it is in the middle-of-nowhere-Queensland and we aren’t actually in the rainforest of O’Rielly’s or Lamington National Park on the East Coast of Queensland. Yet, despite this, Moss Garden seems to defy logic, and is a wonderfully serene place with a delightful waterfall. When we visited, although the waterfall was not flowing at capacity, after a heavy downpour I can imagine how alive this place would become. The walk leading up to it is also quite nice and you can see the shift in flora as you walk deeper inward toward Moss Garden.

With all locations visited and accounted for on our itinerary, and after a sluggish 3km return hike hampered by chafe, fatigue and blistered feet we eventually made it back to the Visitor Carpark. Water was guzzled to quench our thirst, food was eaten to re-ignite some energy, and blistered feet were exposed not so gracefully to fresh air. It was a welcome reminder that we had just spent a day exploring the great outdoors in the vastness of Central Queensland.

A rewarding experience from the hike and perhaps one of my favourite aspects of being out in the middle of nowhere was the sporadic human interaction we had along the way. In my experience whenever hiking, camping, or other off the beaten track, people are always friendly and full of smiles despite the breathlessness, sweat or fatigue. On this particular hike we had the pleasure of bumping into; a mother-daughter duo camping up at Battleship Spur; a 70 year old couple powering through most of the gorge (i.e. if they can, so can you!); and several other parties who appeared in the later hours of the afternoon only for a quick hike prior to returning back to their campsite at the Visitor Centre area. After a quick review of photos and some much needed recuperation, we were back on the road and making our return journey to Brisbane.

Chasing the time to watch (photograph) the sunset, we decided to drive down an isolated dirt track, climb under a fence and trudge through some long grass. It turned out to be a just reward for the gambled venture down the dirt road. With our cameras beeping signalling a recharge, and our SD cards full of photos, we packed up to continue on with our journey back to Brisbane.

We drove through most the night, but after a midnight snack in Roma, we made a brief pitstop in a little roadside pull in and shut our eyes for an hour or two before hitting the road once more. Another stop, this time Picnic Point, Toowoomba, to await the sunrise. It didn’t offer much though as it was hampered by cloud cover and rain, and so we were down the mountain and finally back into Brisbane by 8:30AM.

It was a big trip with ample driving and hiking, covered in a short space of time, but with enough planning and dedication we were able to have the adventure we planned and to be back in Brisbane to enjoy the rest of Easter. Well worth the blisters, and somewhere I’ll never forget. So next long weekend, no excuses, get out there, get exploring!

For more photographs, past and present, join me over on Instagam: @tonnes

Roadside.

  • 10/11/2013

The greatest aspect about living in Australia is that there is such potential for adventure. Forget the shrimps on the BBQ, with a Fosters (FYI Australian’s don’t actually drink it here) in one hand, and squashing Redback’s with your $2 thong in the other while you talk to Davo, Robbo and Timbo while Shazza and Jenno drink all the vino. If you ever had the opportunity and decided to act upon it, a road trip of a lifetime awaits, driving coast to coast, up and and down, left and right. You would need a reliable vehicle, an unimaginable amount of petrol, and a playlist befitting of a road trip that will last as long as your memory remains sound. Company is optional, but advised, if not to just simply share the driving, and keep you warm at night. That’s the real Australian adventure. For me, that adventure is a year off. It will likely be my penultimate goodbye to this place I’ve called home for so long. With my affairs in order, it would be my last hurrah. I’d take the longest possible way back to England via a road trip of Australia. I’d explore the Nullabor, see the 12 Apostles, travel the Great Ocean Road, surf at Bells Beach, watch the sun rise and set above Uluru, camp under the stars with no light pollution (hello astrophotography), and swim with whale sharks over a western sunset in Perth. After all that I may even reconsider my move home, but it’s not of concern for now.

Since I’m yet to explore this country fully, in the way I’ve just described, for now I’ve been limited to only the East coast of Australia. Not that I’m complaining as I’ve explored the likes of Airlie Beach, Toowoomba, Gympie, Coffs Harbour, Sydney, South West Rocks, and everywhere in between. Along the way I’ve always had a camera with me, whether that be a Nikon DSLR, or a trusty iPhone. Either way, if opportunity presented itself, I always made time to find a moment worth capturing. I’ve stumbled across broken buildings, wildlife Steve Irwin would be proud of, telephone boxes imported from the UK, and irresistible weather with breathtaking sunrises and sunsets. Here are but a few:

62656_10151925723203782_437277964_n 250172_10151925728468782_2007161198_n 317106_10151925726083782_1107059197_n 482399_10151925725333782_1599524914_n 528334_10151925723193782_129716659_n DSC_1916 - Copy DSC_1926 DSC_1938 DSC_1940 DSC_2445 DSC_2855 DSC_2864 zzzz

For more photos, past and present, join me over at Instagam: @tonnes

Steel Spinners

  • 06/11/2013

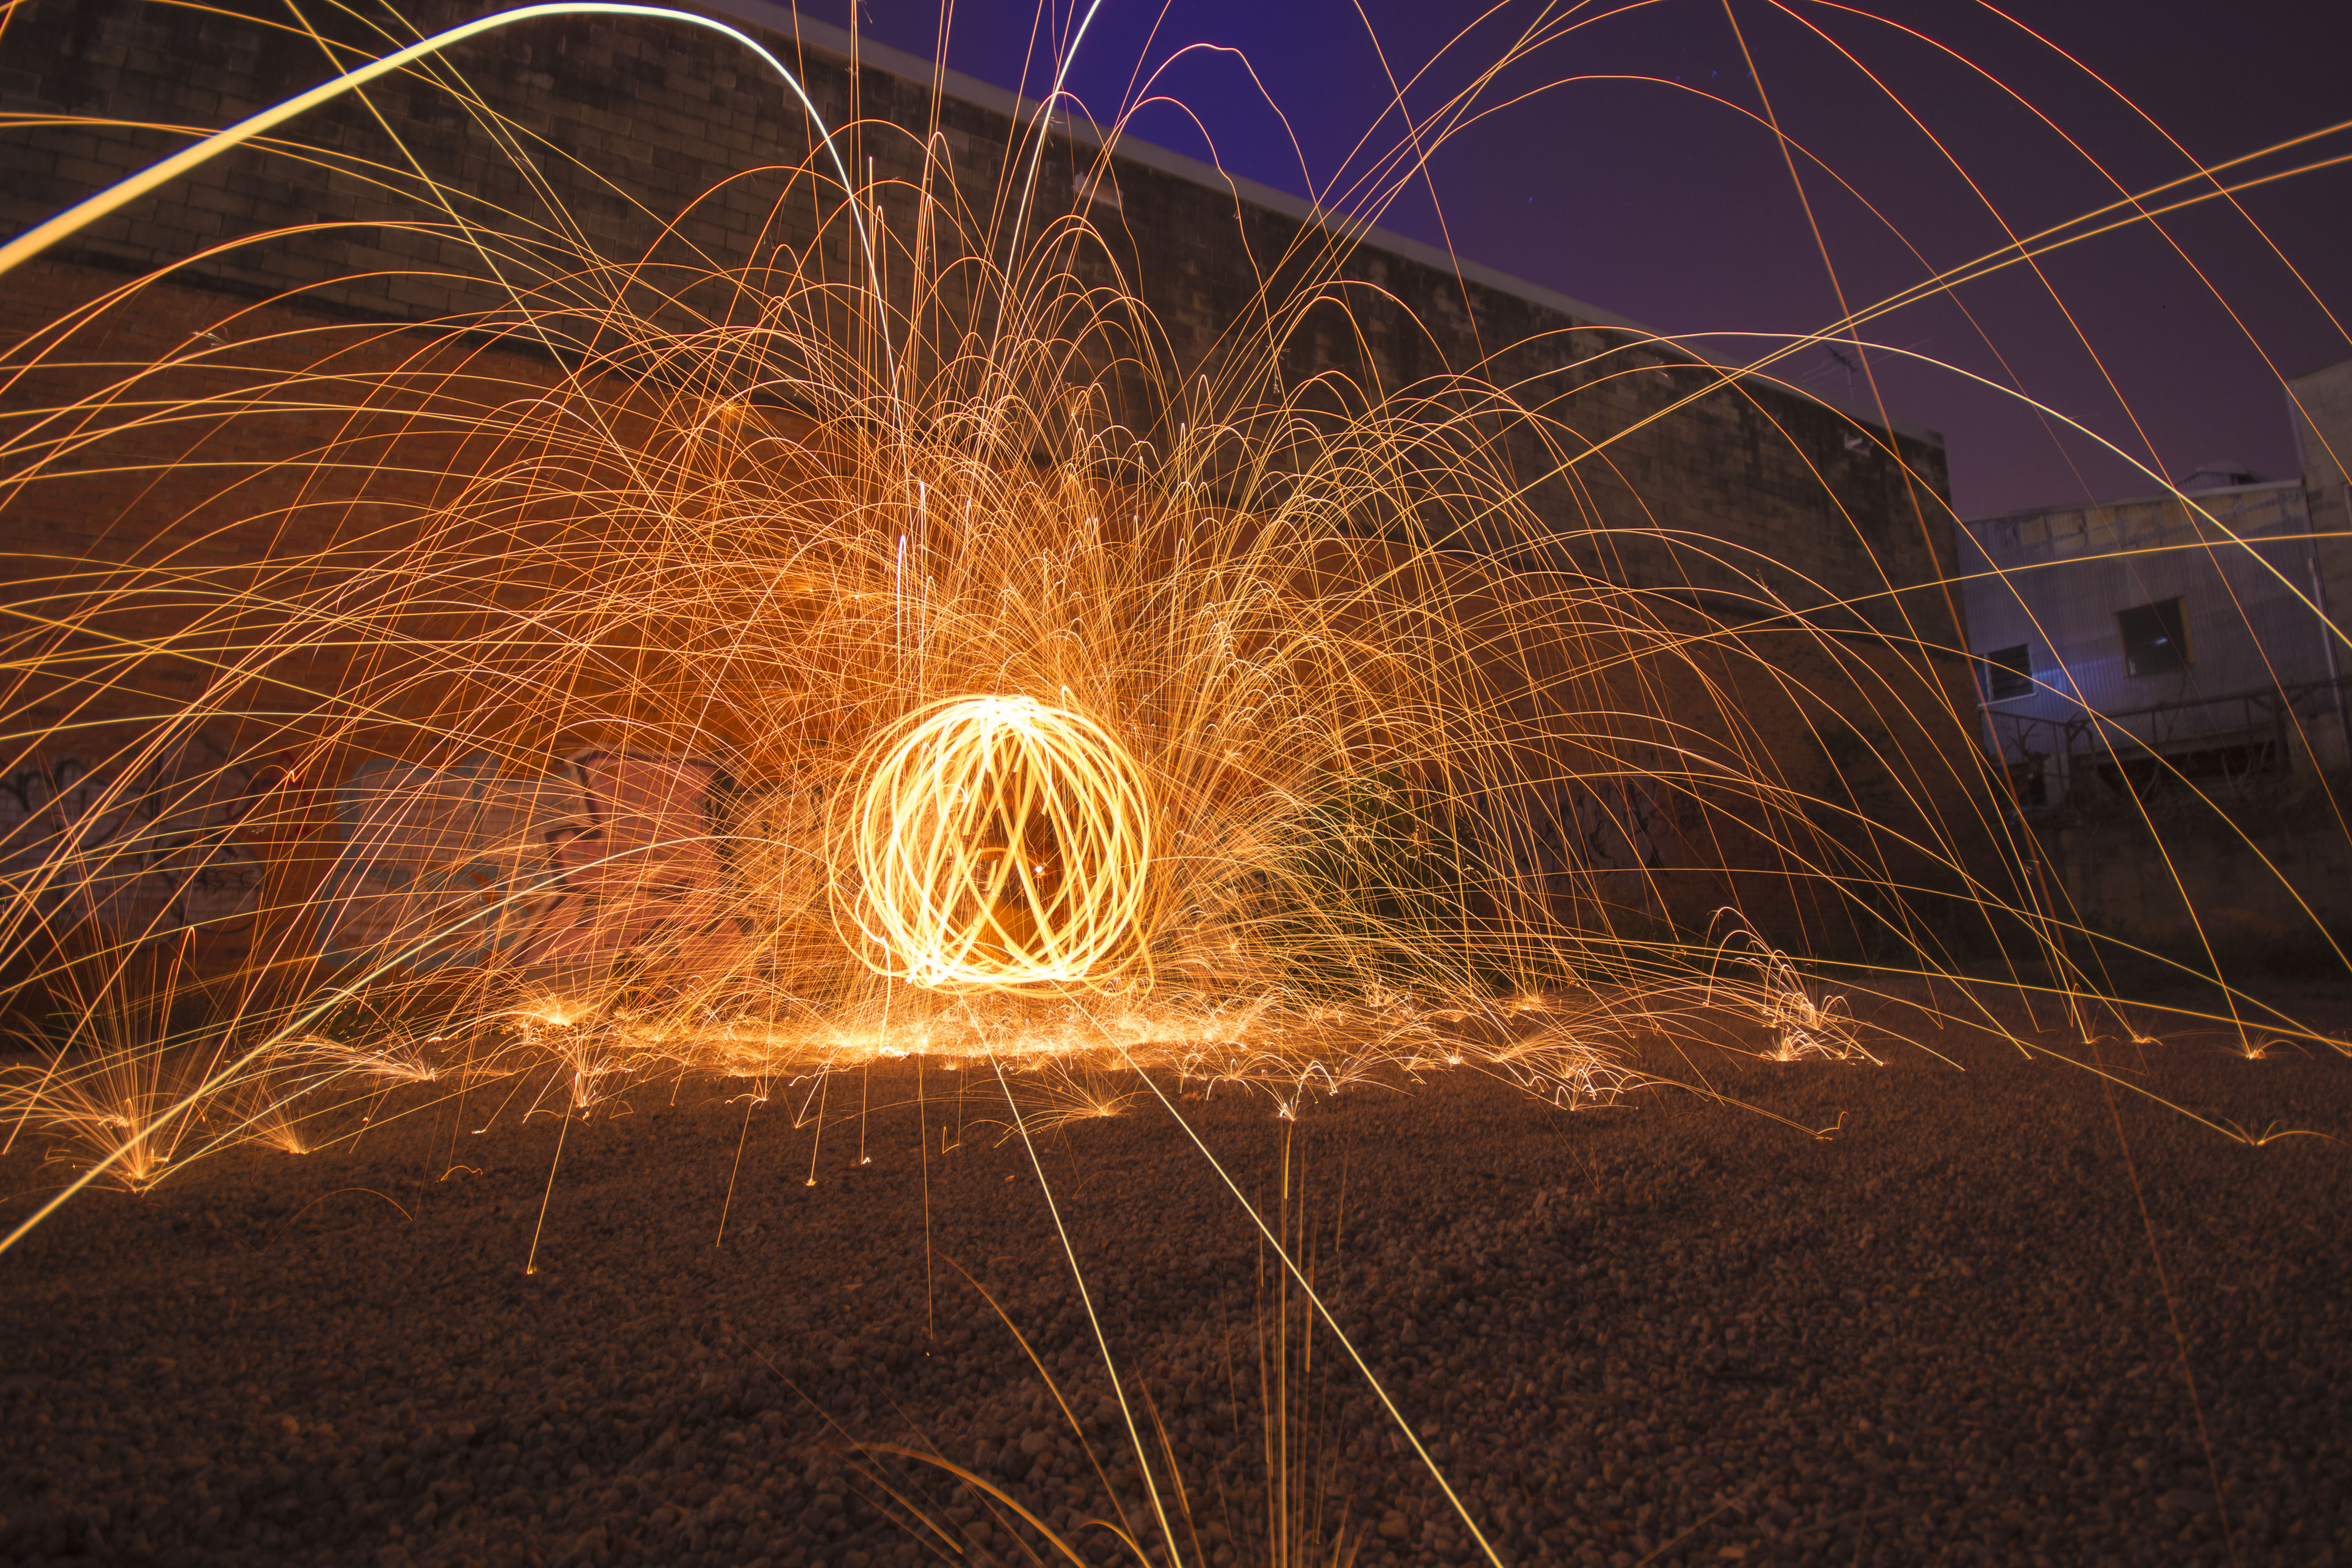
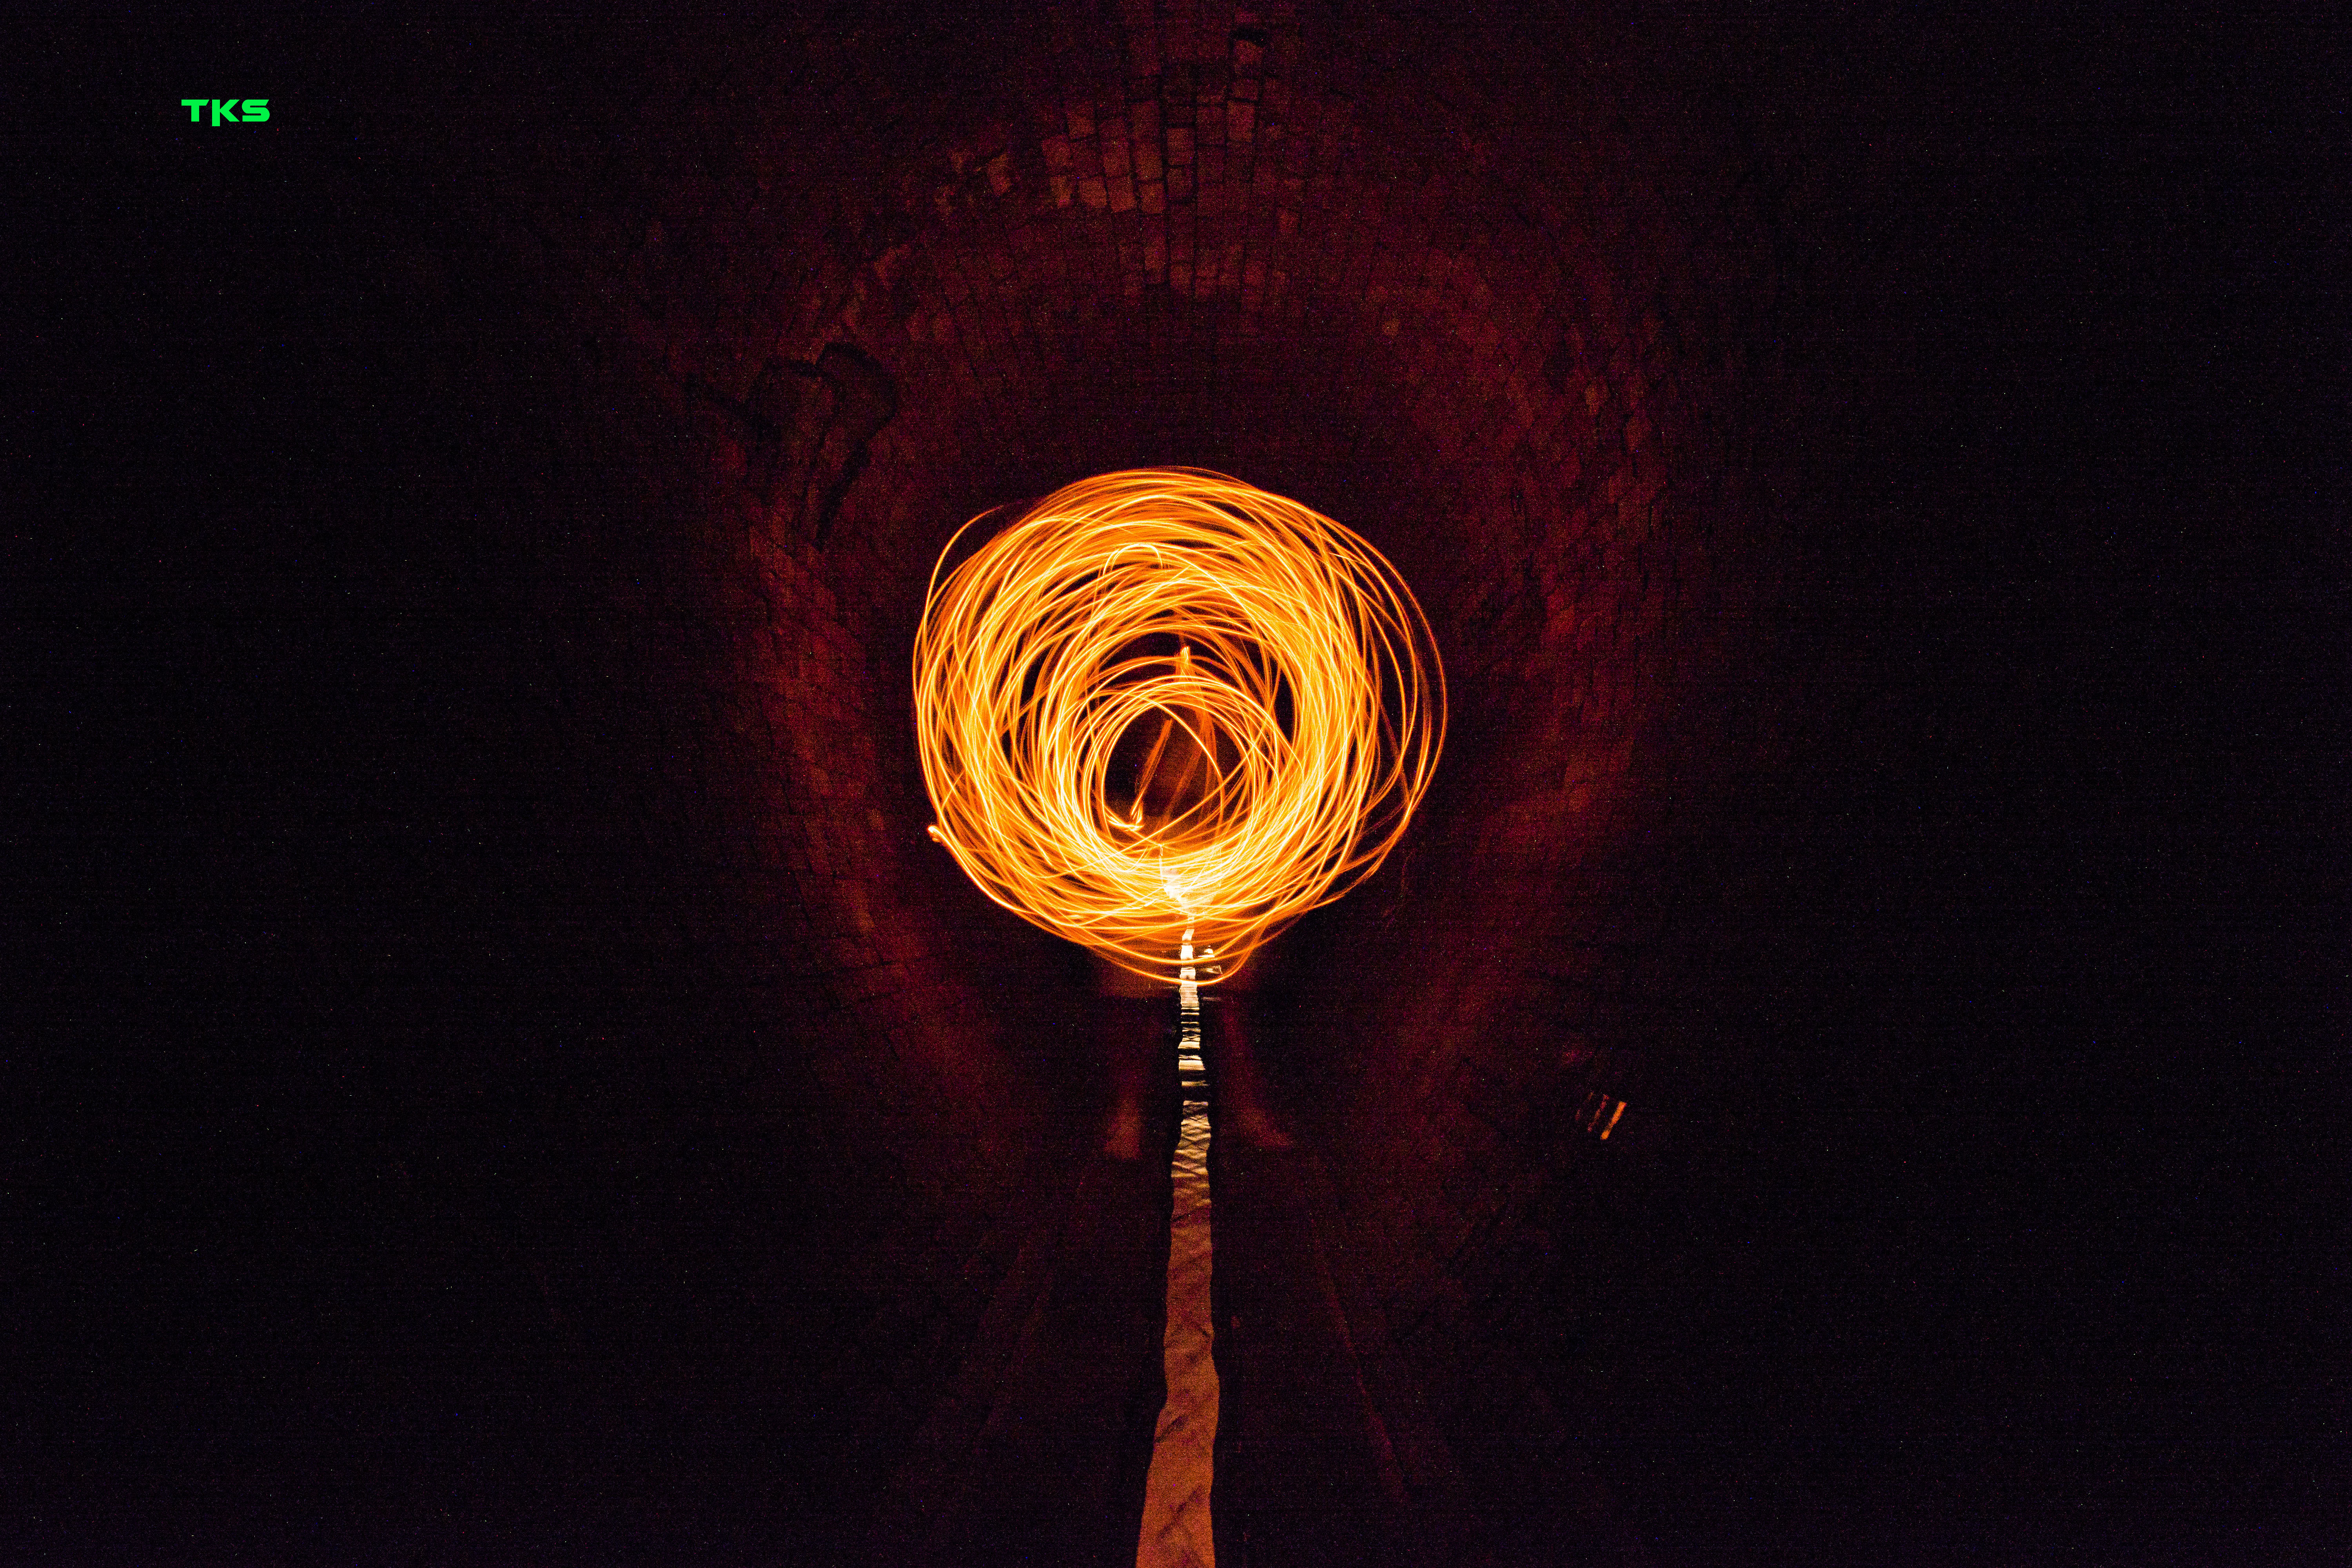
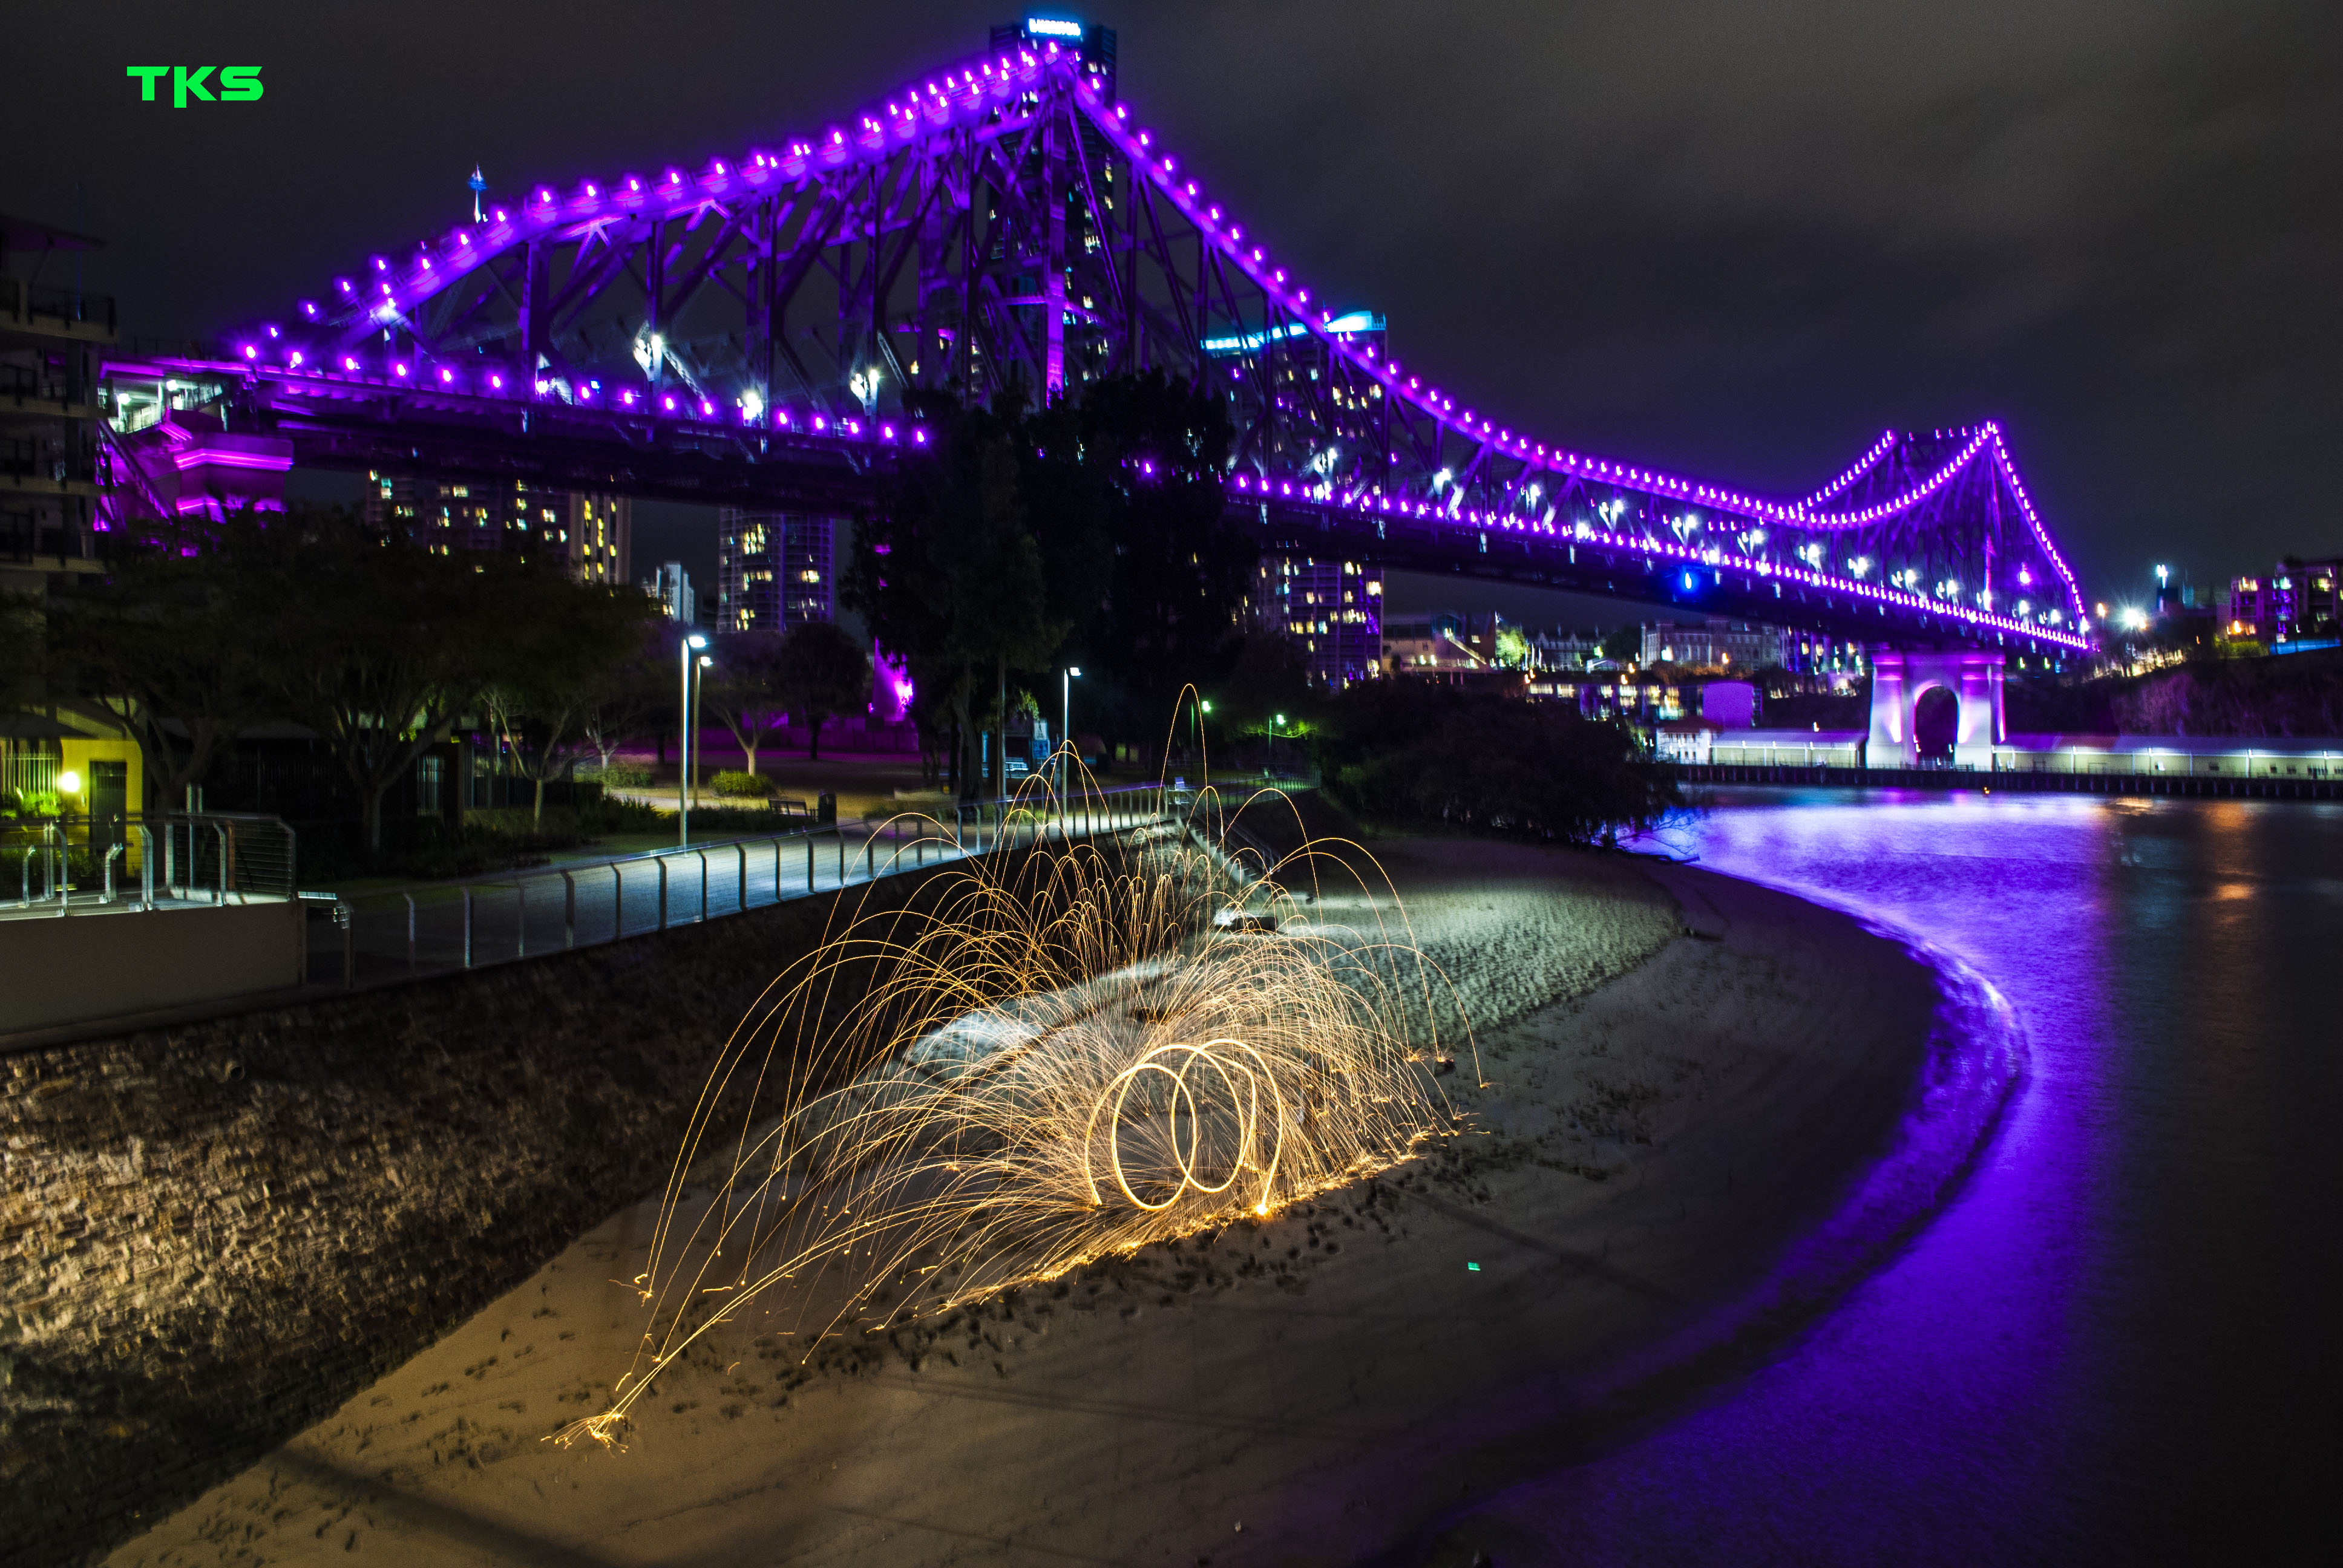
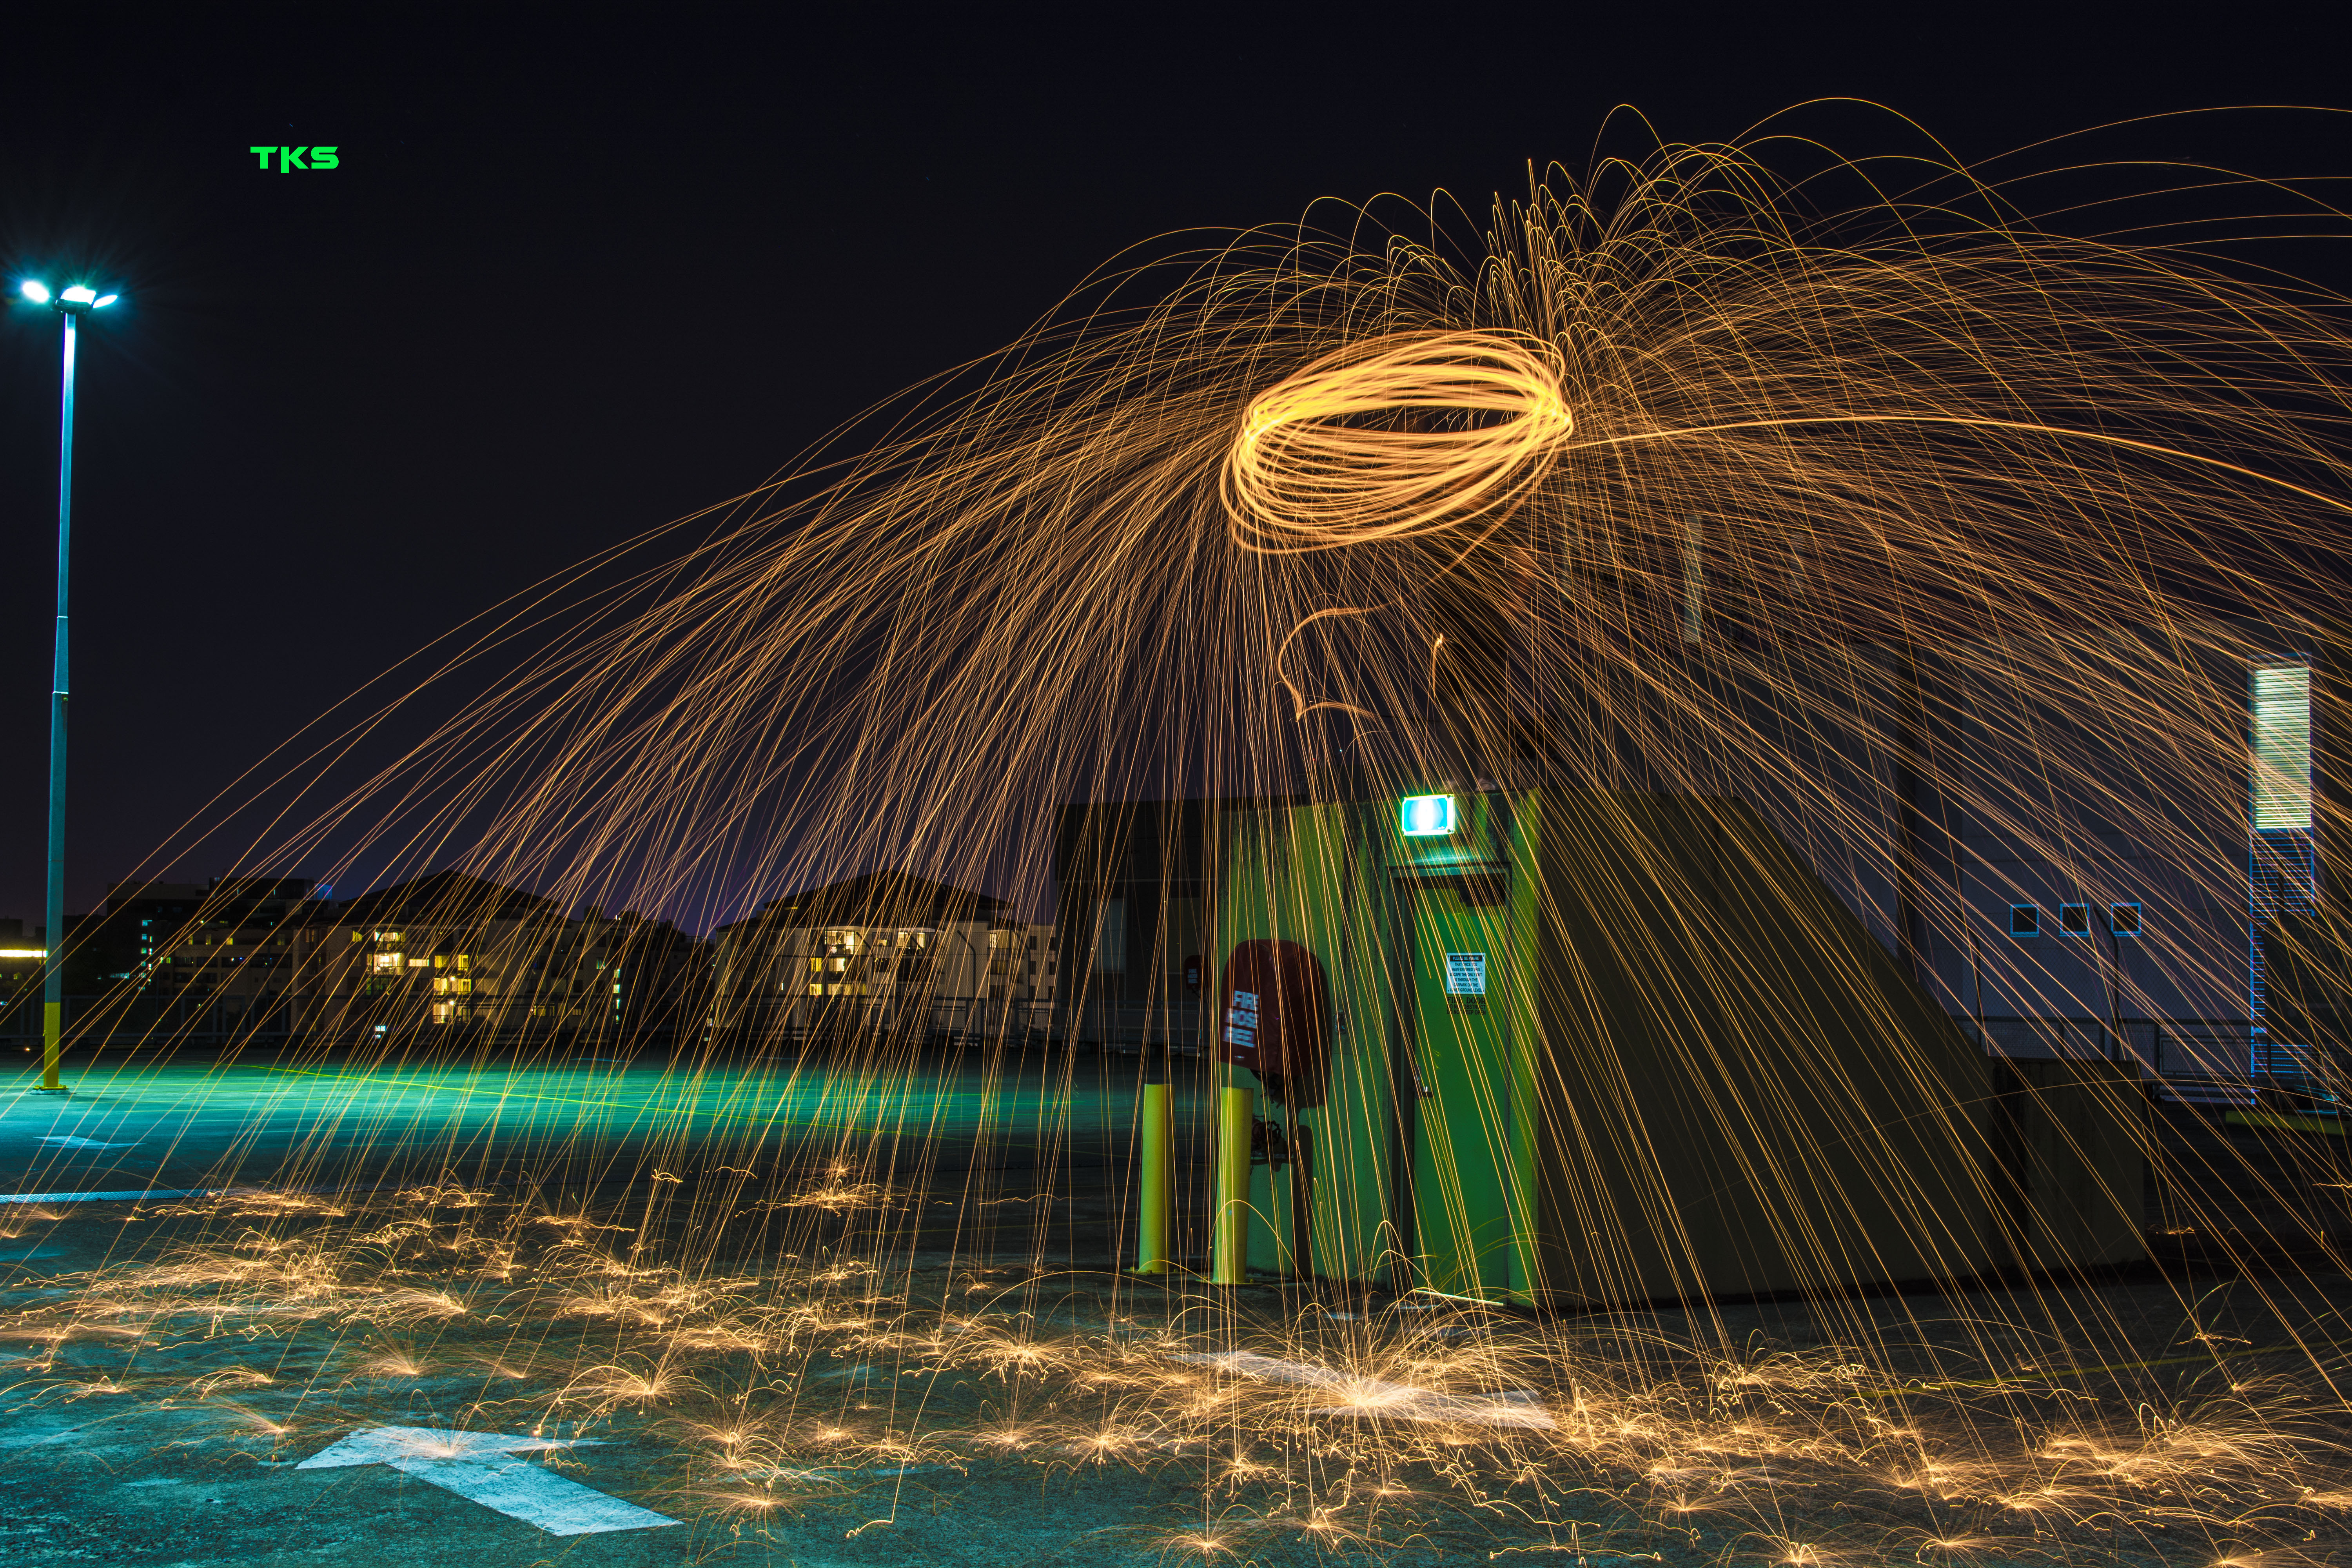
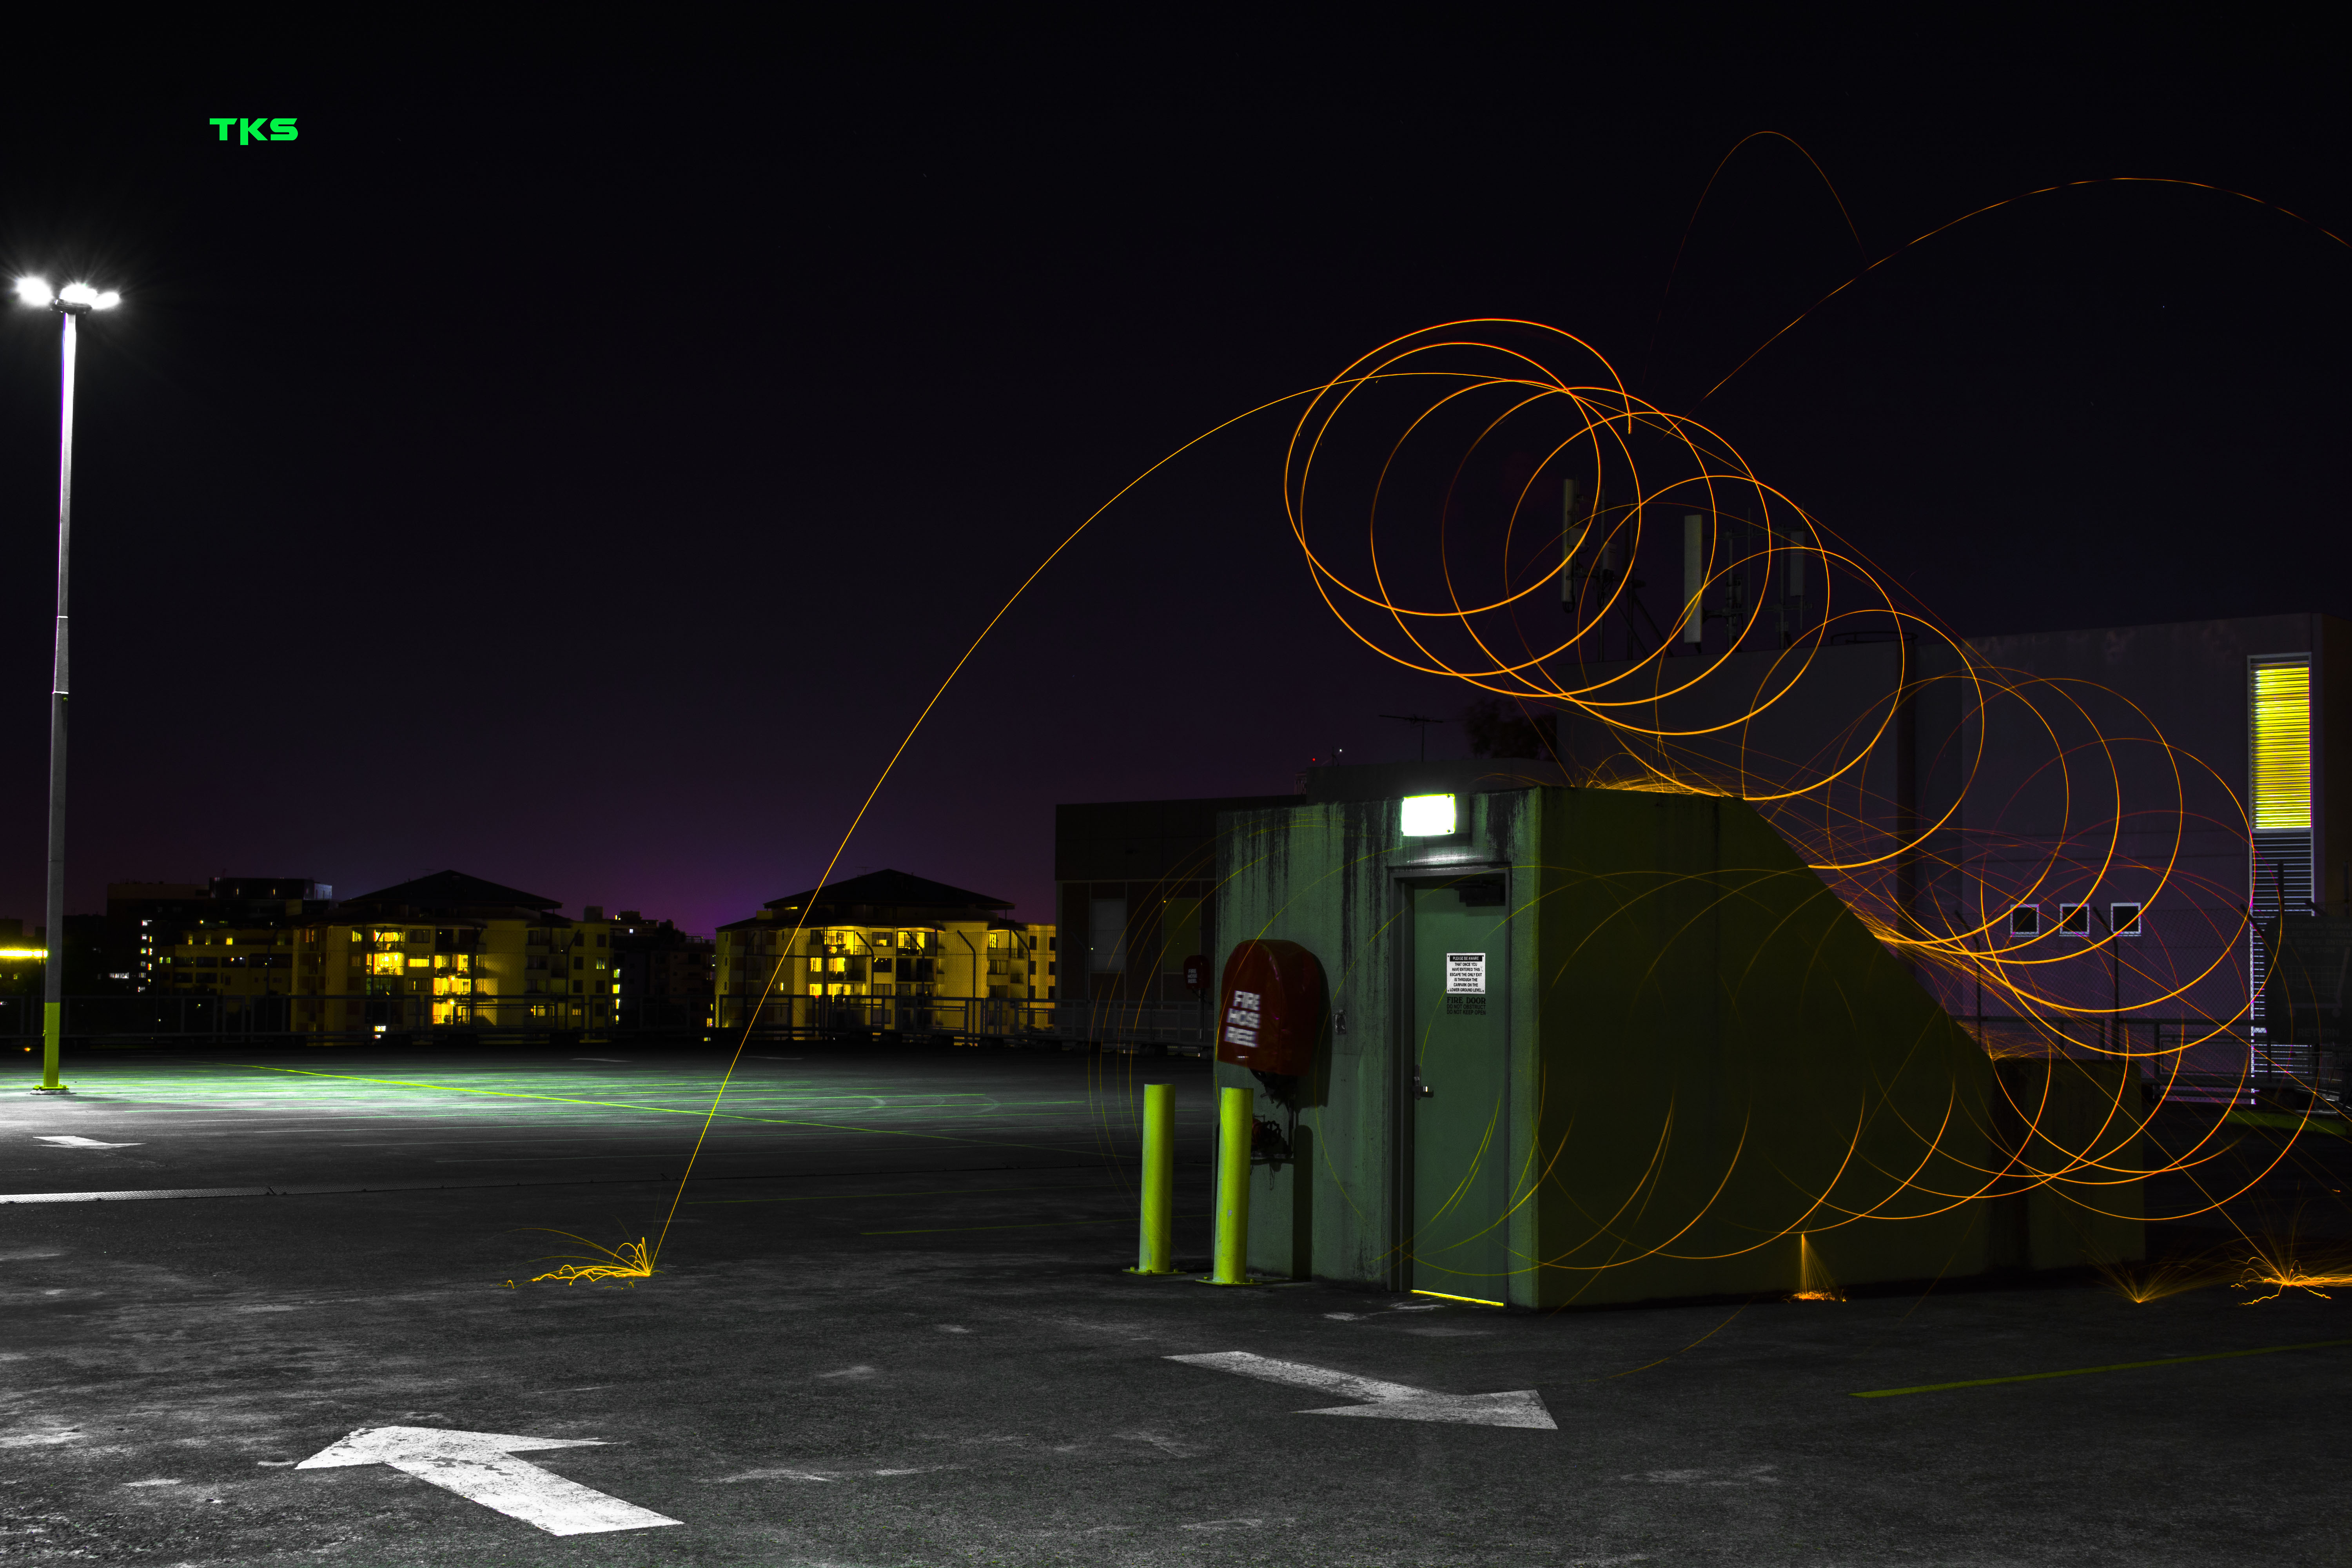
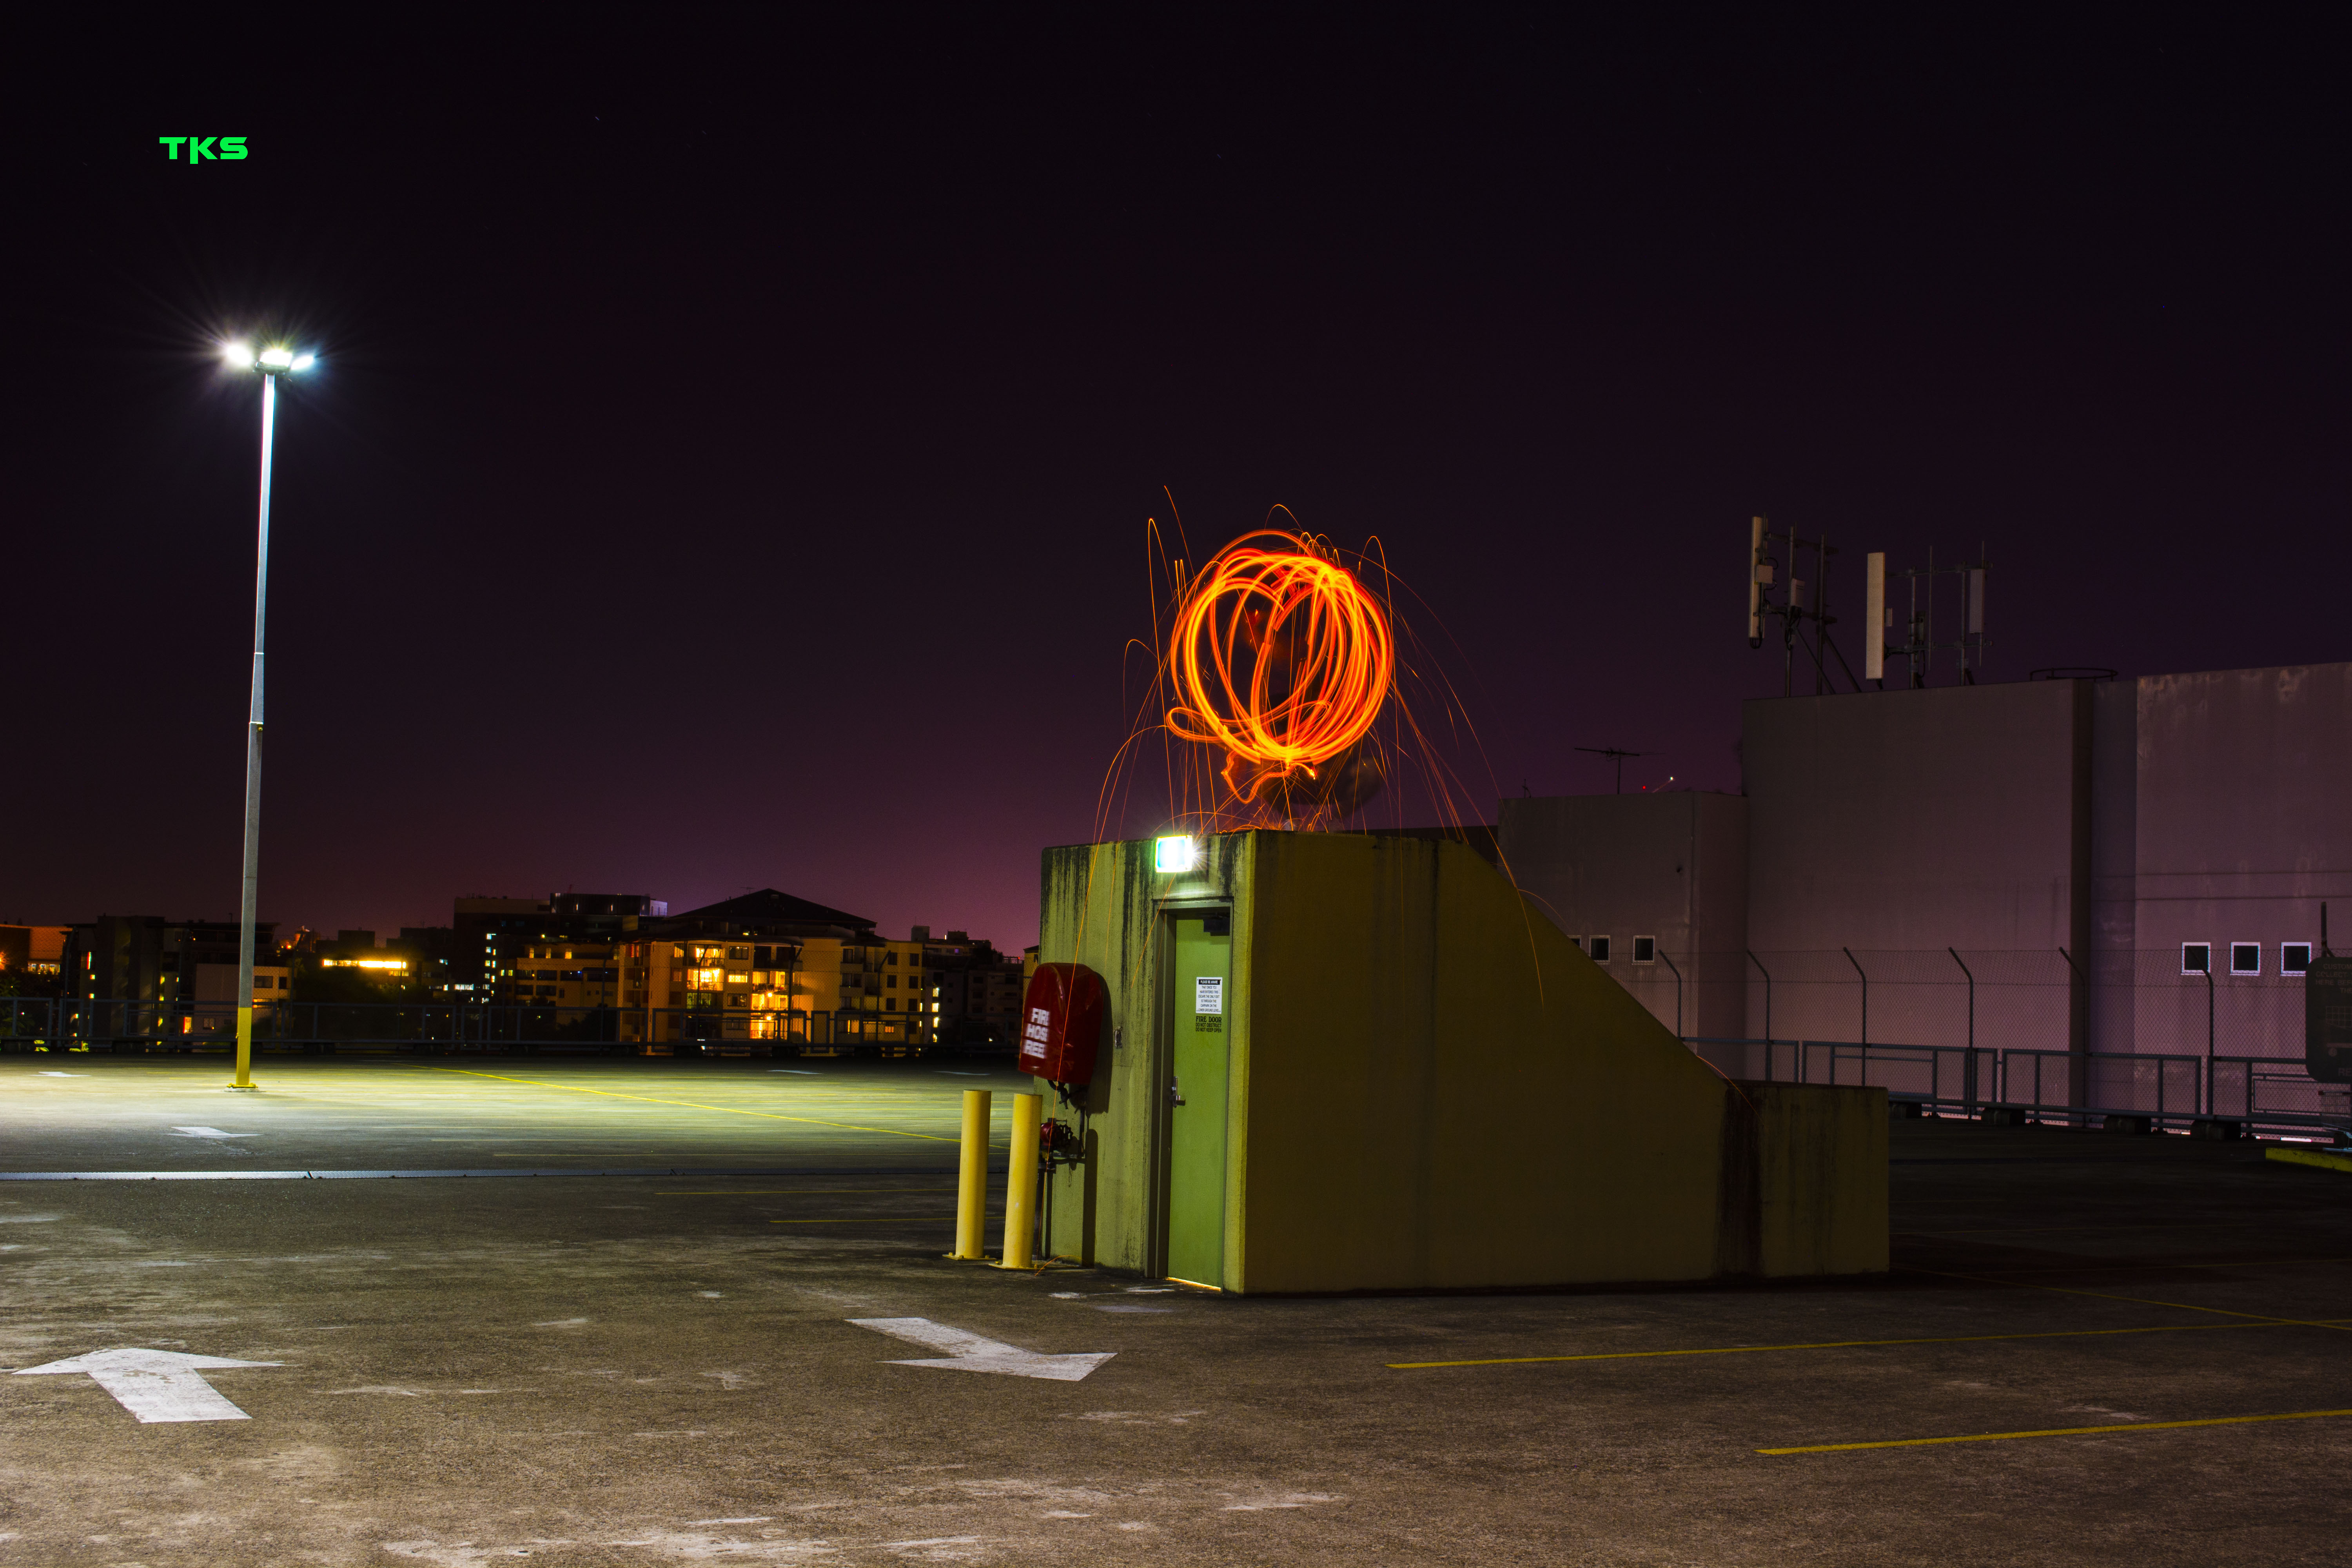
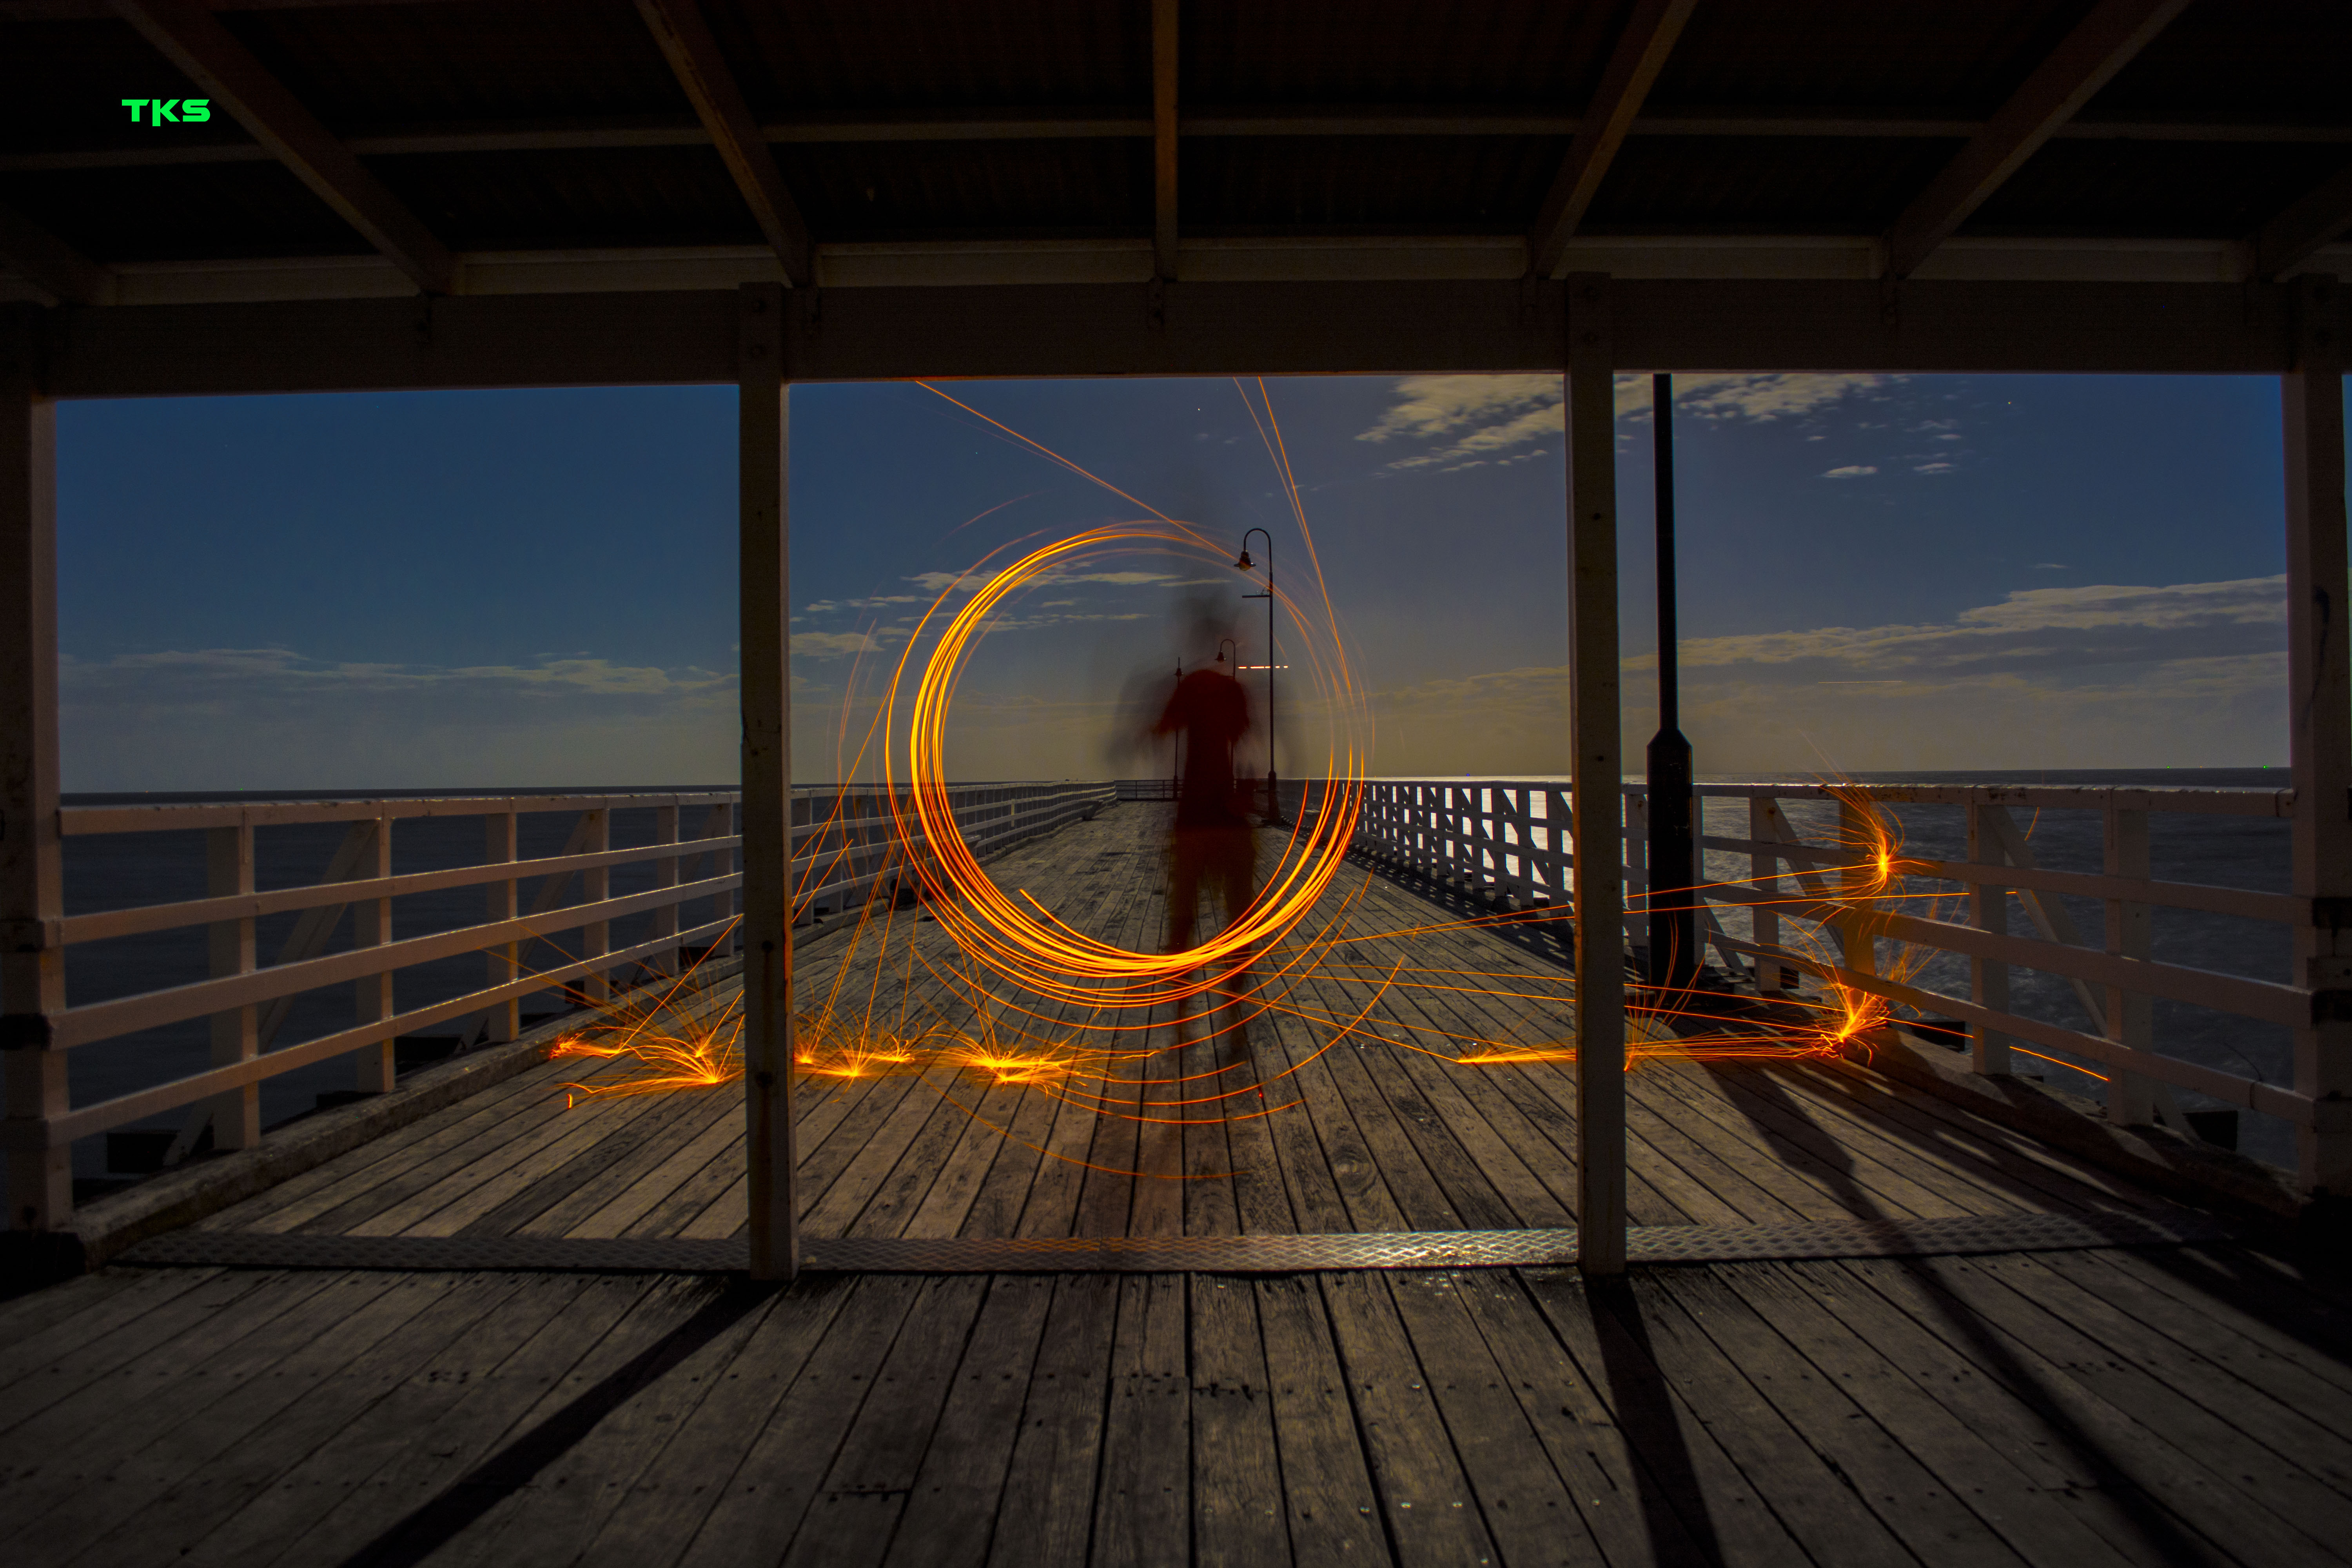
Steel wool spinning evokes a feeling of being MacGyver every time you light up. It’s inevitable and unavoidable. Your apparatus is a home made concoction of whatever you can find lying around. It typically involves a whisk (simple kitchen one will suffice), some rope to attach it to, a bit of steel wool, and a lighter. You’re then limited to your imagination. The results are petty impressive with a long exposure photograph. If you want to be super technical you can craft your own devices to create perfect circles and such. I’m yet to do that, but it will happen one day.  I’ve only tried steel wool a handful of times, and literally learned something new each time. It definitely can be a ‘whisky business’ as I’ve had a few near misses of setting fire to my surroundings, so just in case you try this for yourself, I urge you to attempt it with caution, and prepare for the inevitable; have something handy to extinguish anything that may catch alight as a result of your masterpieces. These are just the beginning of my foray into lighting up my surroundings. I’ll update as I go, and refine this ‘skill’. Maybe one day I’ll even add steel wool spinning to a resume.

DSC_2995 DSC_2996 DSC_2997 DSC_3005 DSC_3006 DSC_3010 DSC_3014

DSC_0677_1 DSC_0685 DSC_0840 DSC_0850boom DSC_0873boom_2 DSC_0928boom DSC_1137 DSC_1144 DSC_1158 DSC_1195 DSC_1199 DSC_1200 DSC_1205_3 DSC_1710 DSC_1718 DSC_1880_1 DSC_1897 DSC_2401 DSC_2410 DSC_2413 DSC_2414 DSC_2415

For more photos, past and present, join me over at Instagam: @tonnes

The Underground.

  • 15/10/2013

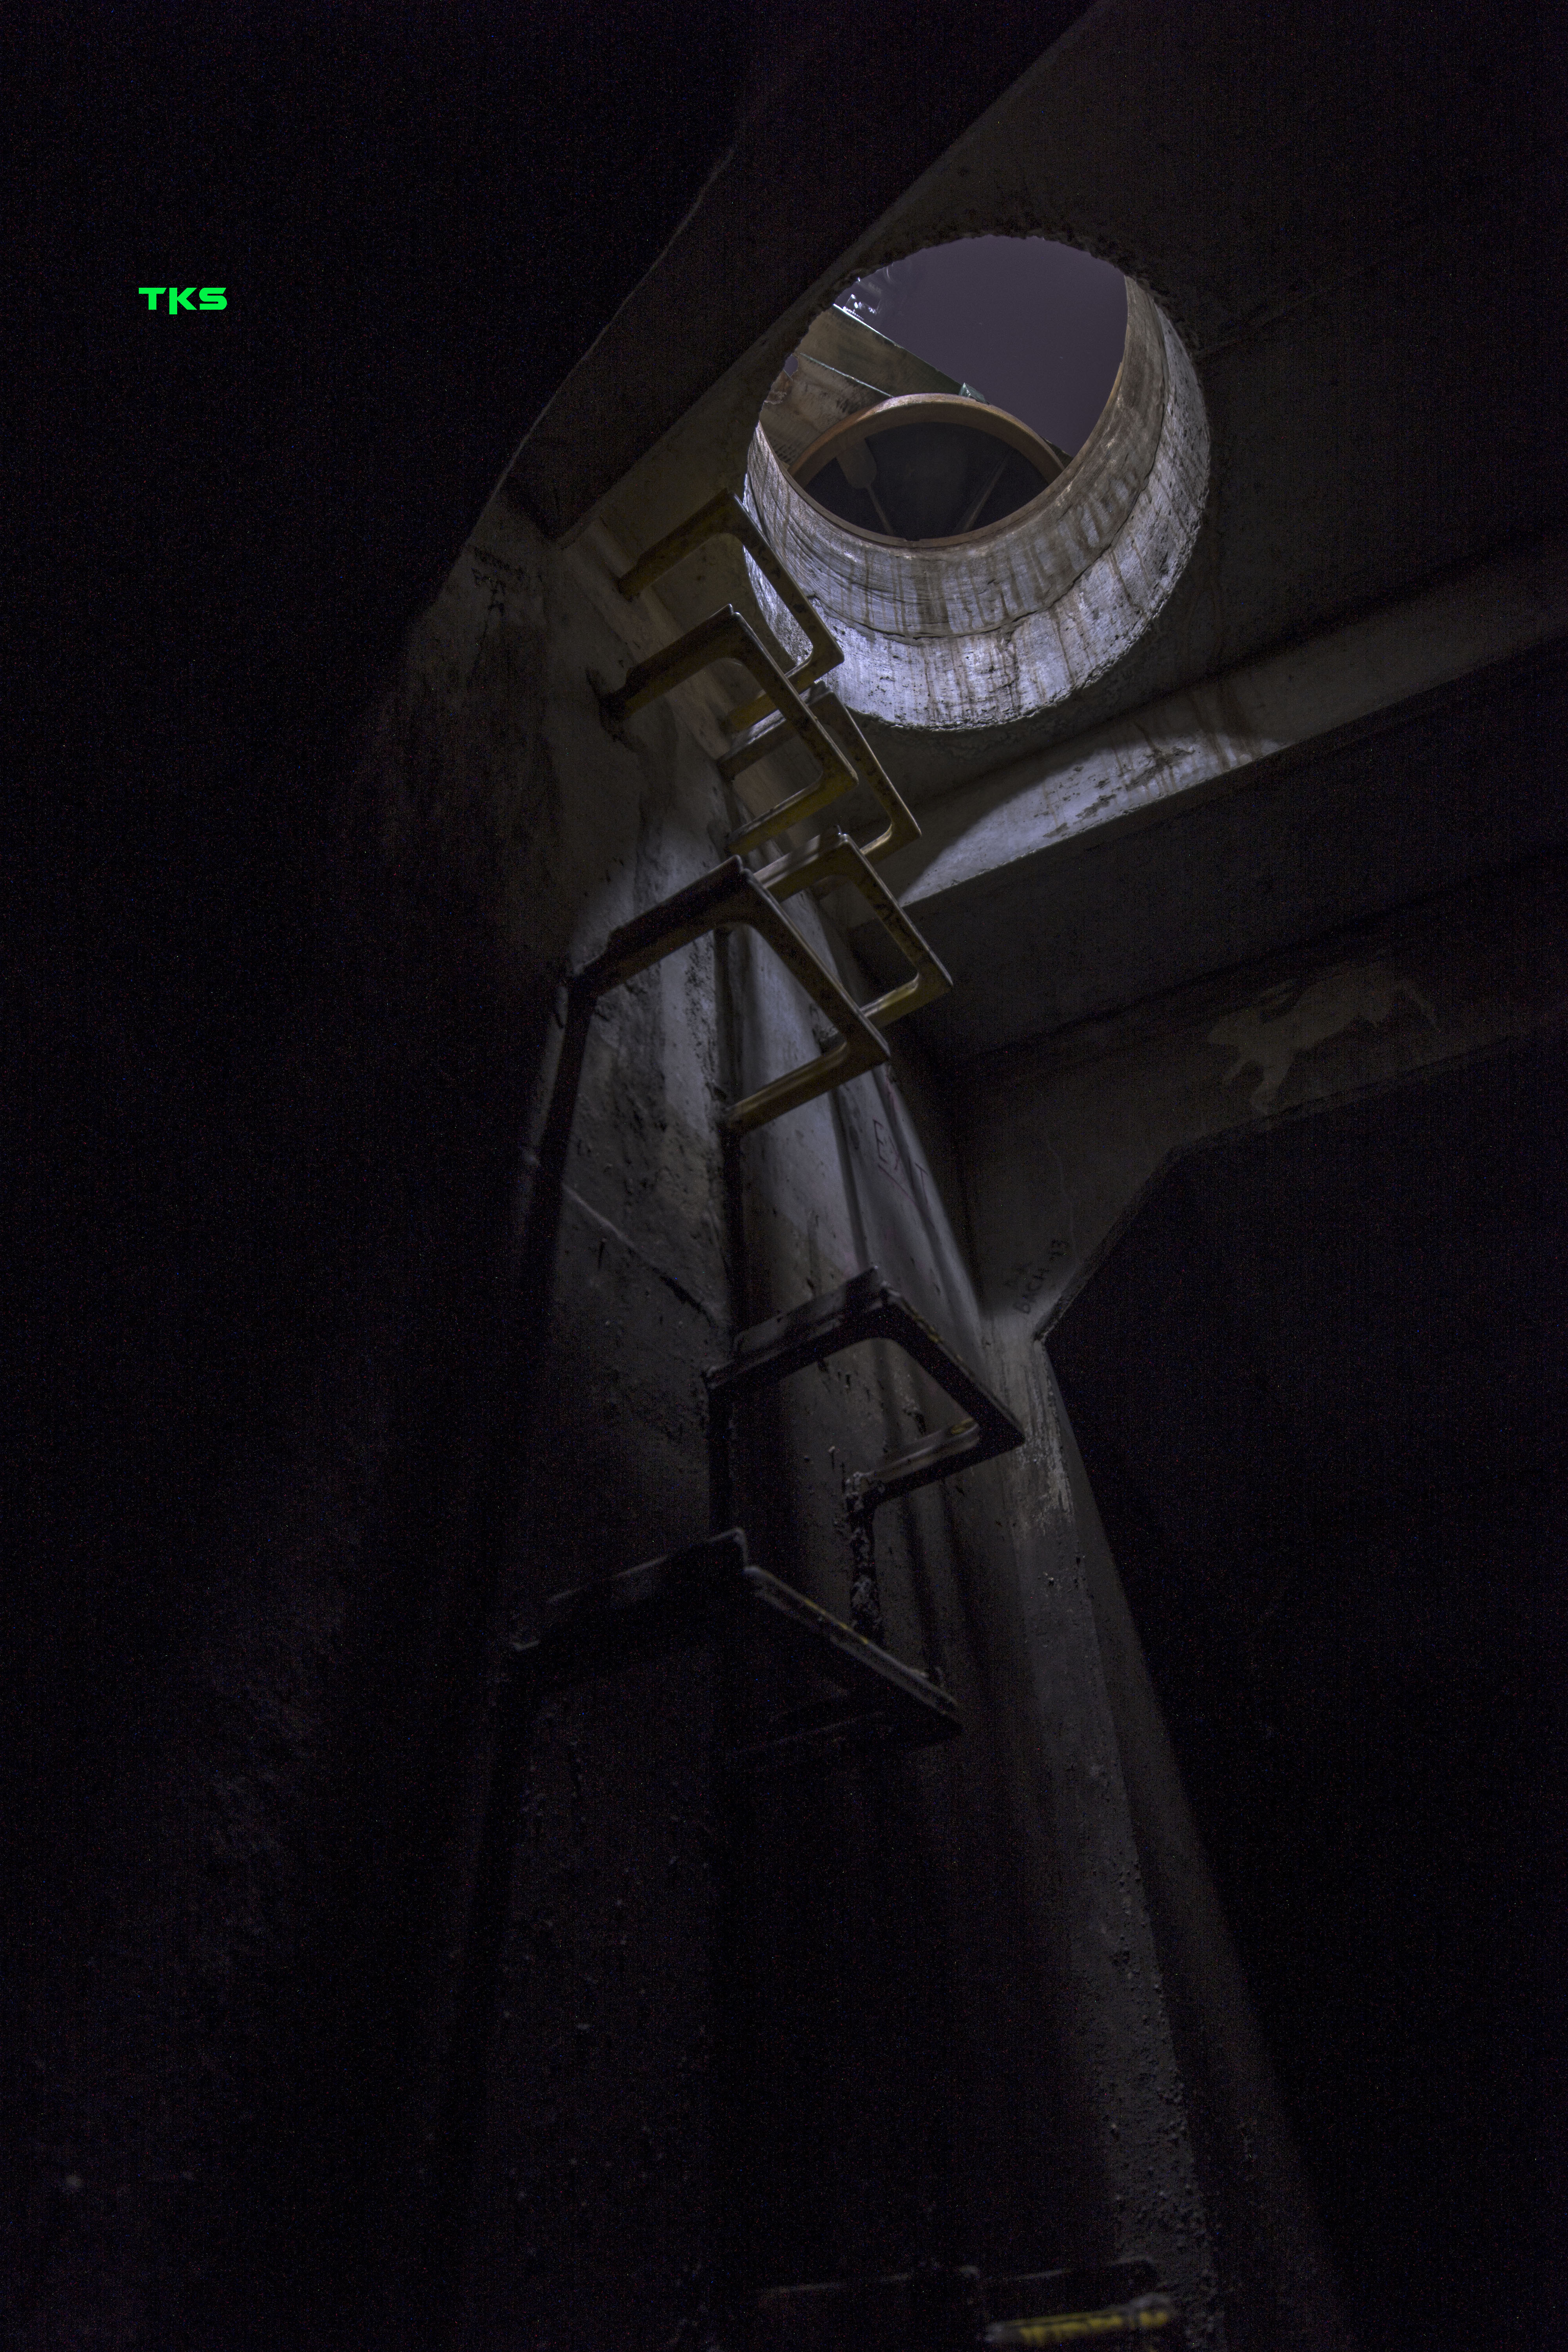
There’s a saying that goes along the lines of ‘It’s been right under my nose the whole time” and in this particular instance, I’m referring to my feet. I’ve walked all around Brisbane, looking for something new and different to photograph, something not many people have done before me, or will after me. I’ve looked upward to buildings, crouched down low to the grass to see what’s there, and I’ve even turned the camera around toward myself a couple of times, but until recently that’s all but where my search for something new stopped. I was looking in the wrong directions. I then discovered a thing called urban exploration (urbex), and the world before me changed. I started keeping my eye out for all those places your Mum taught you to stay away from; that abandoned house, that rusty fence, the broken window…and the big drain pipe with spiders and uninviting darkness. In my spare time after work, I was researching, I was scoping my neighbourhood and I was doing reconnaissance missions of venues that were likely candidates.

I never thought I’d find myself looking underground for inspiration though, but it happened, many times before writing this blog, and will continue many times after. My friends likely look at me now with quizzical perplexed facial expressions, and silently question my sanity, wondering to themselves ‘Tony what are you doing bro, why go down there?’ The simple truth is, because I can. Life is short, to be enjoyed, and I don’t want to sit idly by watching others enjoy the things that I could do or explore. A major part of that involves me getting out there and going beyond my own expectations and finding inspiration in the weirdest of wonderful places. Turns out venturing six feet under is just one such avenue I’ve encountered that does just that.

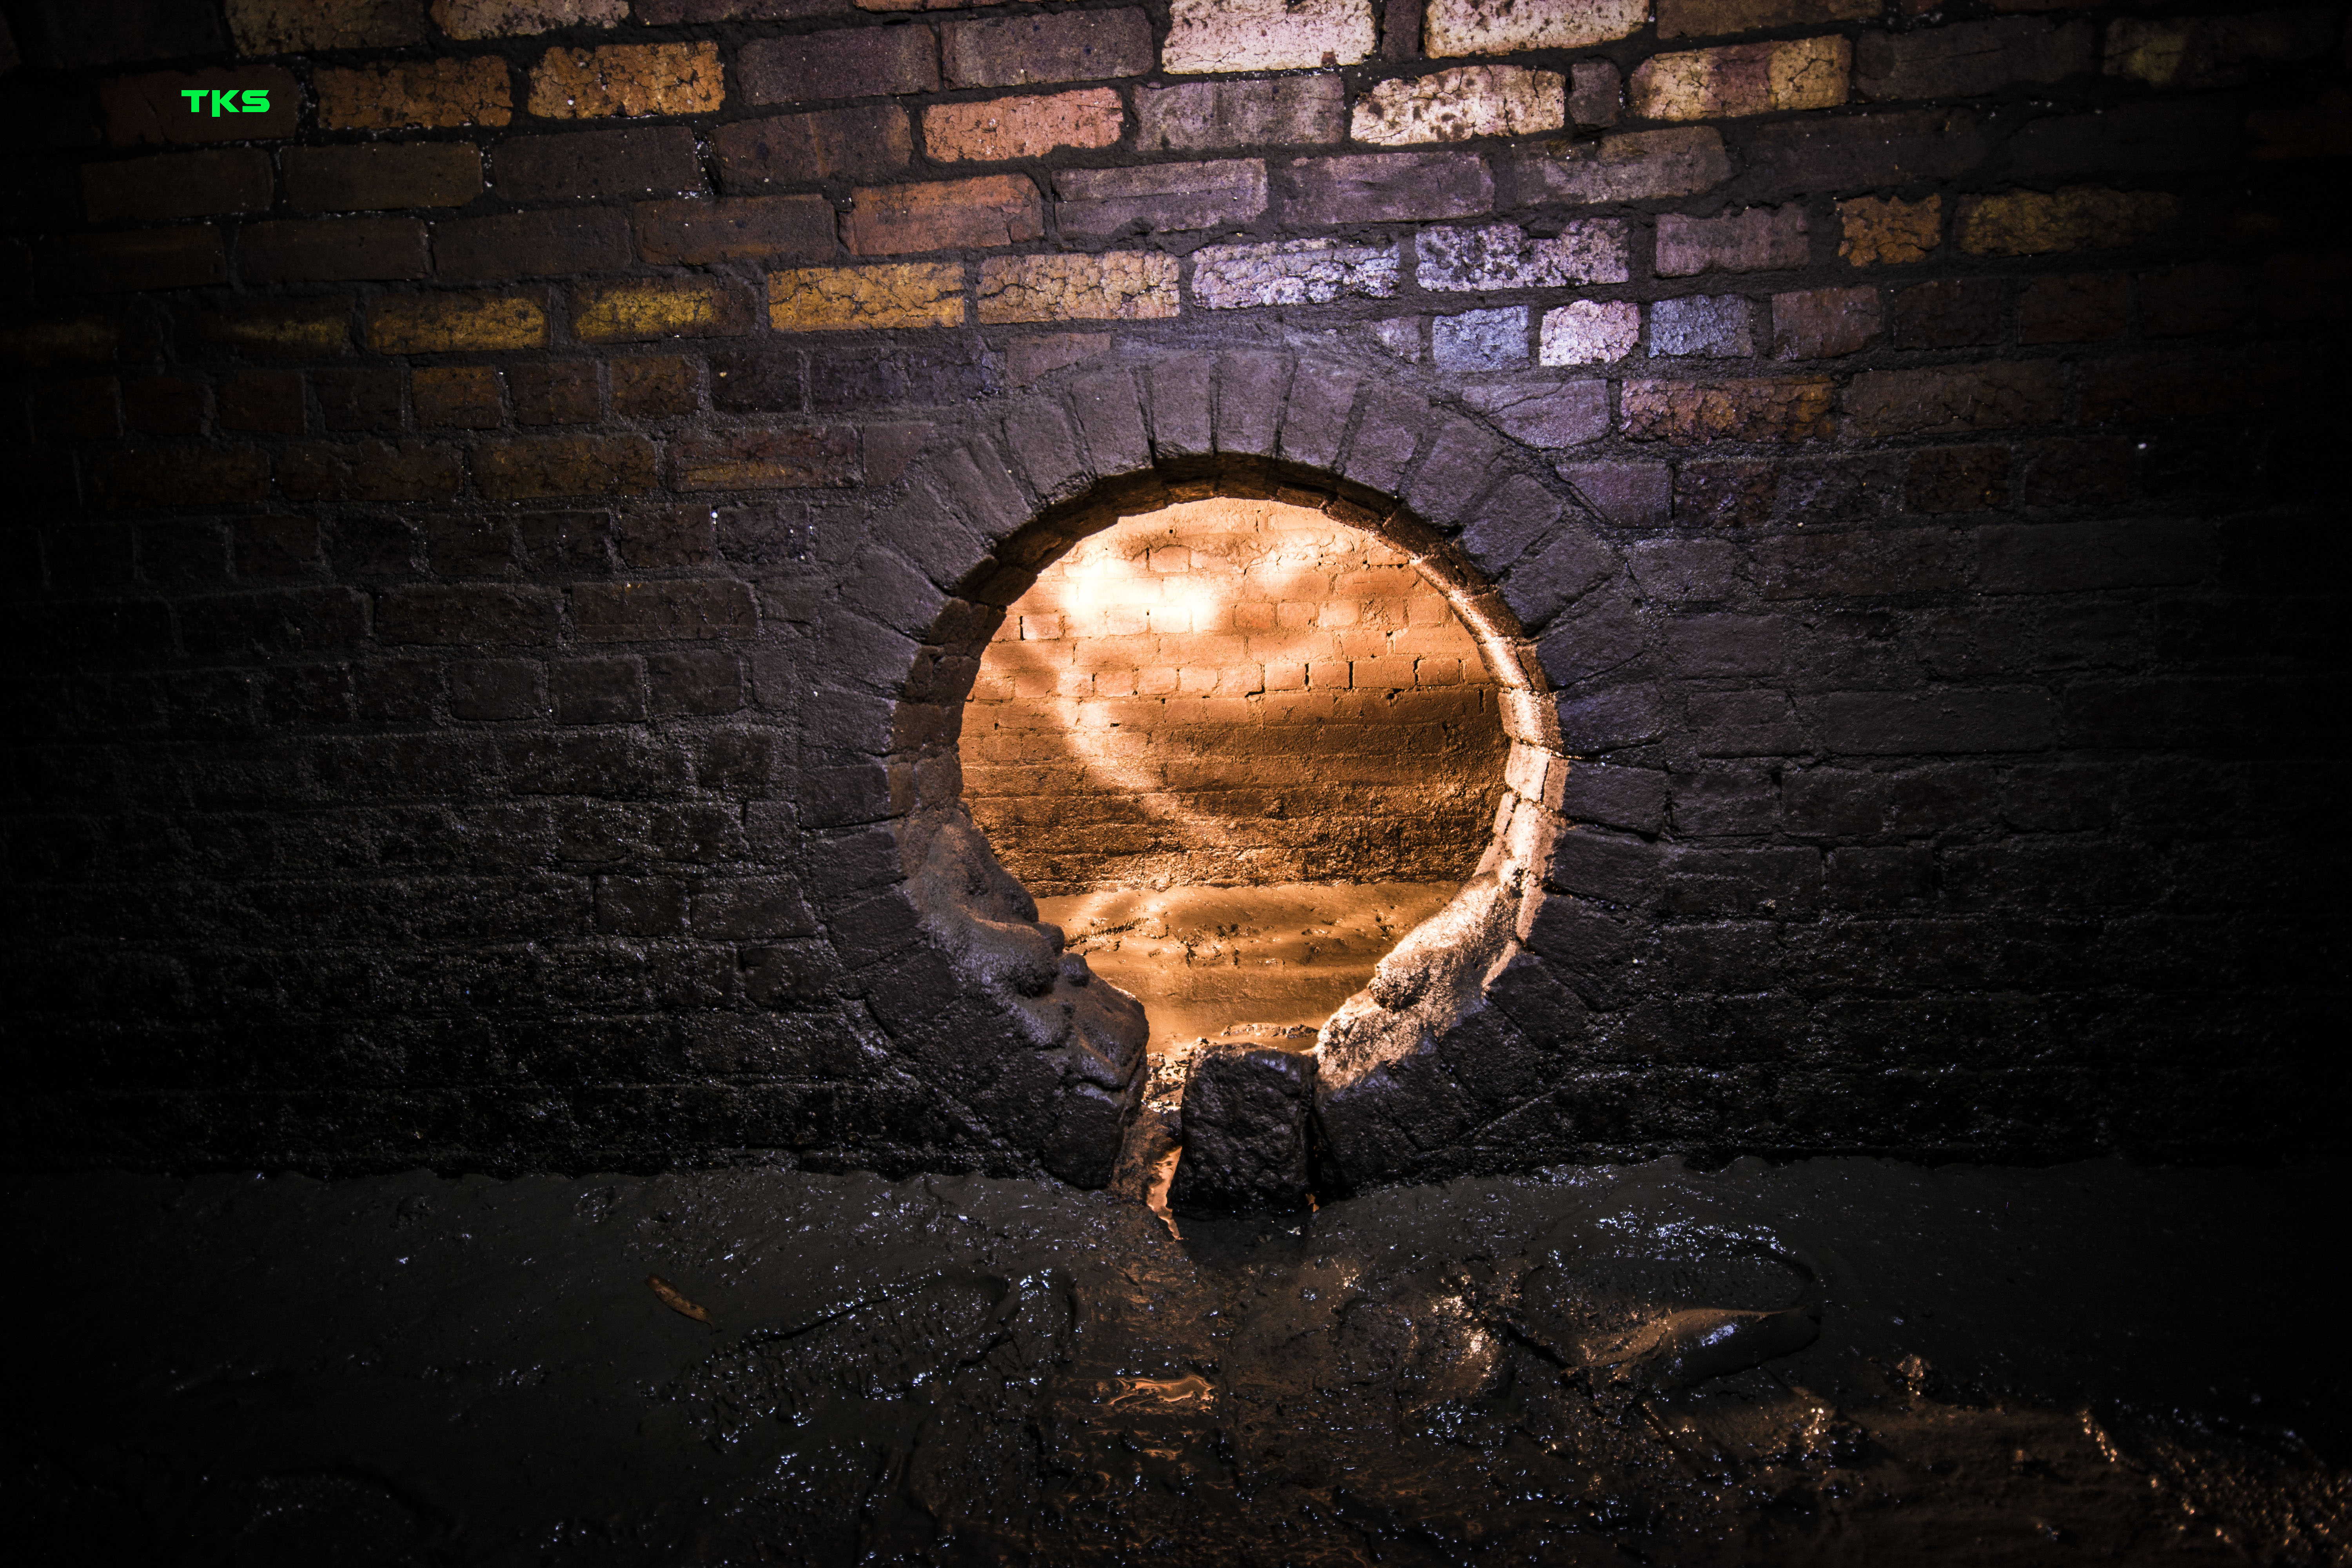
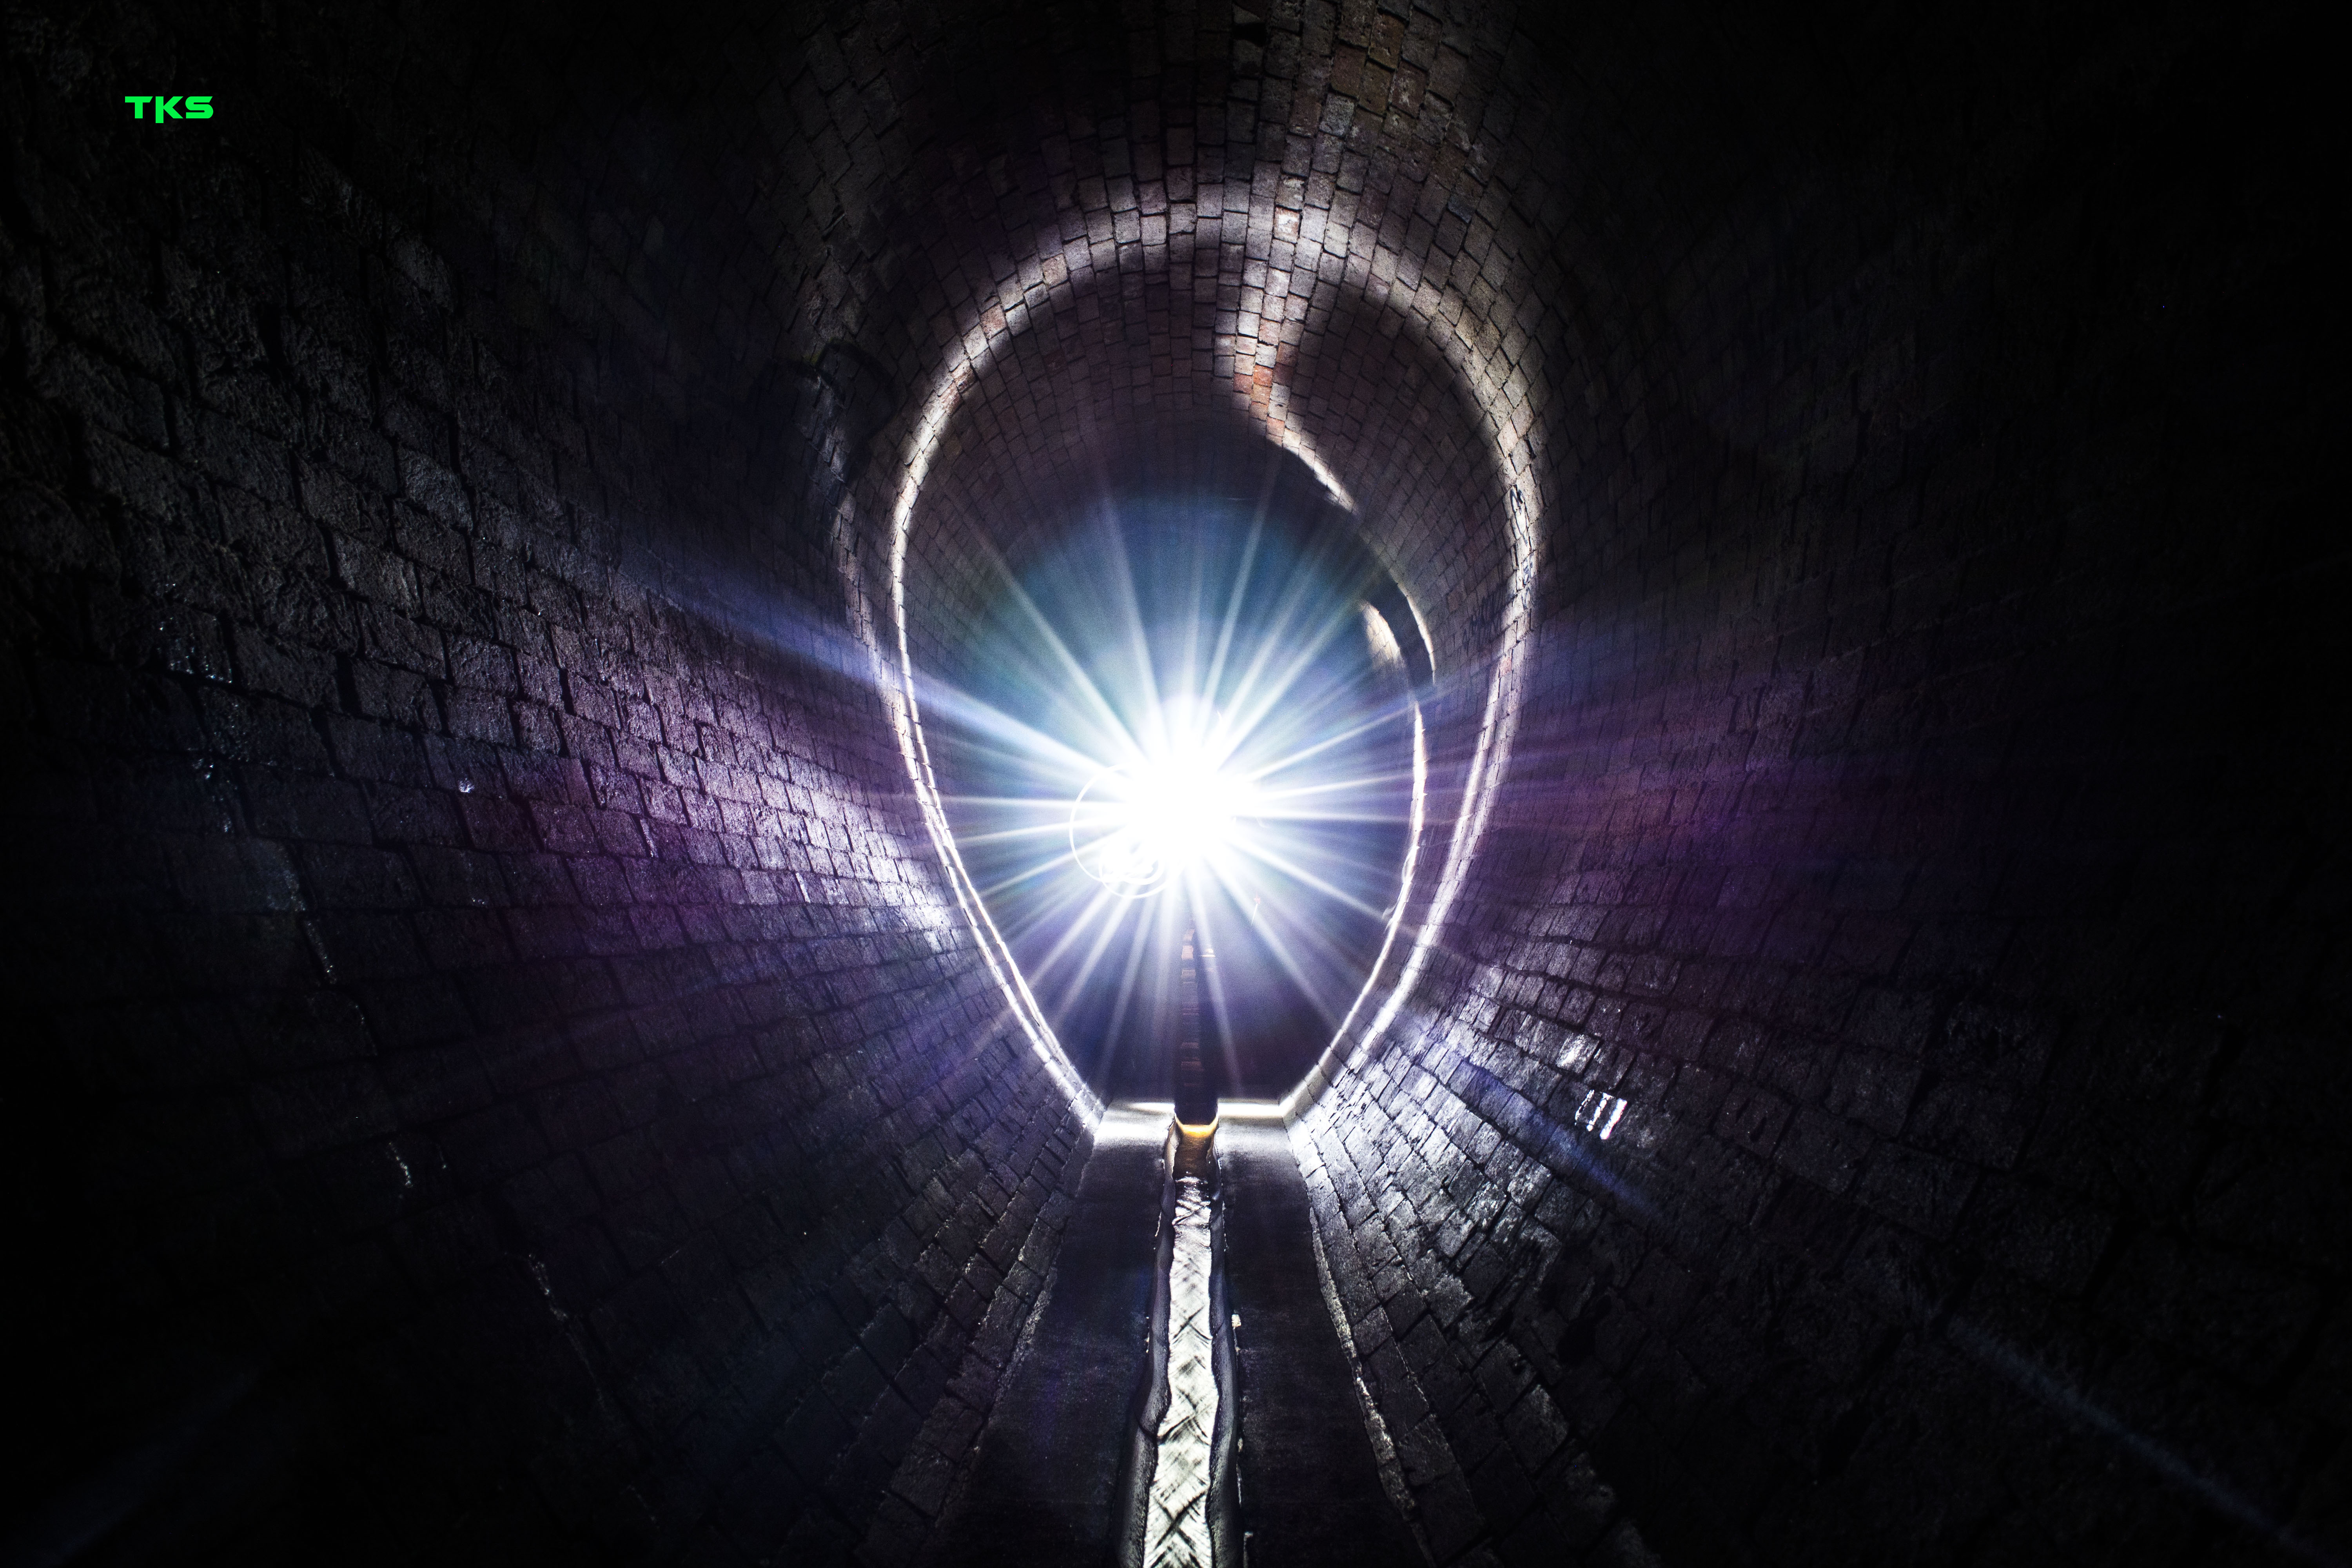
You’ve seen glimpses of it in my other blogs (Crazy House, Butter Factory), but for this blog I’m talking about going down man holes and drain pipes, Teenage Mutant Ninja Turtle style. Within, or rather below Brisbane is a plethora of underground drains, a system so intricate and intimate that besides the men who built them many years ago, only a handful of people have had the pleasure of witnessing. Some are old and built in brick, creatively manufactured inverted tear drop tunnels. Others perfectly circular, or rock blasted. Then there are the modern concreted circular drains too. Some drains are an amalgamation of them all, fluctuating between man made and natural, the deeper in you go. Exploring these places, has been done well before my time (the graffiti with years etched into the walls is testament to this), and will continue many years to come. It’s a whole new world down there. These places, through my Internet research, have revealed a cult like following. Throughout the entire world are ‘cave clans,’ groups of people who pride themselves on exploring the world from a different angle, underground the citi

es they live. The first person to discover a new drainage system is given the privilege of naming it. Very diplomatic and ‘NASAesque’ with asteroids. These individuals pride themselves on keeping these locations private for the next person to discover themselves. In this blog I shall honour their code, and keep their locations sacred, but will reveal their names as I have come to know them. No, no I won’t. I can’t make it that easy for people. If I found them, so can you. That’s where the fun is to be had, the self discovery!

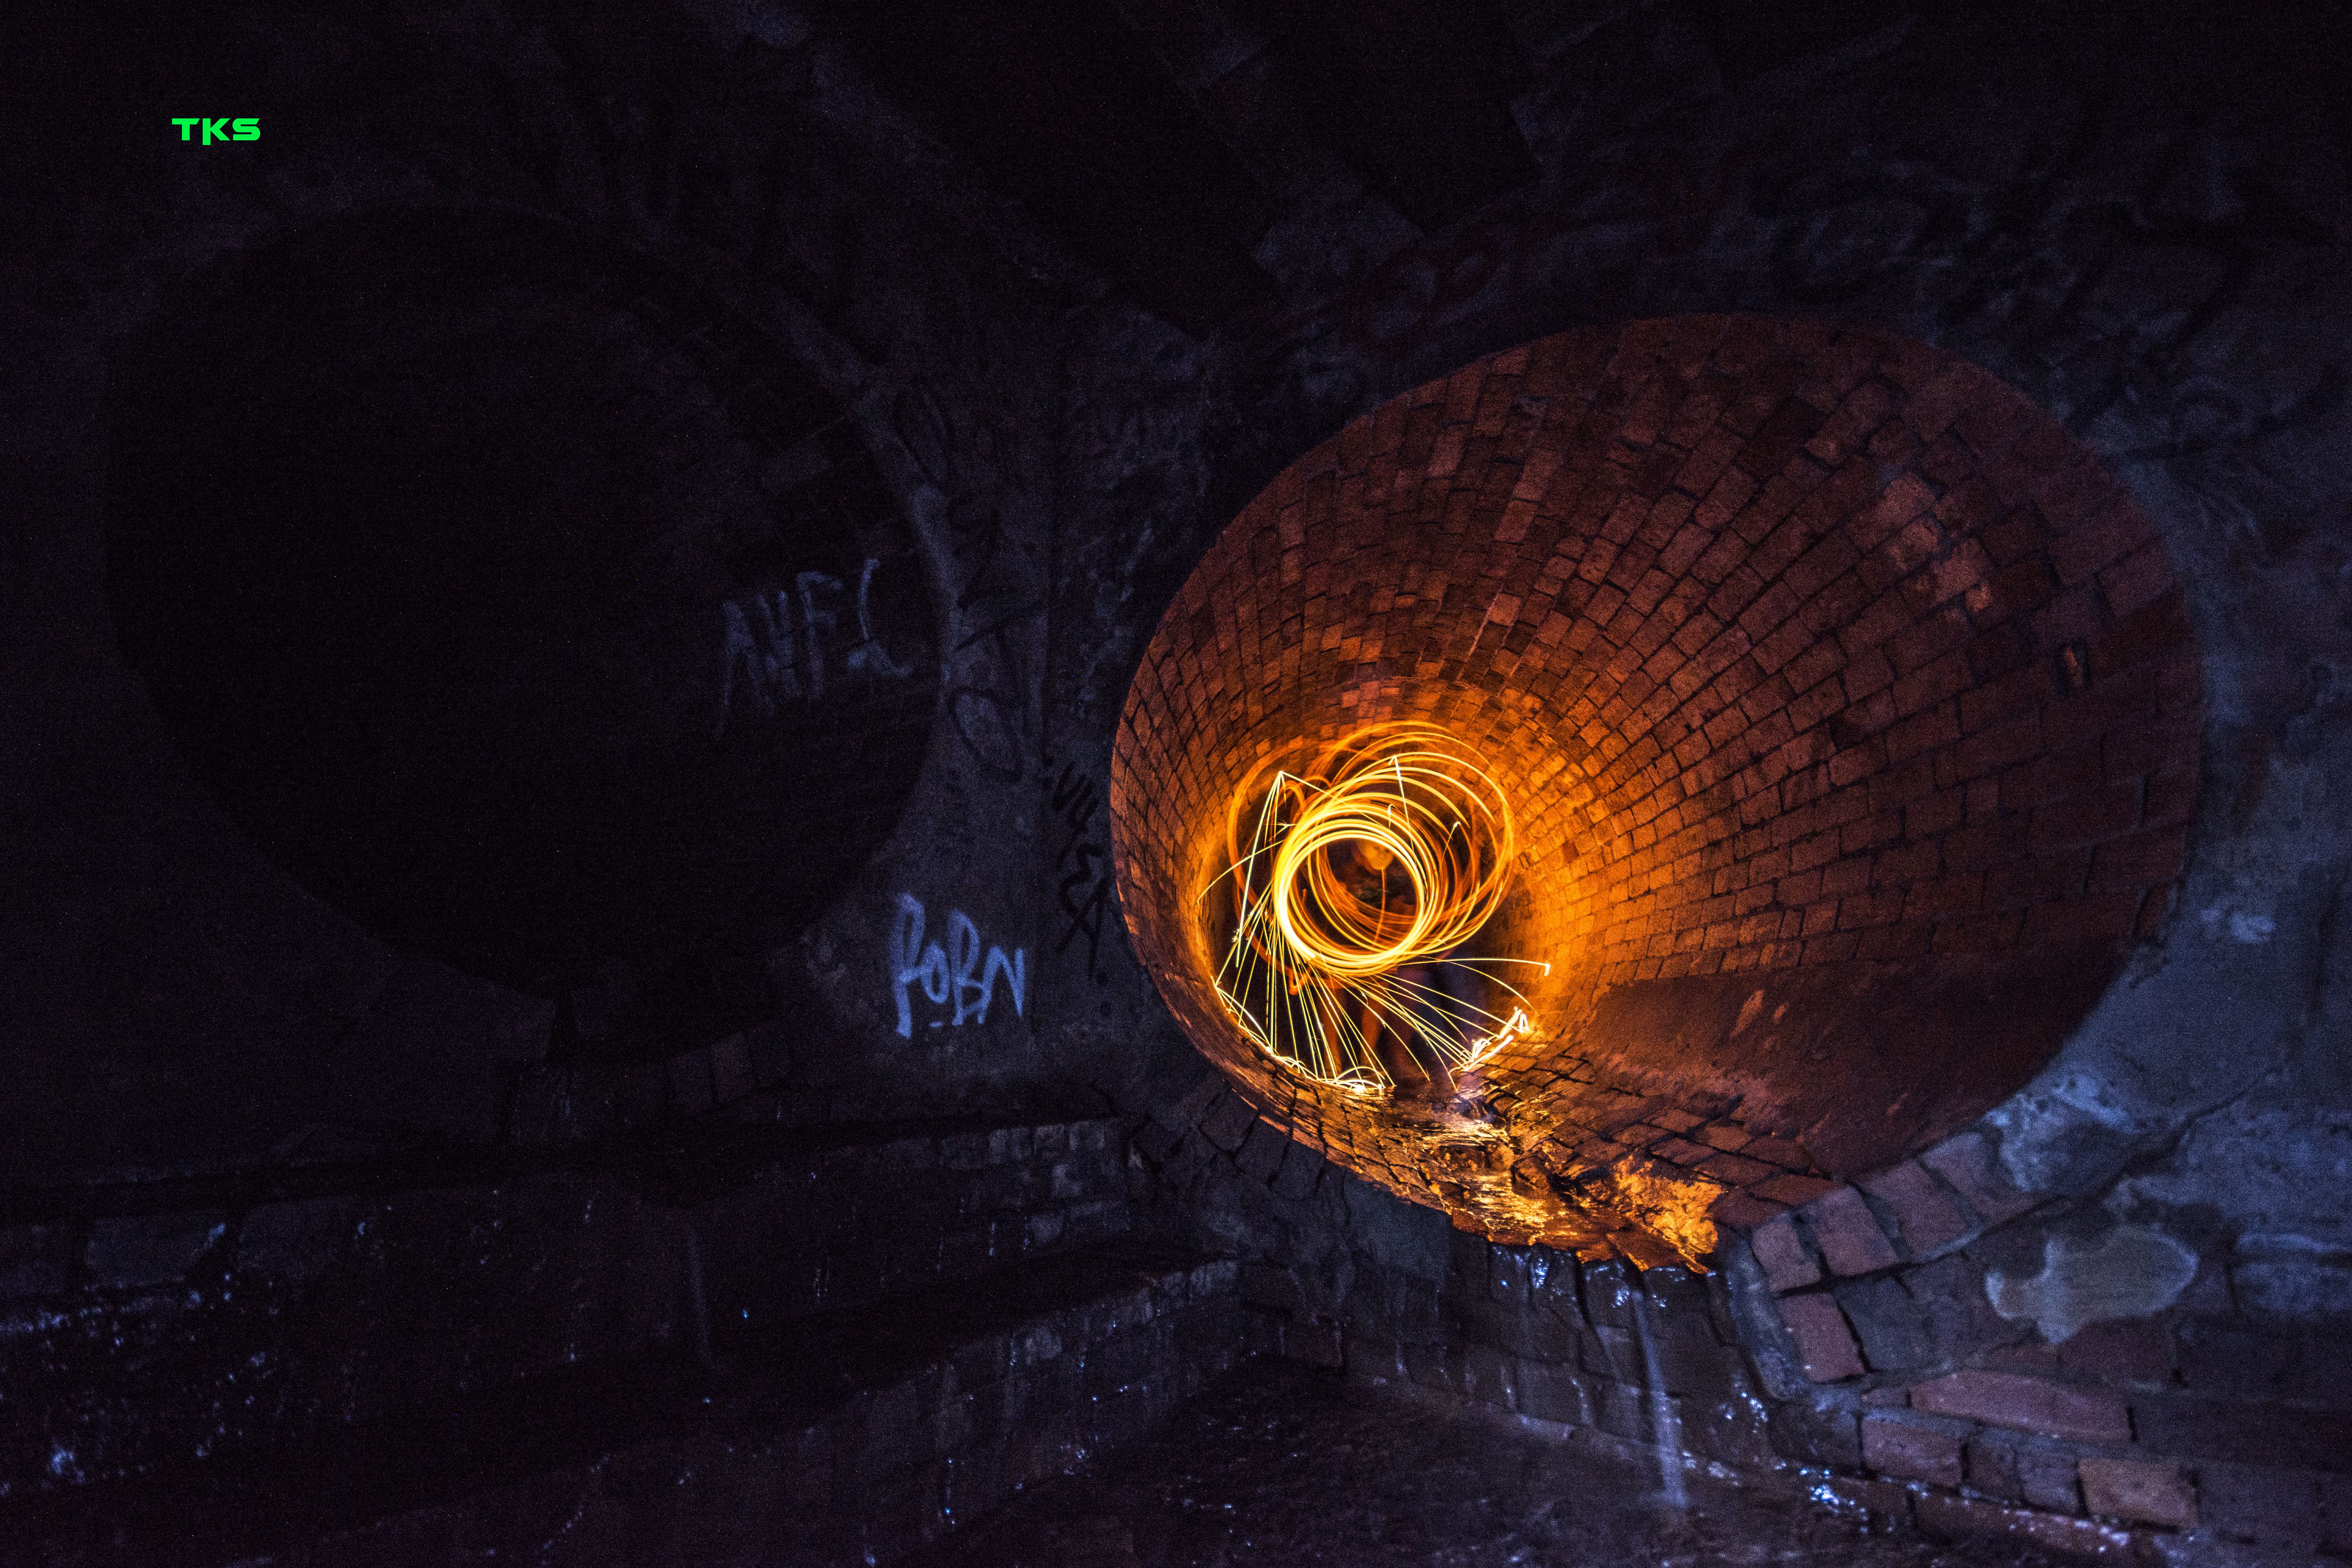
Above ground is the hustle and bustle of everyday life. The cacophony of a chaotic busy lifestyle built on the foundation we stand on today. Below that, underground, harbouring critters, spray painted works of art, and me, spinning my steel wool, is another world, a place where I’ve had the pleasure of exploring only segments of. Ladies and gentleman, the Brisbane underground…

DSC_2969 DSC_2973 DSC_2978 DSC_2979 DSC_2991 DSC_2992

DSC_0673 DSC_0676 DSC_0690 DSC_0702 DSC_0725 DSC_0739 DSC_0742 DSC_0778boom DSC_1131 DSC_1176 DSC_1182 DSC_1187_1 z

For more photos, past and present, join me over at Instagam: @tonnes

Butter Factory.

  • 14/10/2013

Akin to some of my other blogs I’ve written which allude to a recently discovered pastime, this one is no different. Essential ingredients typically include: 1 x SLR camera, a dash of mystery, a sense of adventure, and a venue that is either abandoned and derelict above ground, or underground where only a handful of people have visited. Today’s main ingredient; butter! Well what’s left of one, a factory that is! This was one of those recipes that when you start out in the kitchen with the idea of a fried egg you end up making an omelette and an English breakfast.
I was travelling north of Brisbane for work, and had planned on having an early night beforehand so that I could wake up even earlier and attempt some star trails before arriving at my actual destination (rural areas away from the city are the best for star trails, but I’ll save that for another blog). I misjudged sunrise and the amount of driving that I needed to get to work on time. The sun was coming up; I’d missed my chance for any star trails. Instead of sunrise photographs (I was an hour early to work and needed some form of motivation for the early rise), I remembered reading about a Butter Factory earlier in the week. It was as though I was meant to visit it instead. I recalled the Butter Factory at the precise time it was neccessary to; within 10 seconds the turn off for it along the highway was right in front of me. I made a swift detour from my normal work route, and headed toward my new destination, my english breakfast. I knew the town, but didn’t know its precise location. I eventually found it tucked away in a side street having stopped and asked a couple of locals for directions (I may be male, but I don’t care to ask for directions if I am able to arrive at my destination).

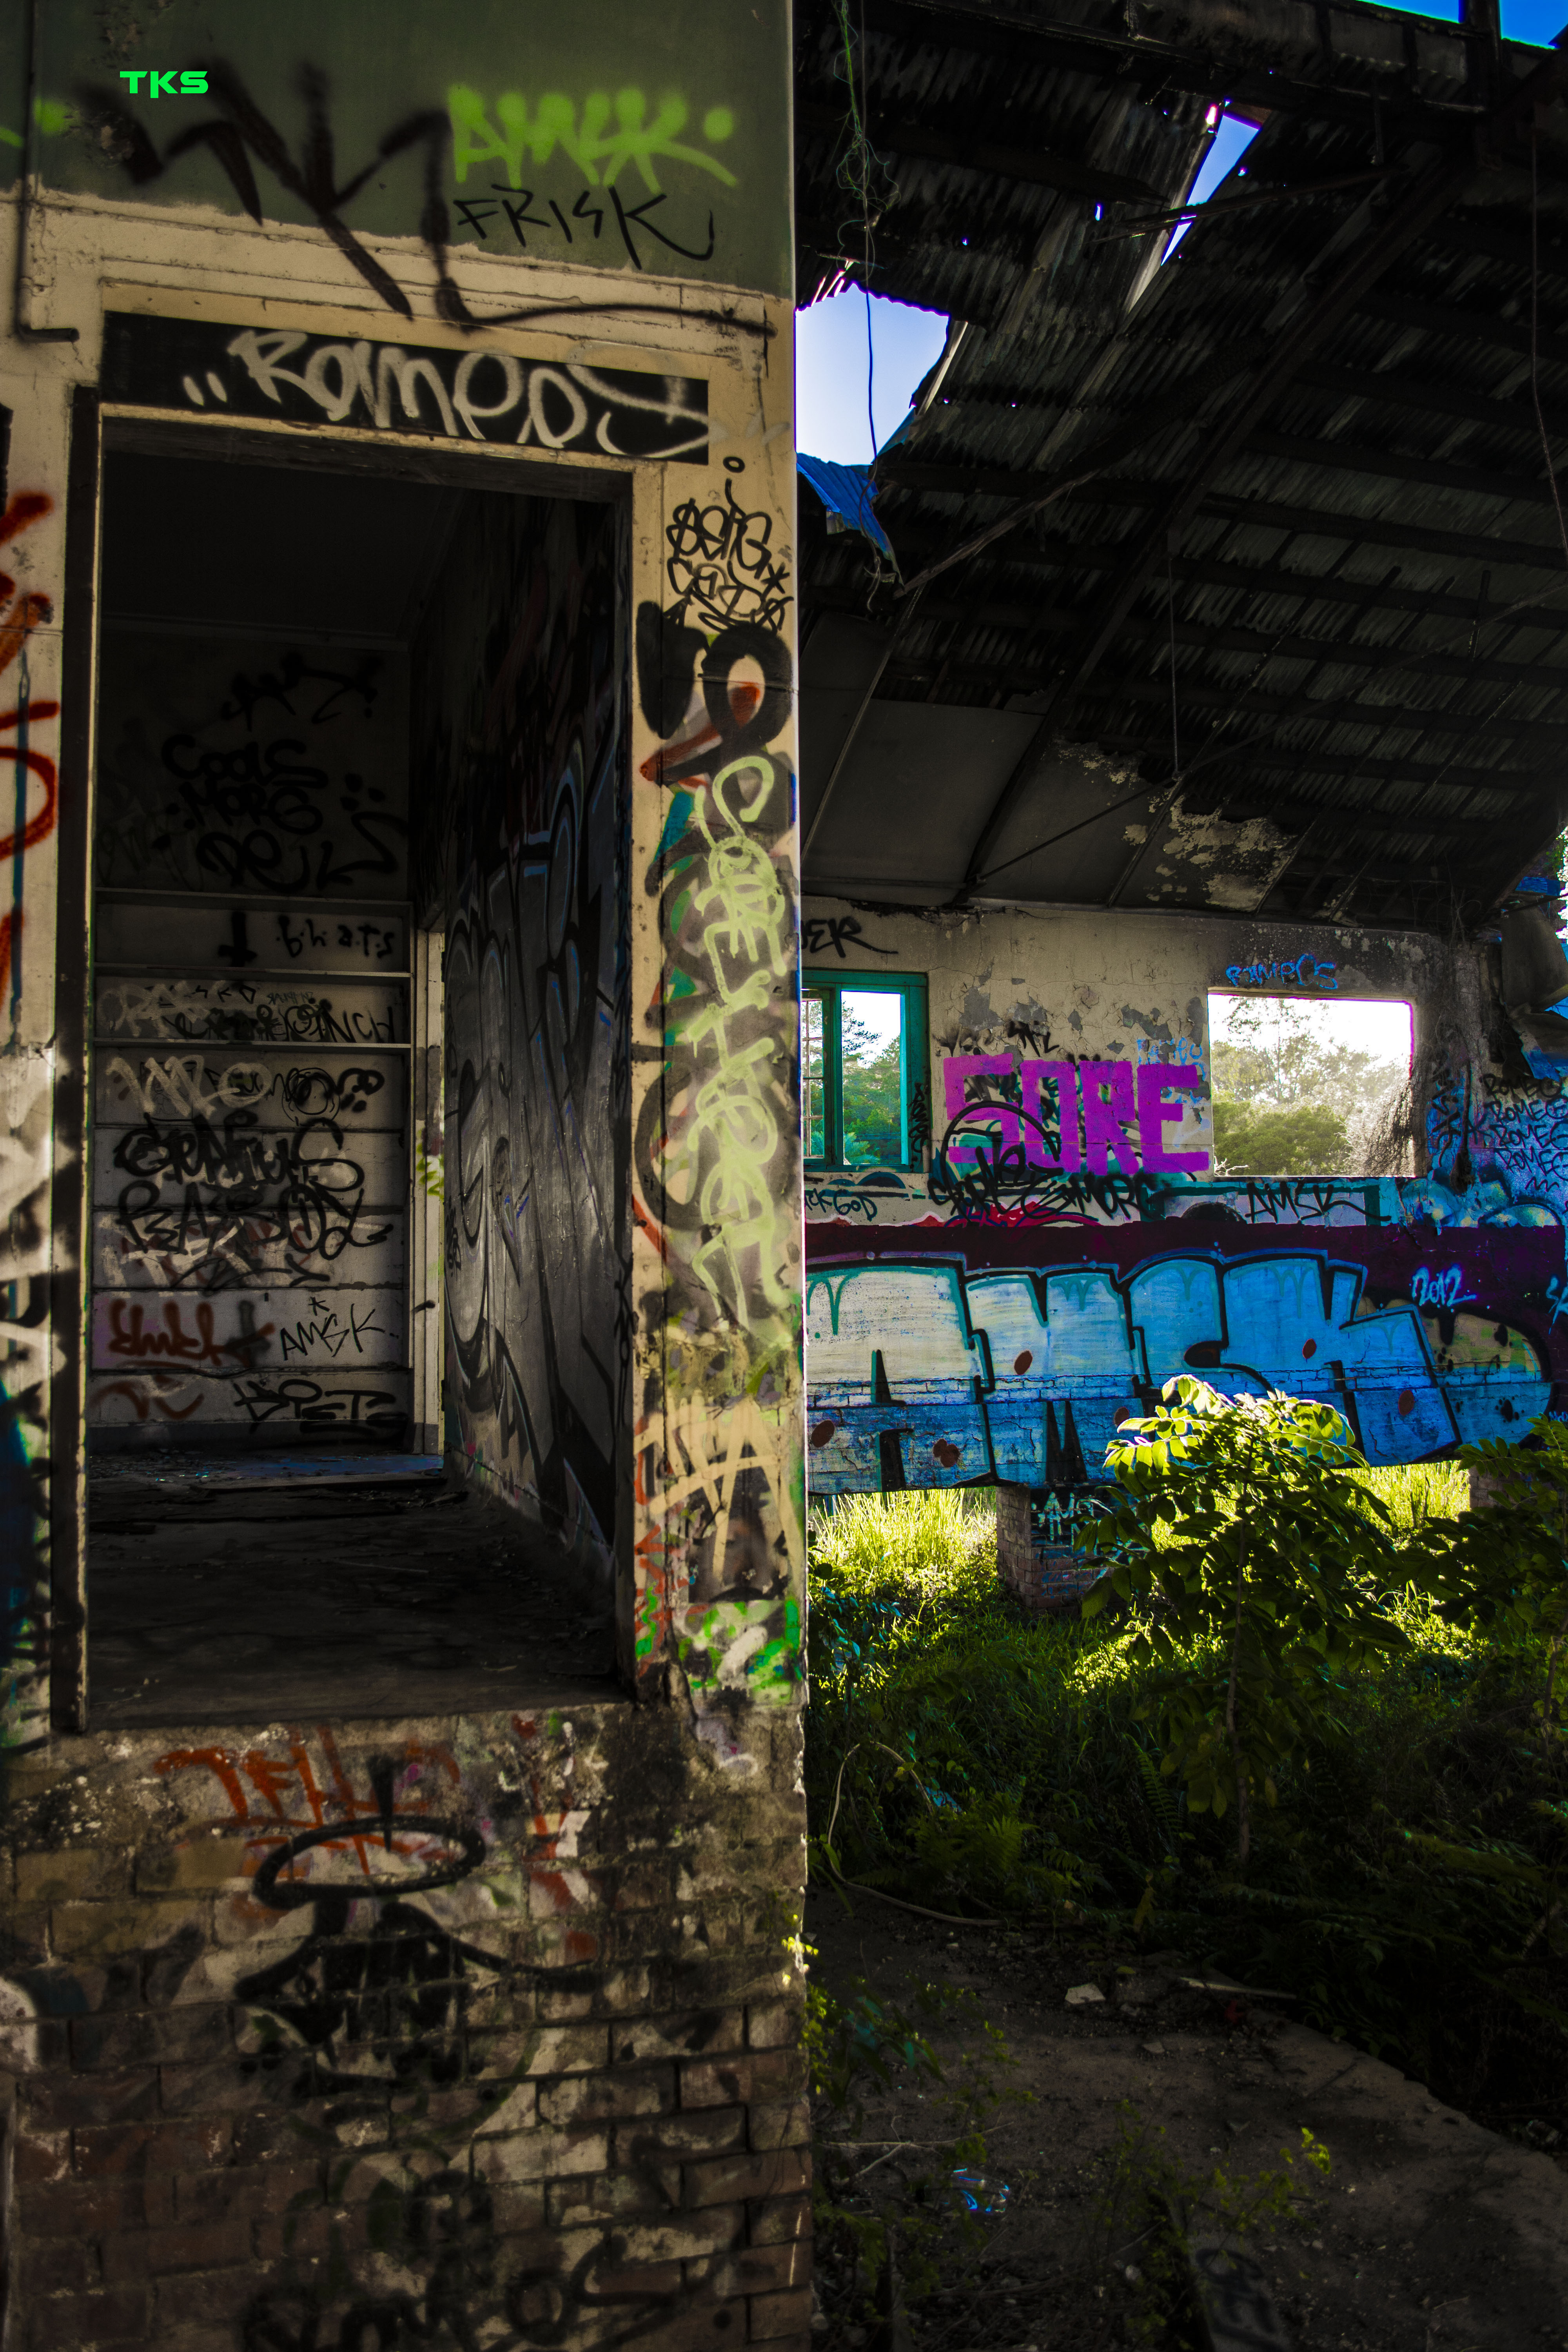
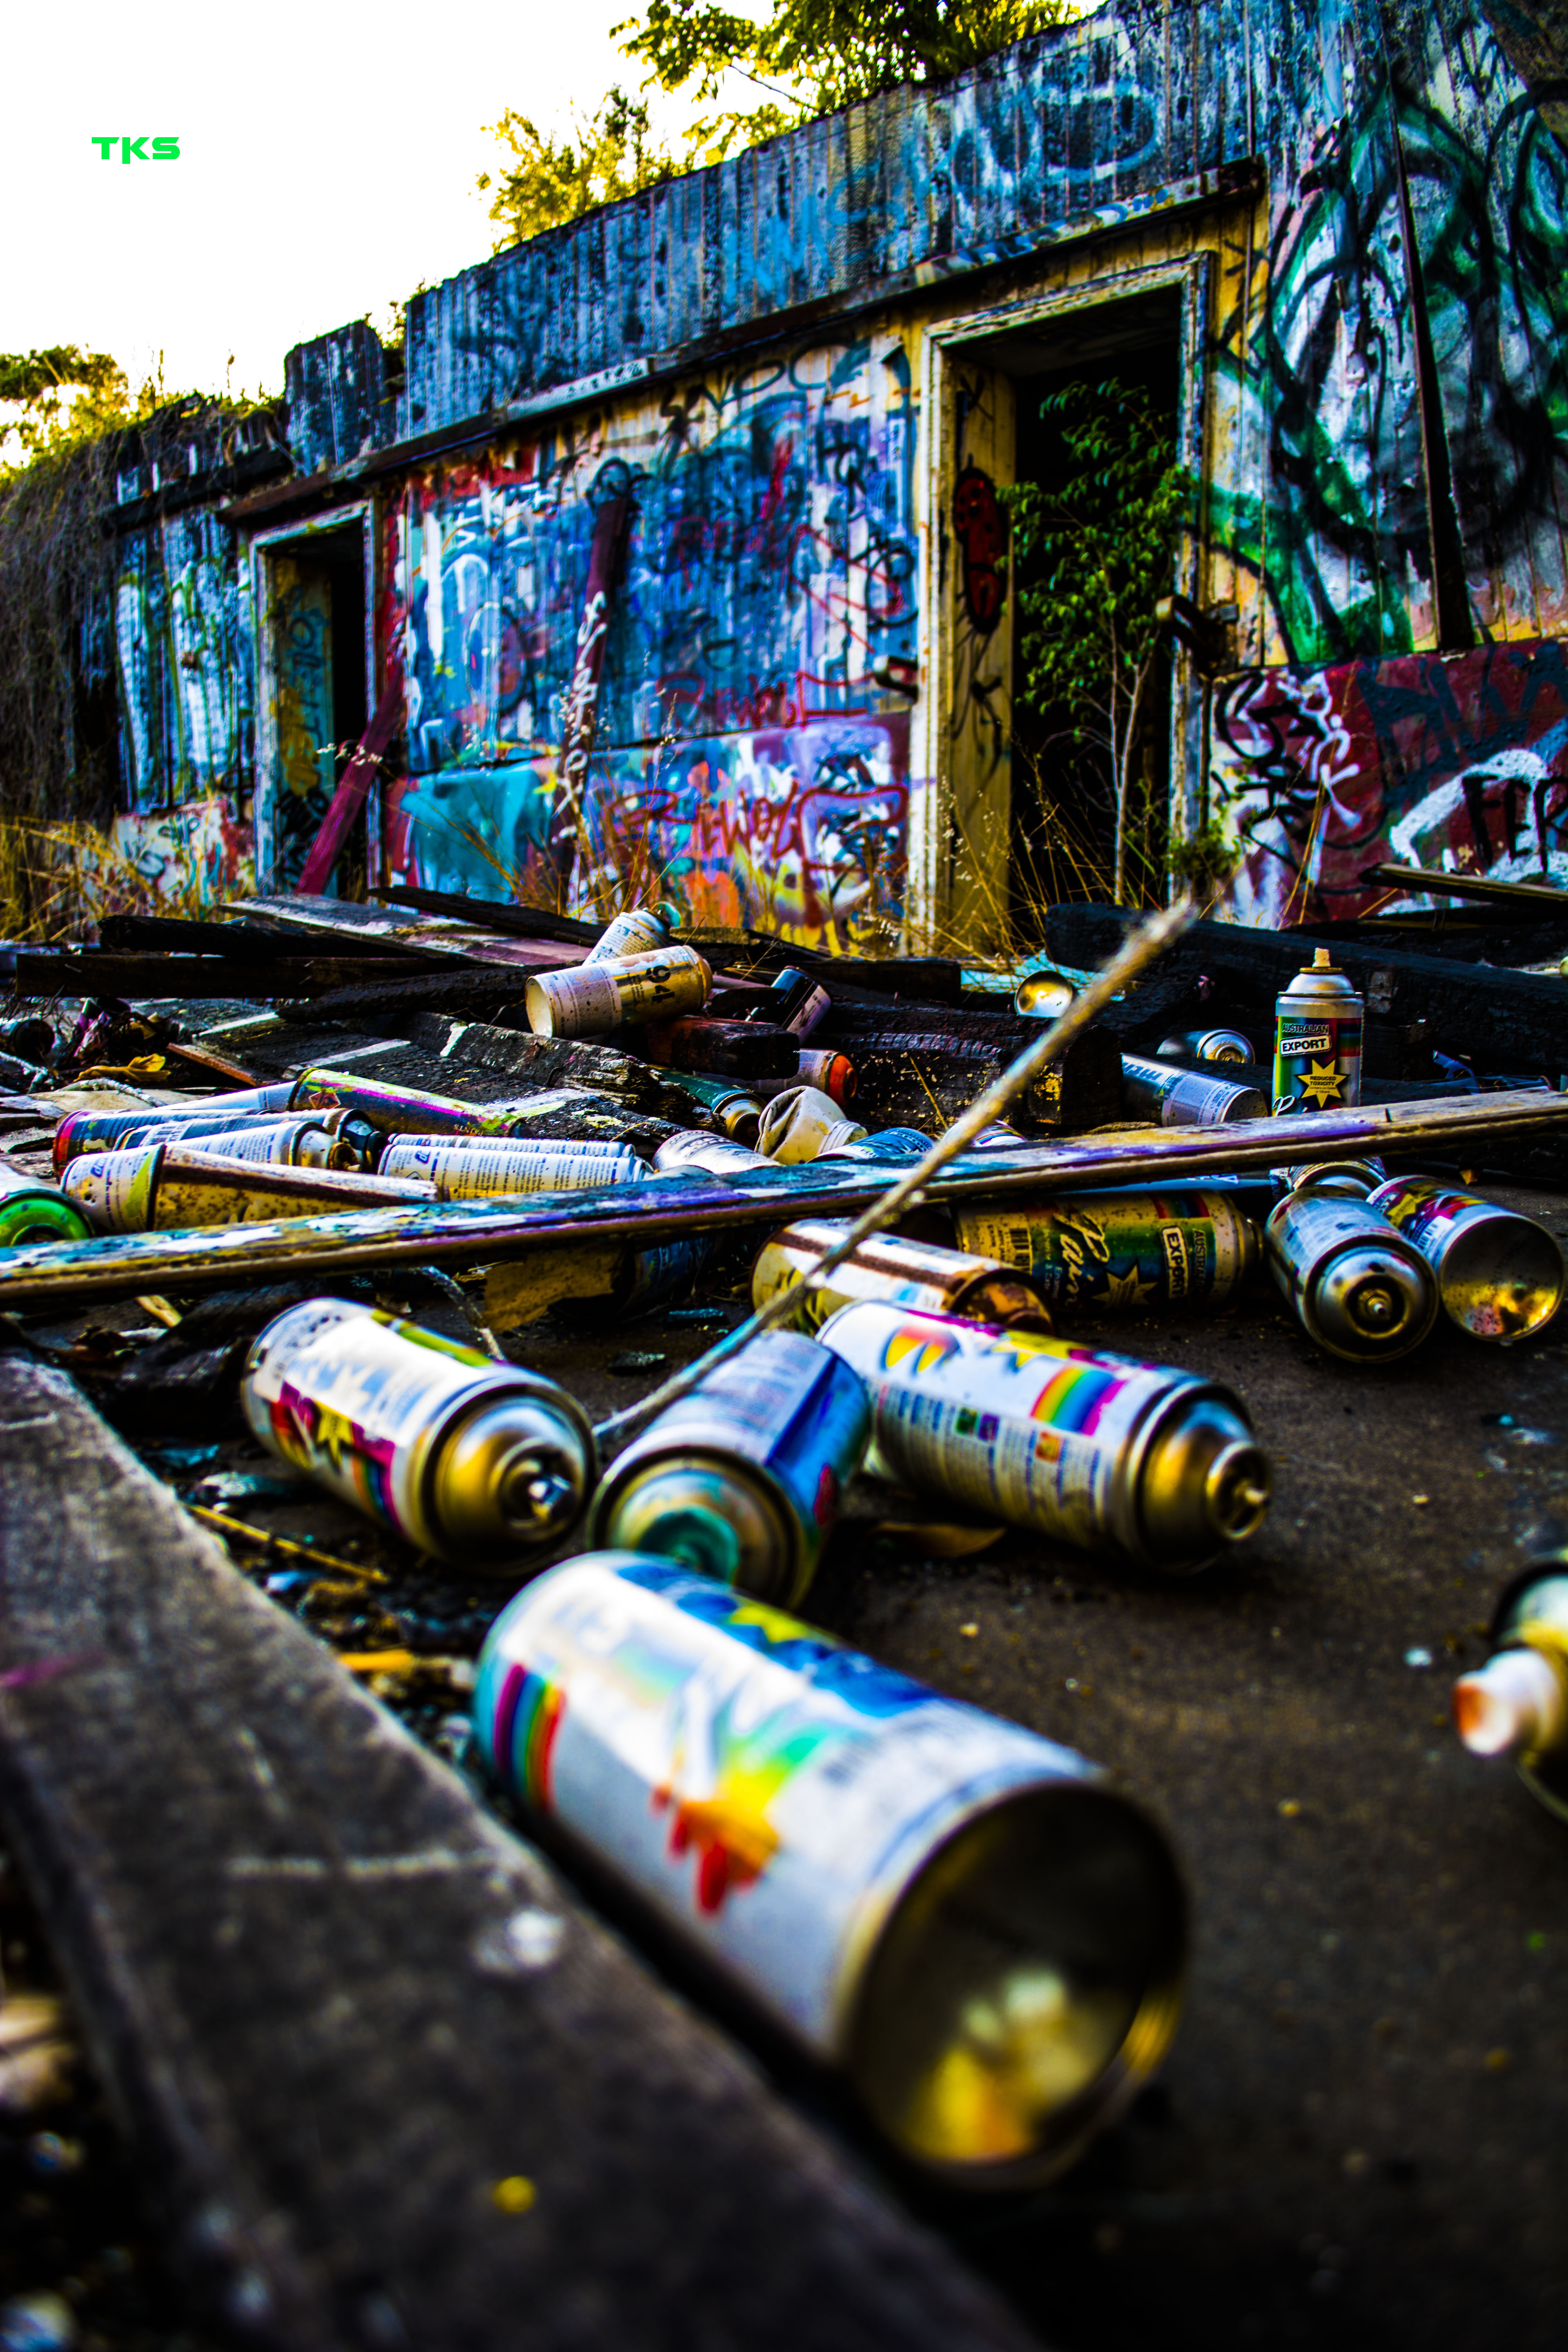
I drove in down the driveway, passed a few gated barriers with ease, parked my car and strolled right in. It may have been due to it being a rural town, but the security measures were scarce to none. I was pleasantly surprised in fact. I didn’t have long as I was due to be at work 40 minutes later and still had 30 minutes of driving ahead of me, but I did manage to enjoy all the graffiti, spider webs and rusty metal and get a few photos:

DSC_1036 DSC_1064 DSC_1063 DSC_1061 DSC_1059 DSC_1041 DSC_1038 DSC_1037 DSC_1077 DSC_1076_1 DSC_1075 DSC_1065 z DSC_1097 DSC_1087 DSC_1081

For more photos, past and present, join me over at Instagam: @tonnes

Riverfire.

  • 11/10/2013

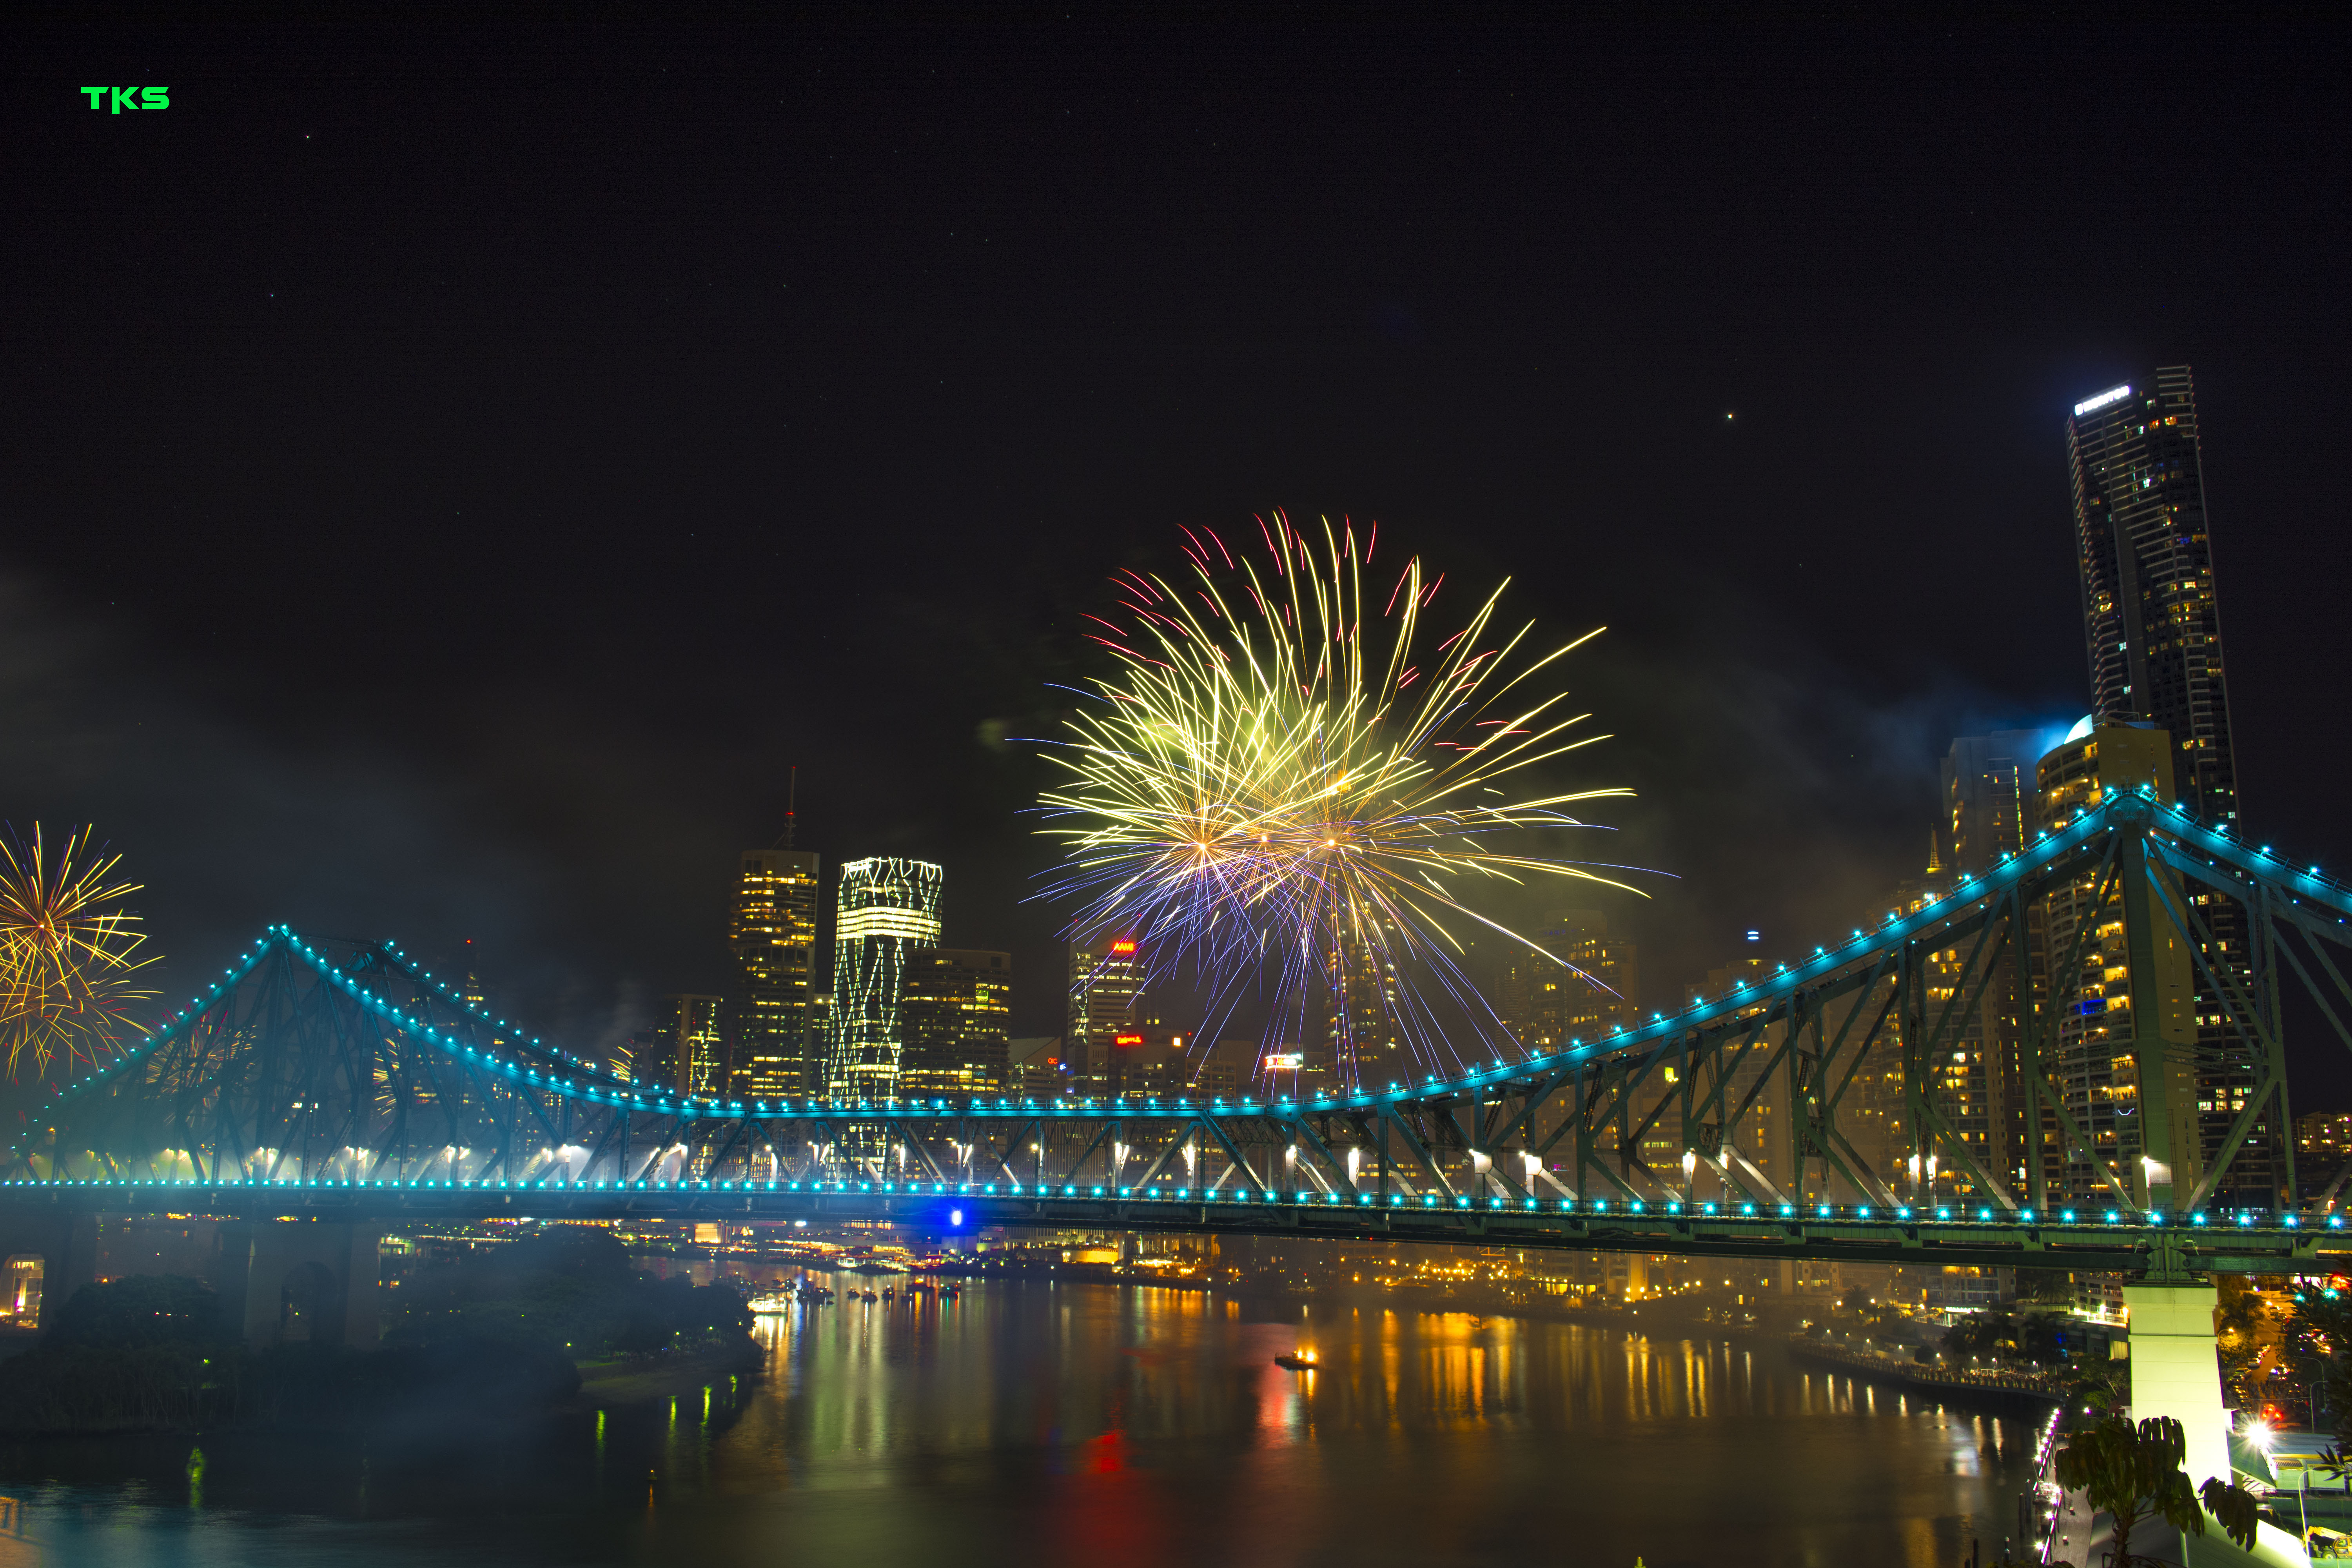
Brisbane Festival went out with a bang in the form of the Sunsuper Riverfire spectacle on Saturday 28th September. It’s an extravagant symphony of aerial and ground effects, culminating with the Australian Defence Force (ADF) aerial flyovers and a choreographed firework display.

Normally I venture into Southbank or Kangaroo point for my vantage spot. The last time I went, back in 2010, I was late, and my viewing spot was less than desirable. This time, I tried my luck at Wilson’s Outlook, a vantage spot overlooking the Story Bridge with the city skyline for a background. I visited the night before to check out the view. Views of the rails, and no one else in sight. How that was to soon change!
View from Wilson's Outlook the night before Rivefire.

View from Wilson’s Outlook the night before Rivefire.

With the reconnaissance night being successful, I assumed claiming a vantage spot at 2:30pm, so early in the day for a 7pm firework display was ample time. It would also have given me a chance to capture the aerial flyovers earlier in the day prior to the final event. Turned out I wasn’t the only one with that location idea. You know what they say when you assume, it makes an… Yeah no need to continue. I arrived with excitement to Wilson’s Outlook with camera and tripod in tow, only to find people with tents pitched, cheese platters, and alcoholic refreshments to keep them going. I wanted to join them, I wanted to be them, but alas, I was too late for that particular direct angle of the Story Bridge and I had to find a new spot! I begrudgingly made my way half way up the hill toward the Story Bridge. I found a spot and set up. Wonderful! I was pleased. I really wanted to shoot the Story Bridge this year because it recently underwent a $1.3 million lighting upgrade allowing it to change colour essentially at the flick of the switch. I had to make the most of this; I was certain they would incorporate it into the spectacle, and I was glad for my vantage spot!

Story Bridge secondary vantage spot near Wilson's Outlook. The boat down the bottom would actually have been annoying in my original shot, as it moved constantly and made for a nuisance motion blur.

Story Bridge secondary vantage spot near Wilson’s Outlook. The boat down the bottom left of this shot would actually have been annoying in my original shot, as it moved constantly and made for a nuisance motion blur. I even had enough time to attempt a quick star trail photo; the beginnings of which can be seen in this photo.

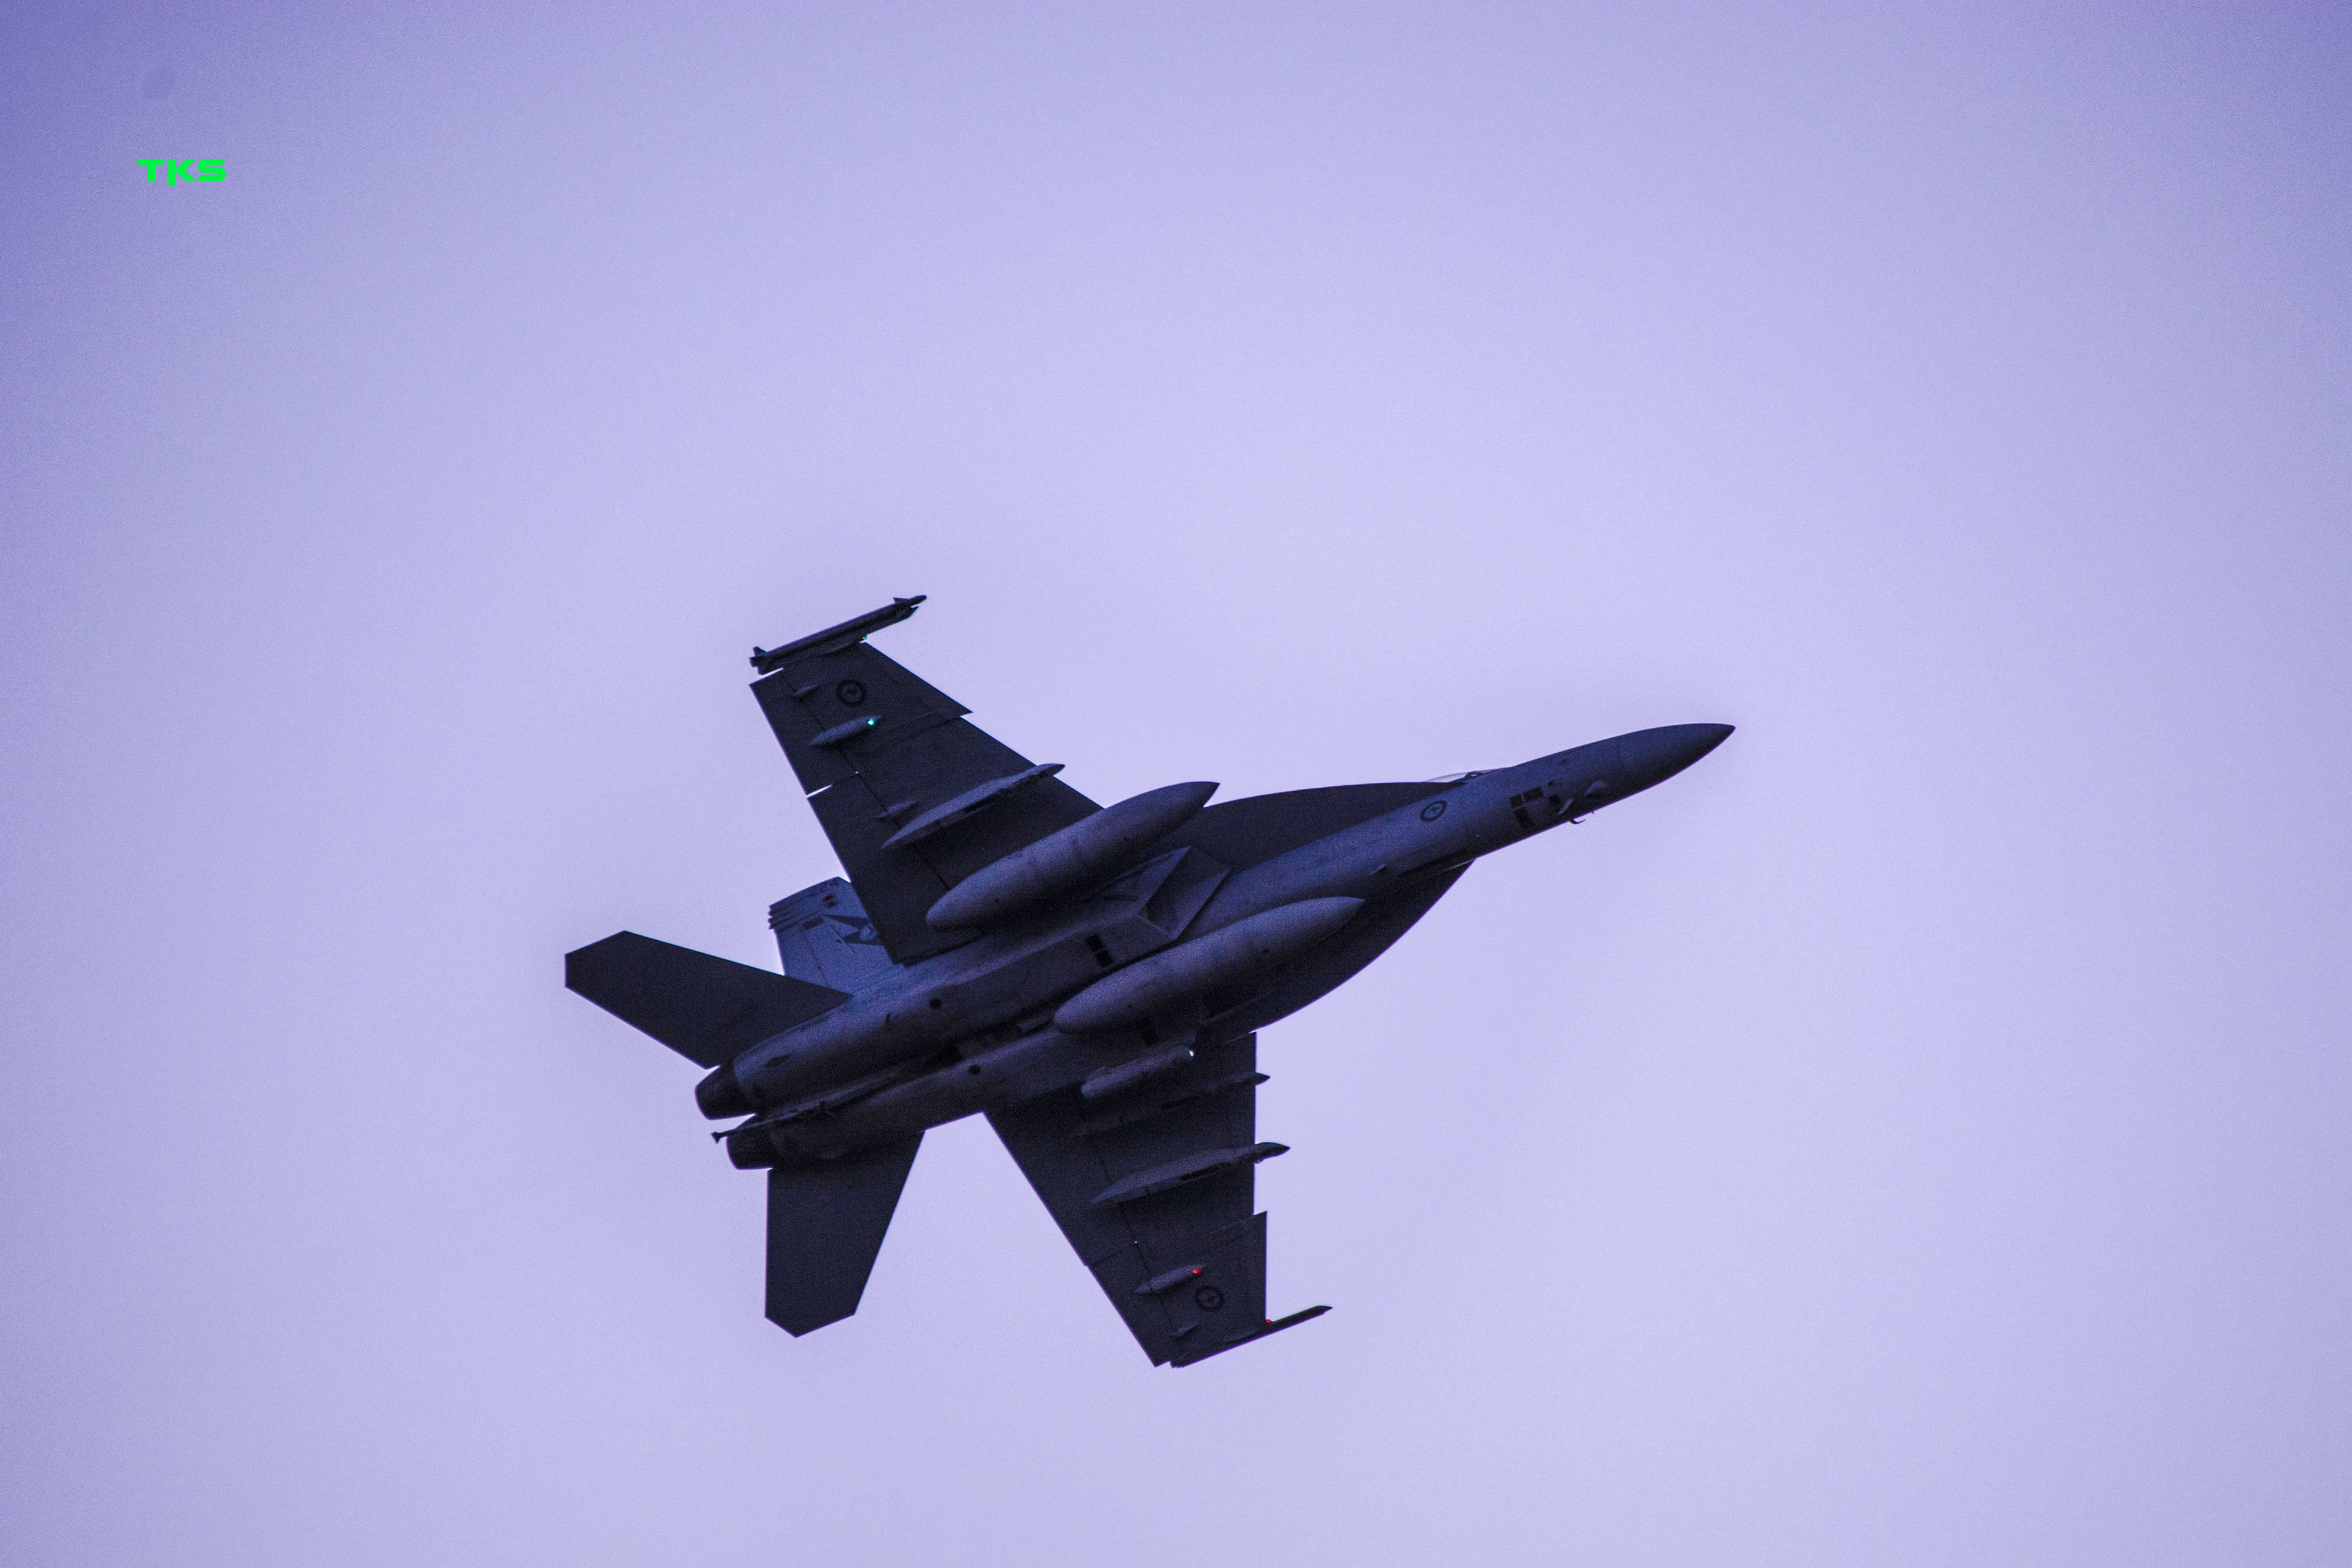
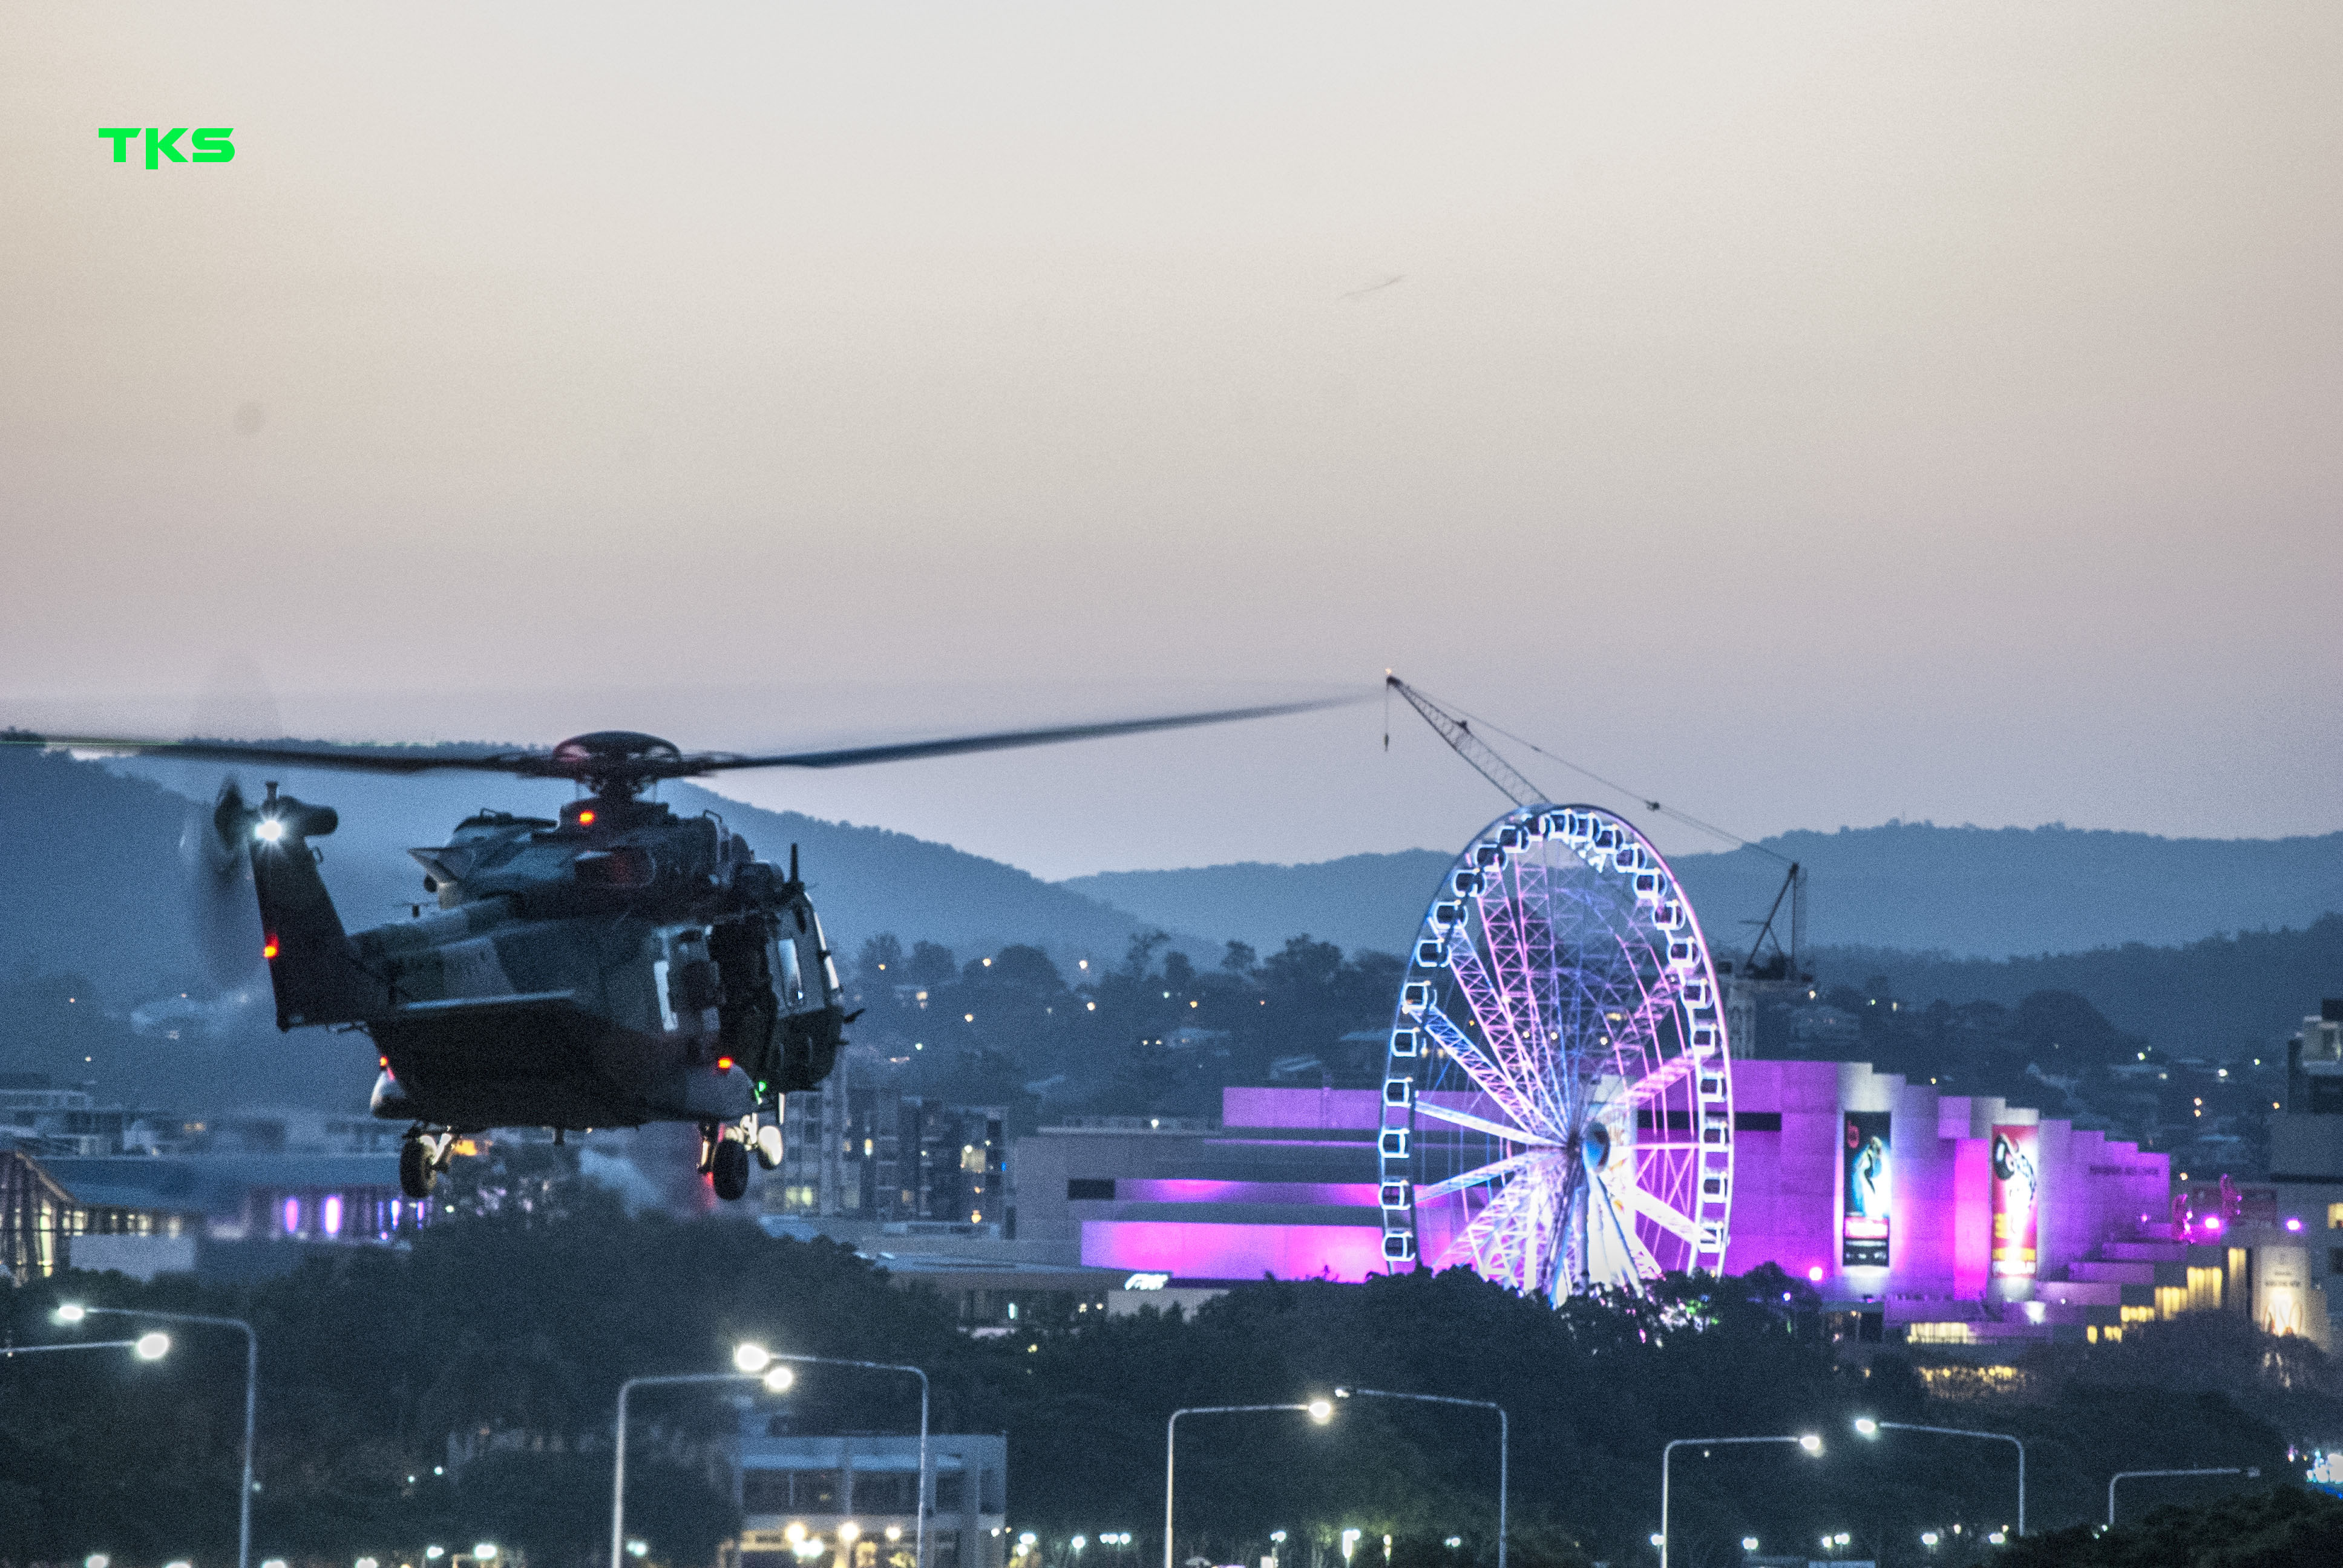
First up were the ADF aerial displays which were staggered throughout the day, synchronously altering between the Super Hornets, and the Eurocopter Tiger and MRH90 Helicopters. My first attempt at capturing the Super Hornets fly by at 3:30pm was abysmal. They were faster (and noisier) than I expected and I couldn’t focus in time. I had to learn fast, and for their 5:40pm show, I think I did. I’d seen the helicopters practice throughout the week, but they were still as enjoyable to watch come game day.

Super Hornet.

Super Hornet.

Super Hornet.

Super Hornet.

MRH90 Helicopter flying toward the Wheel of Brisbane at Southbank.

MRH90 Helicopter flying toward the Wheel of Brisbane at Southbank – This is from earlier in the week during a practice run.

Super Hornet passing the Story Bridge.

Super Hornet passing the Story Bridge at 3:30pm.

Super Hornet passing the Story Bridge at dusk.

Super Hornet passing the Story Bridge at dusk.

They were just the by product of the day though as I along with the other 500,000 odd people waited for the main event at 7:04pm; the final Super Hornet fly over and the detonation of the first firework.

Light trail of the Super Hornets flight path, and the first firework ignition of Riverfire 2013.

Light trail of the Super Hornet flight path, and the first firework ignition of Riverfire 2013.

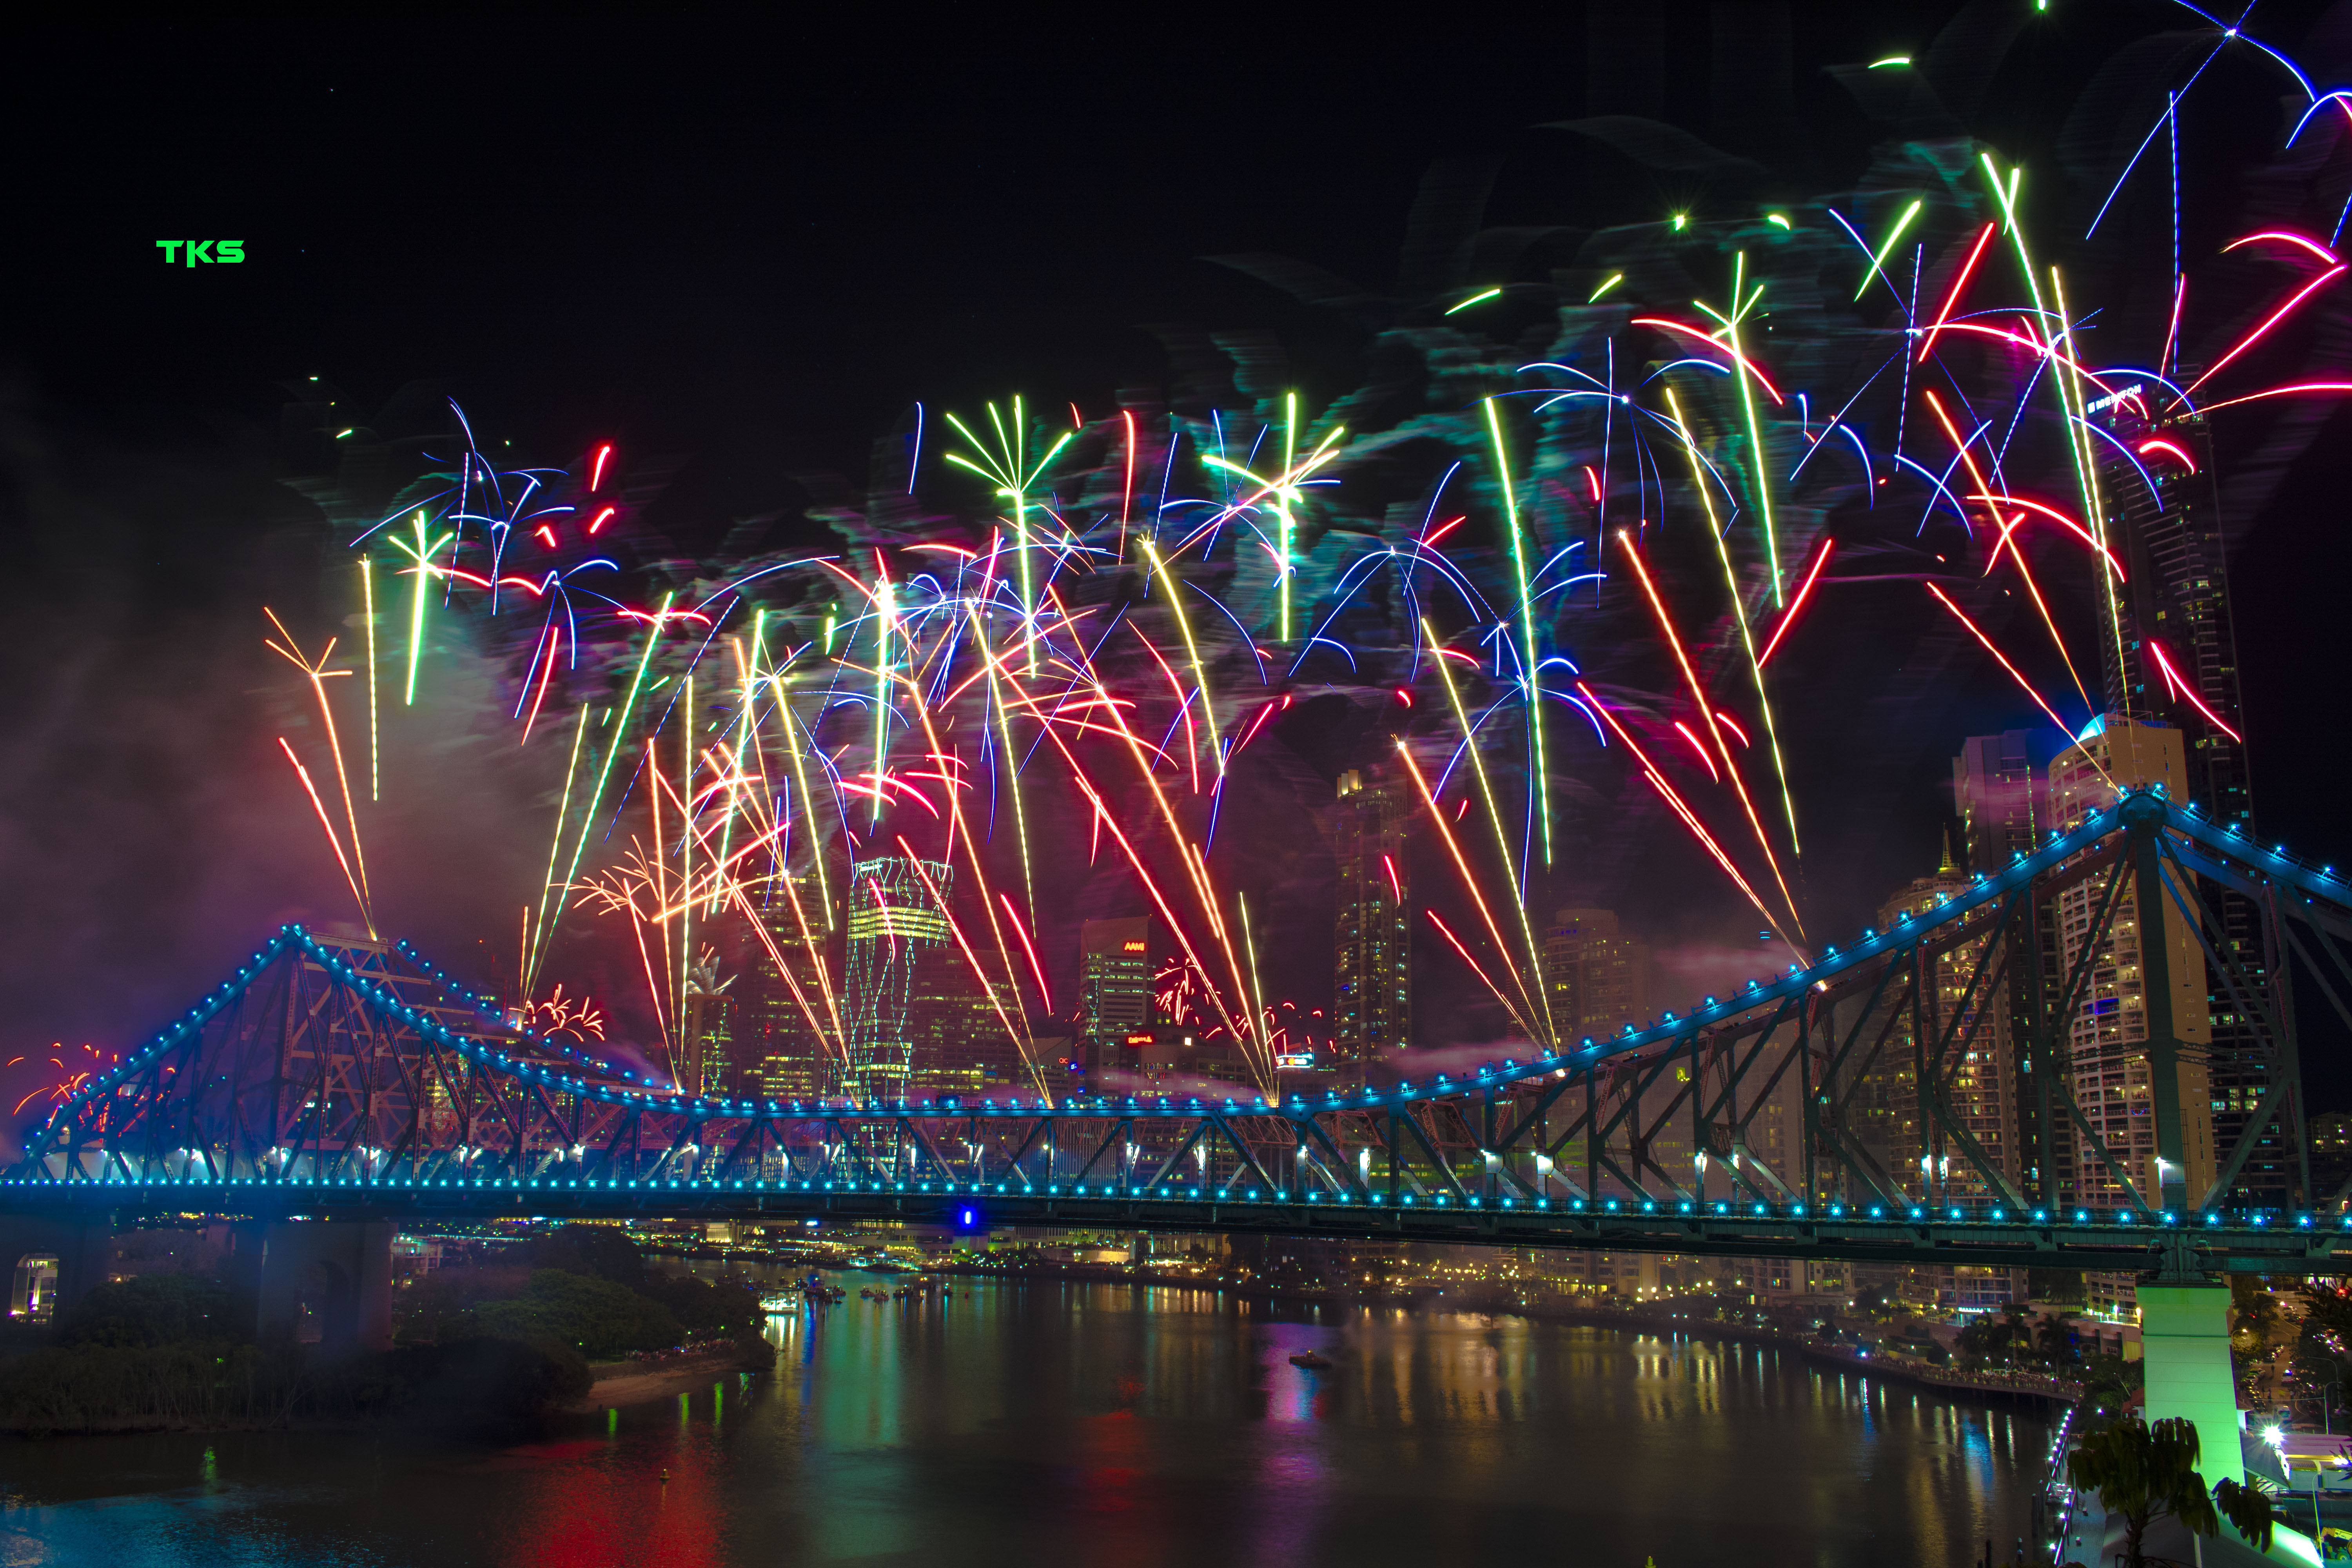
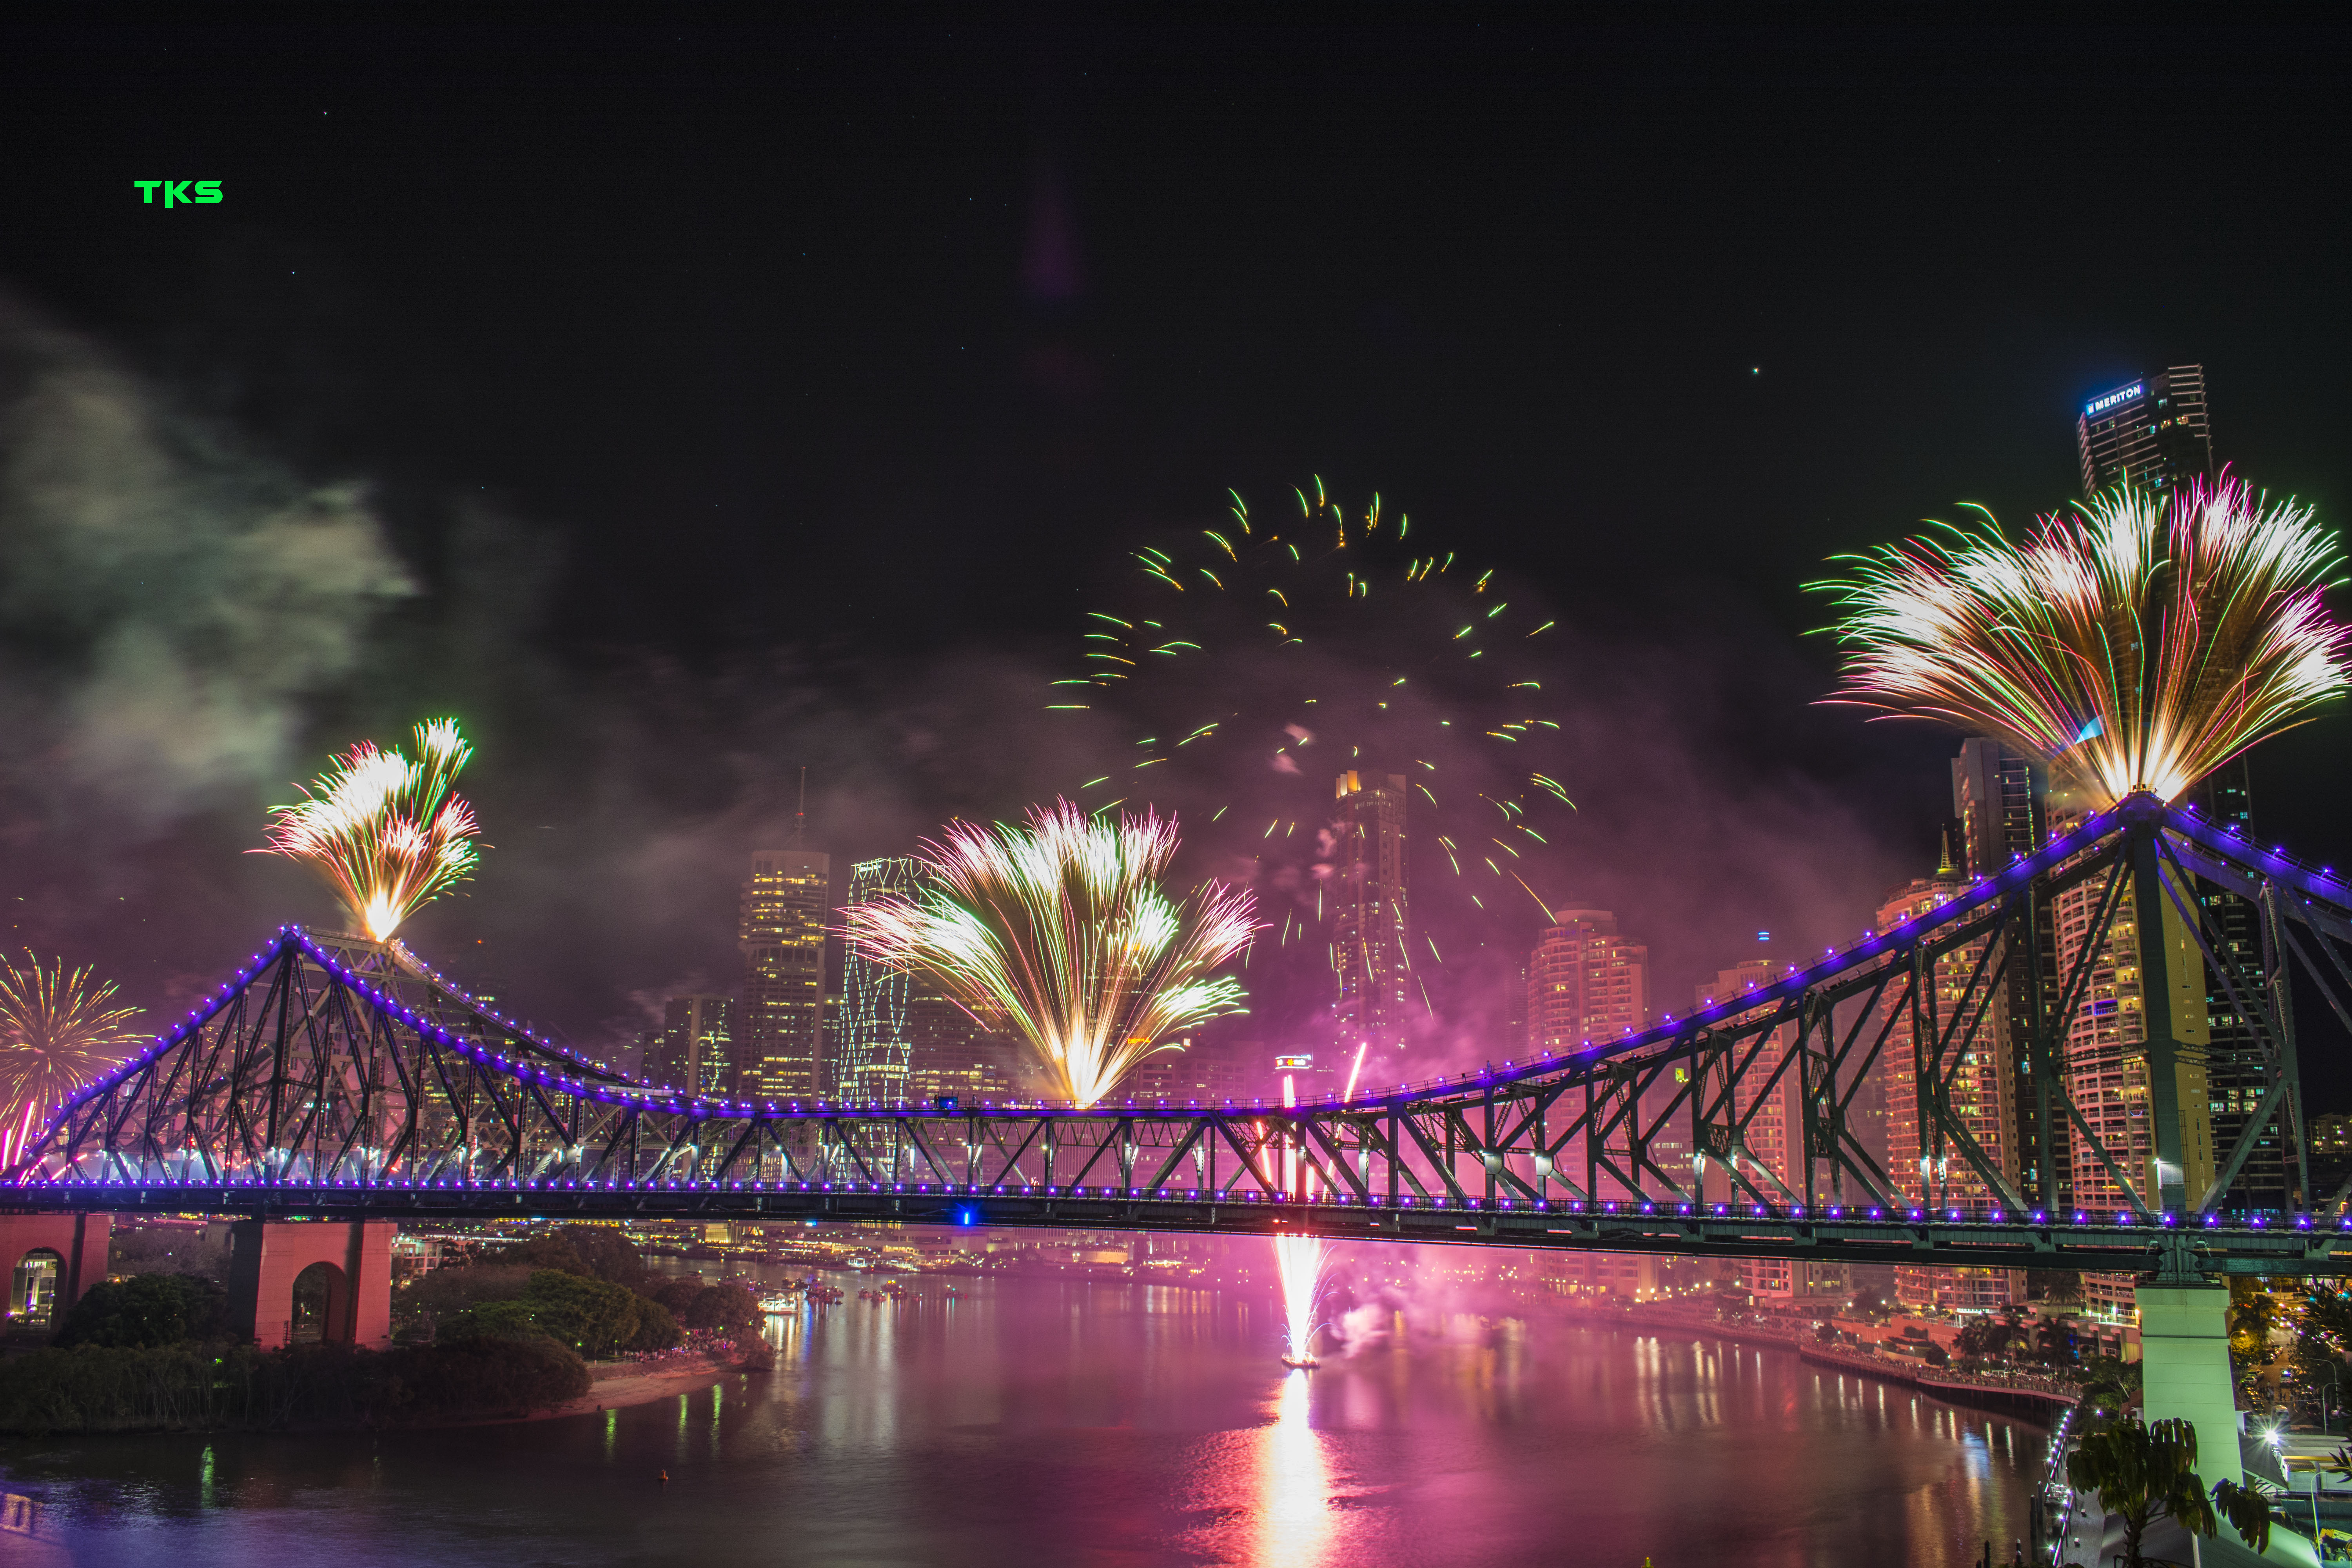
Sunsuper Riverfire lit up the city at 7:05pm in a pyrotechnic explosion of colour and noise. For 20 minutes, 6,000 fireworks, from 19 locations around Brisbane, were meticulously ignited.

DSC_0471_1 DSC_0517 DSC_0544 DSC_0545 DSC_0548 DSC_0557 DSC_0570 DSC_0571 DSC_0579 DSC_0595 DSC_0598 DSC_0607 DSC_0617

DSC_0619

DSC_0624

DSC_0637

z
Before I knew it, Riverfire was over for another year. As the smoky aftermath of the fireworks consuming the night sky slowly started to fade, the crowd began to disperse making their way home. With my memory card filled, I packed up my gear and made my own way home, stopping off for a well earned drink to reflect on the day and eagerly view what I captured.

It was a typically great event, one that I always appreciate – the co-ordination of such a big event is something I truly value and there need to be more events like this each year. There’s something about fireworks that I will always enjoy; I’ll be the old man in 50 years time still marvelling and ‘oohing’ and ‘ahhing’. If I’m in the country, I’ll be there again next year, this time, earlier than anyone else, and equipped with a sleeping bag and stash of food!

For more photos, past and present, join me over at Instagram: @tonnes.

Crazy House.

  • 10/10/2013

I’ve always enjoyed being scared. There’s a sense of immediate self-value when your life flashes before you, or you get a sudden surge of adrenalin coursing through your body. You know the feeling, the one you get when you look over the edge of a building, the one when you drop something of value and quickly catch it again. It’s short, sharp, and in that one moment you’re left breathing deeply, usually uttering a profanity, and then you come back to reality. That’s the best way in which I can describe this photoshoot. I like pushing boundaries and trying something new, so I wanted to try my hand at urban exploration.

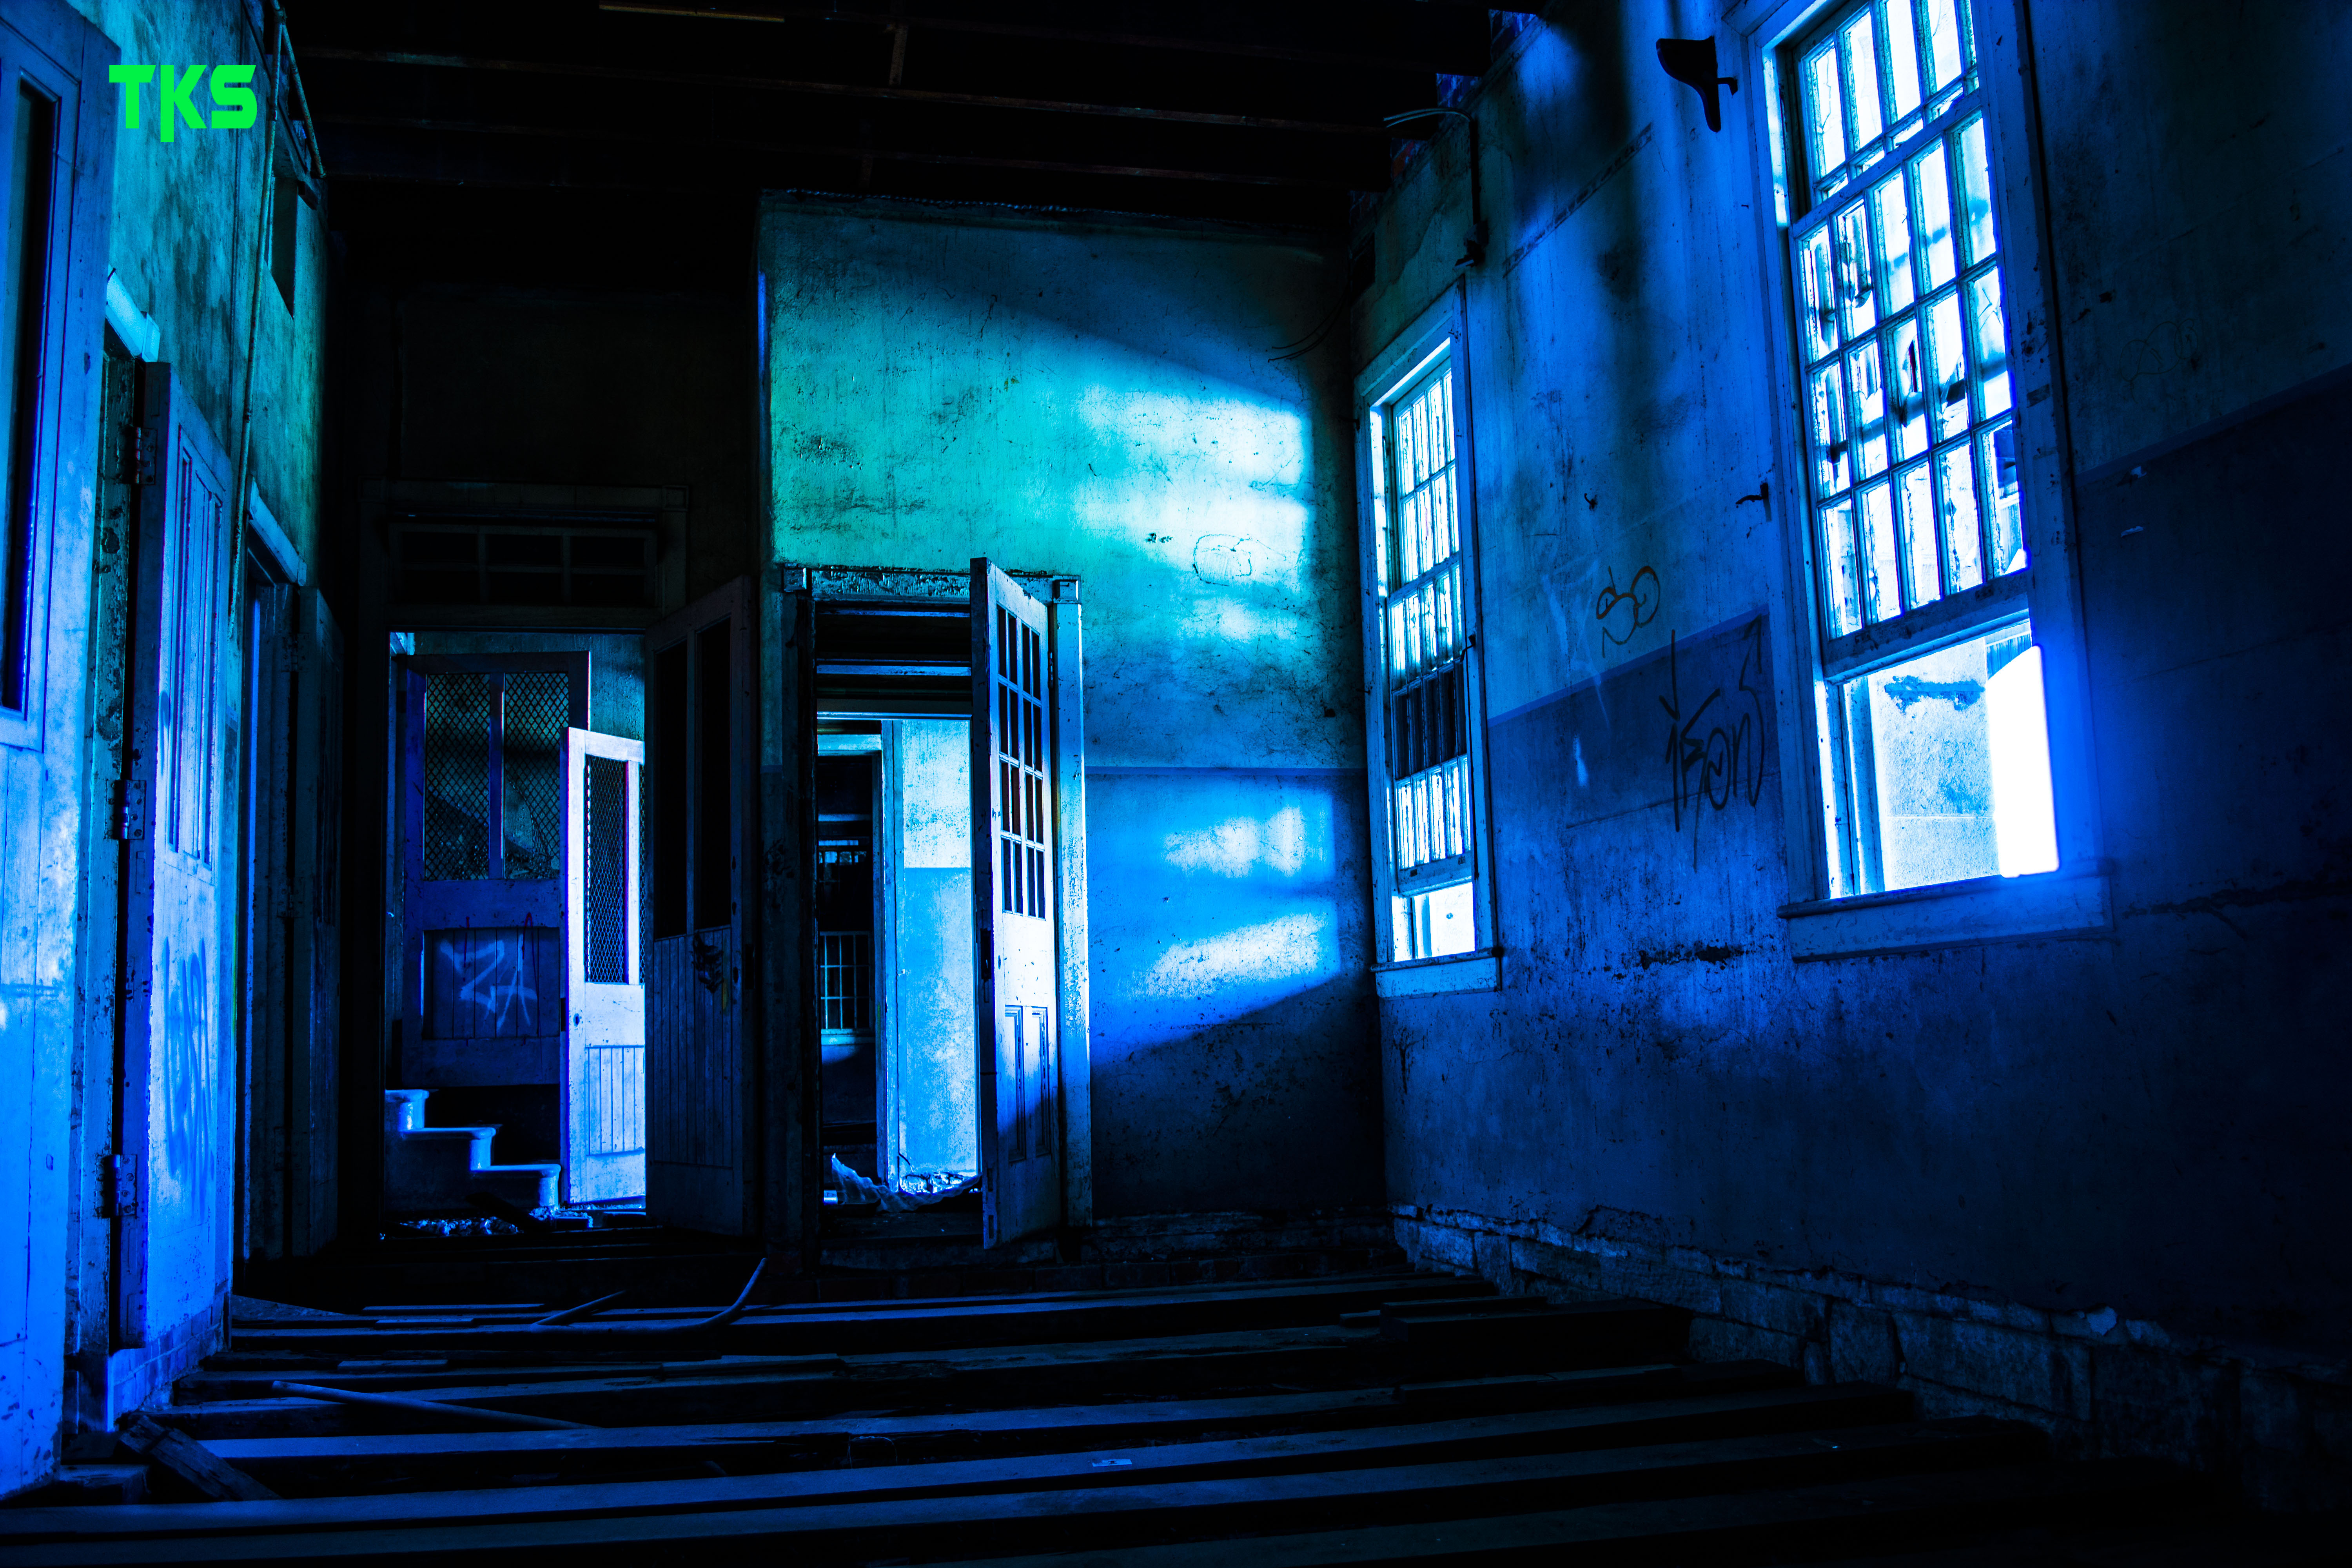
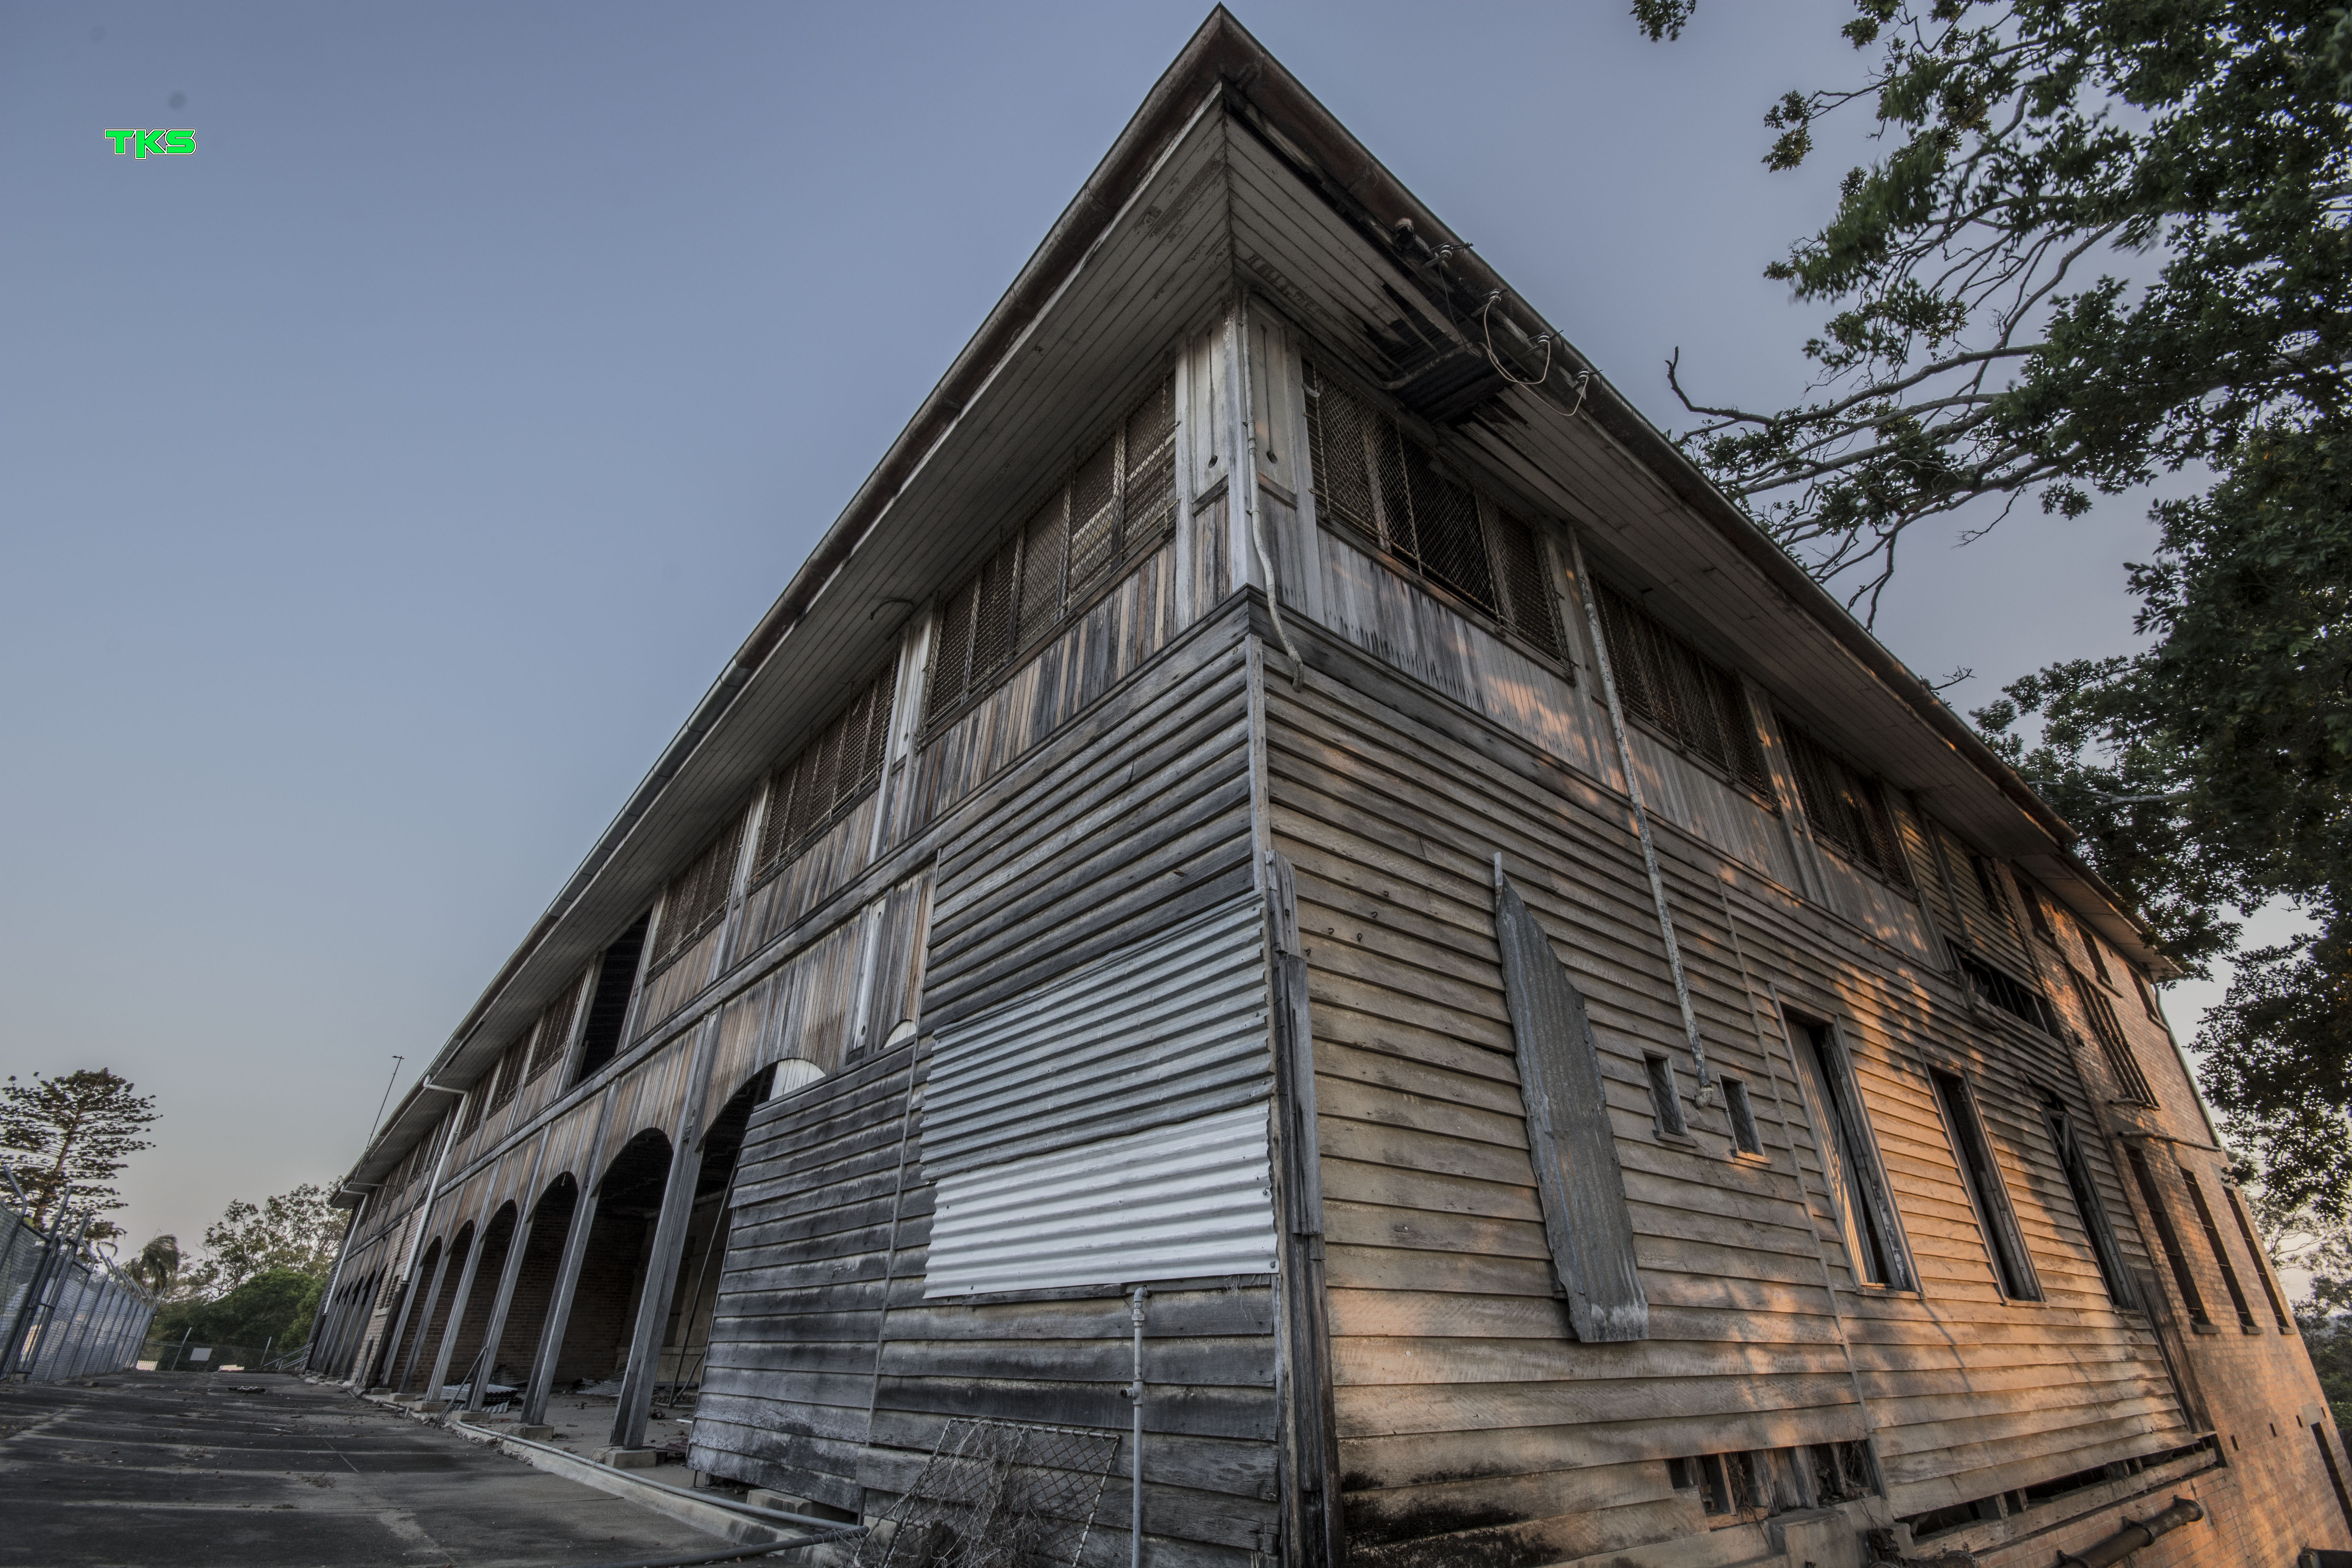
Welcome to the crazy house. Please leave your sanity at the door and enter only if you’ve lost your mind. This little adventure was a week in the making. I had scoured the internet for local abandoned buildings and infrastructures that were of a decrepit nature. I had made myself a list, checked it twice, and this was the fist of my foray into the unknown world of yesteryear. I decided that my first abandoned expedition would be solo. Get as much excitement and fear into me as I could. Adrenalin filled adventure with a dash of stupidity perhaps. My first visit was purely reconnaissance. The findings on the internet were dated; I wanted to make sure that I was not getting excited for no good reason. I drove there one Wednesday afternoon, and much to my pleasure saw it wasting away along the river on the hill it had so long called home. Encased in a security fence with trespassing and CCTV monitoring warning signs, I decided that I needed to regroup, recharge my camera, and come back when I was less likely to get caught. I’m all for a photo opportunity, but adding “breaking and entering” or “trespassing” to my clean slate of a record, is something I care to avoid. Patience is a virtue, at least that’s what they say.

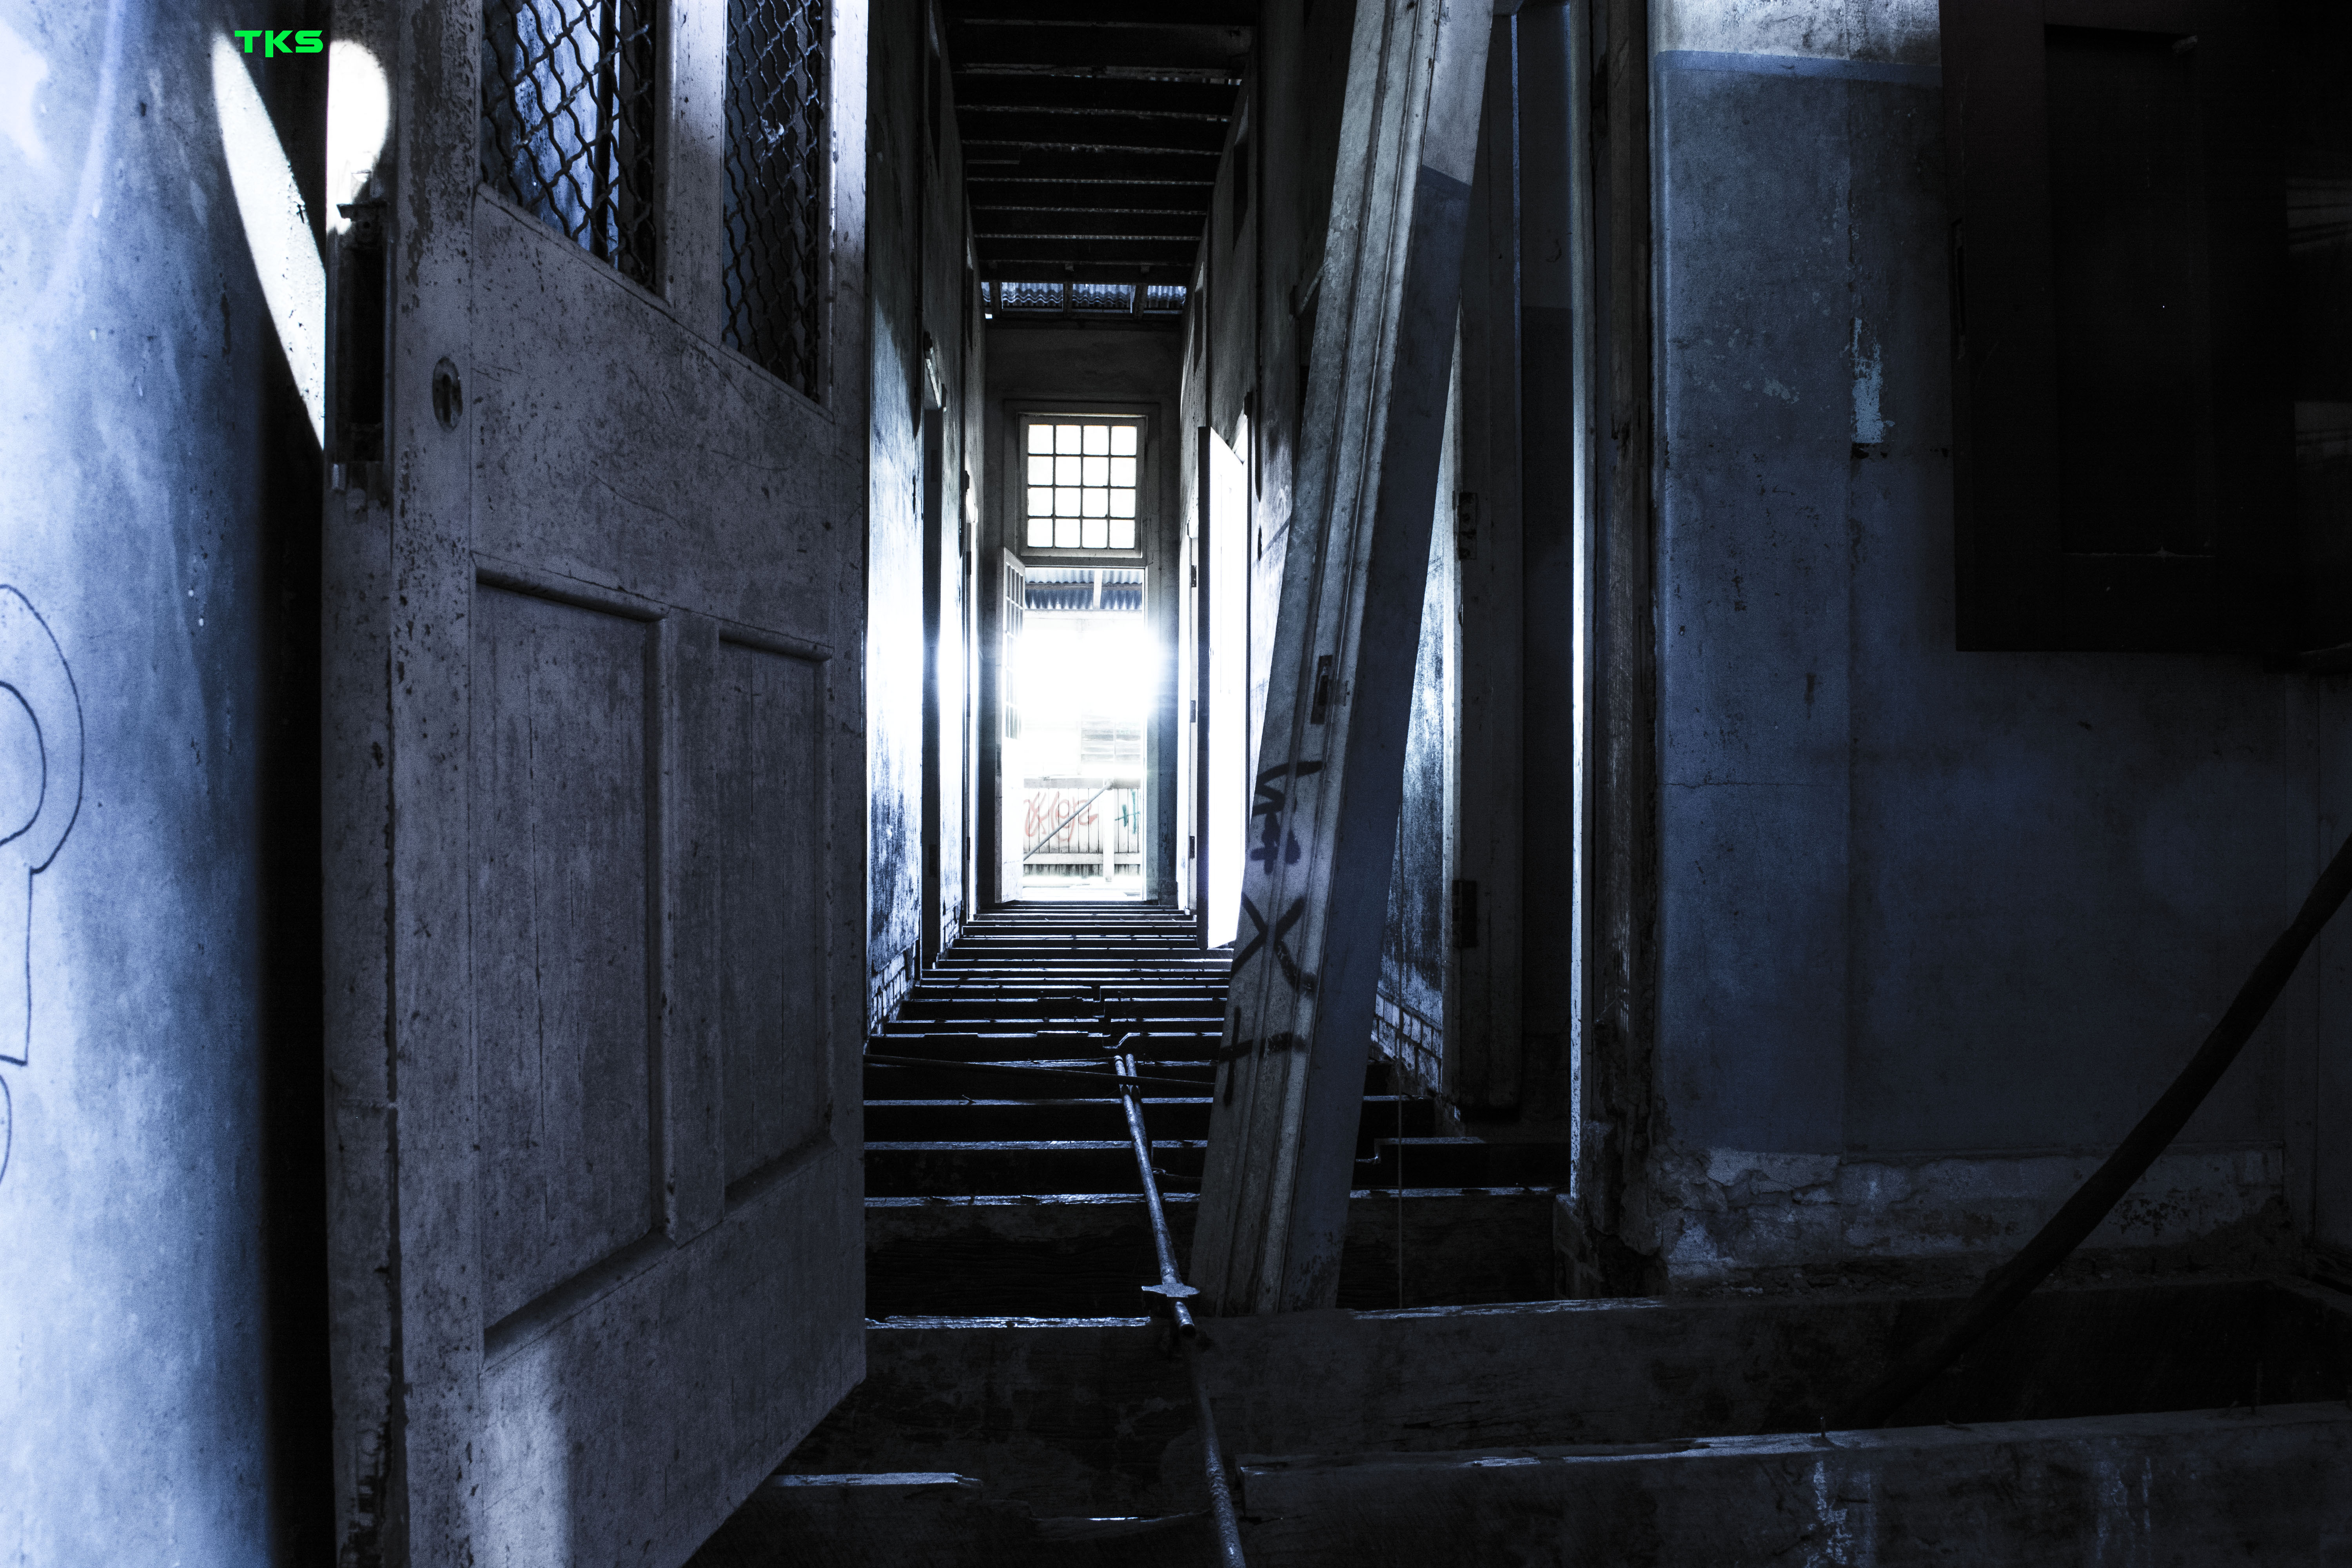
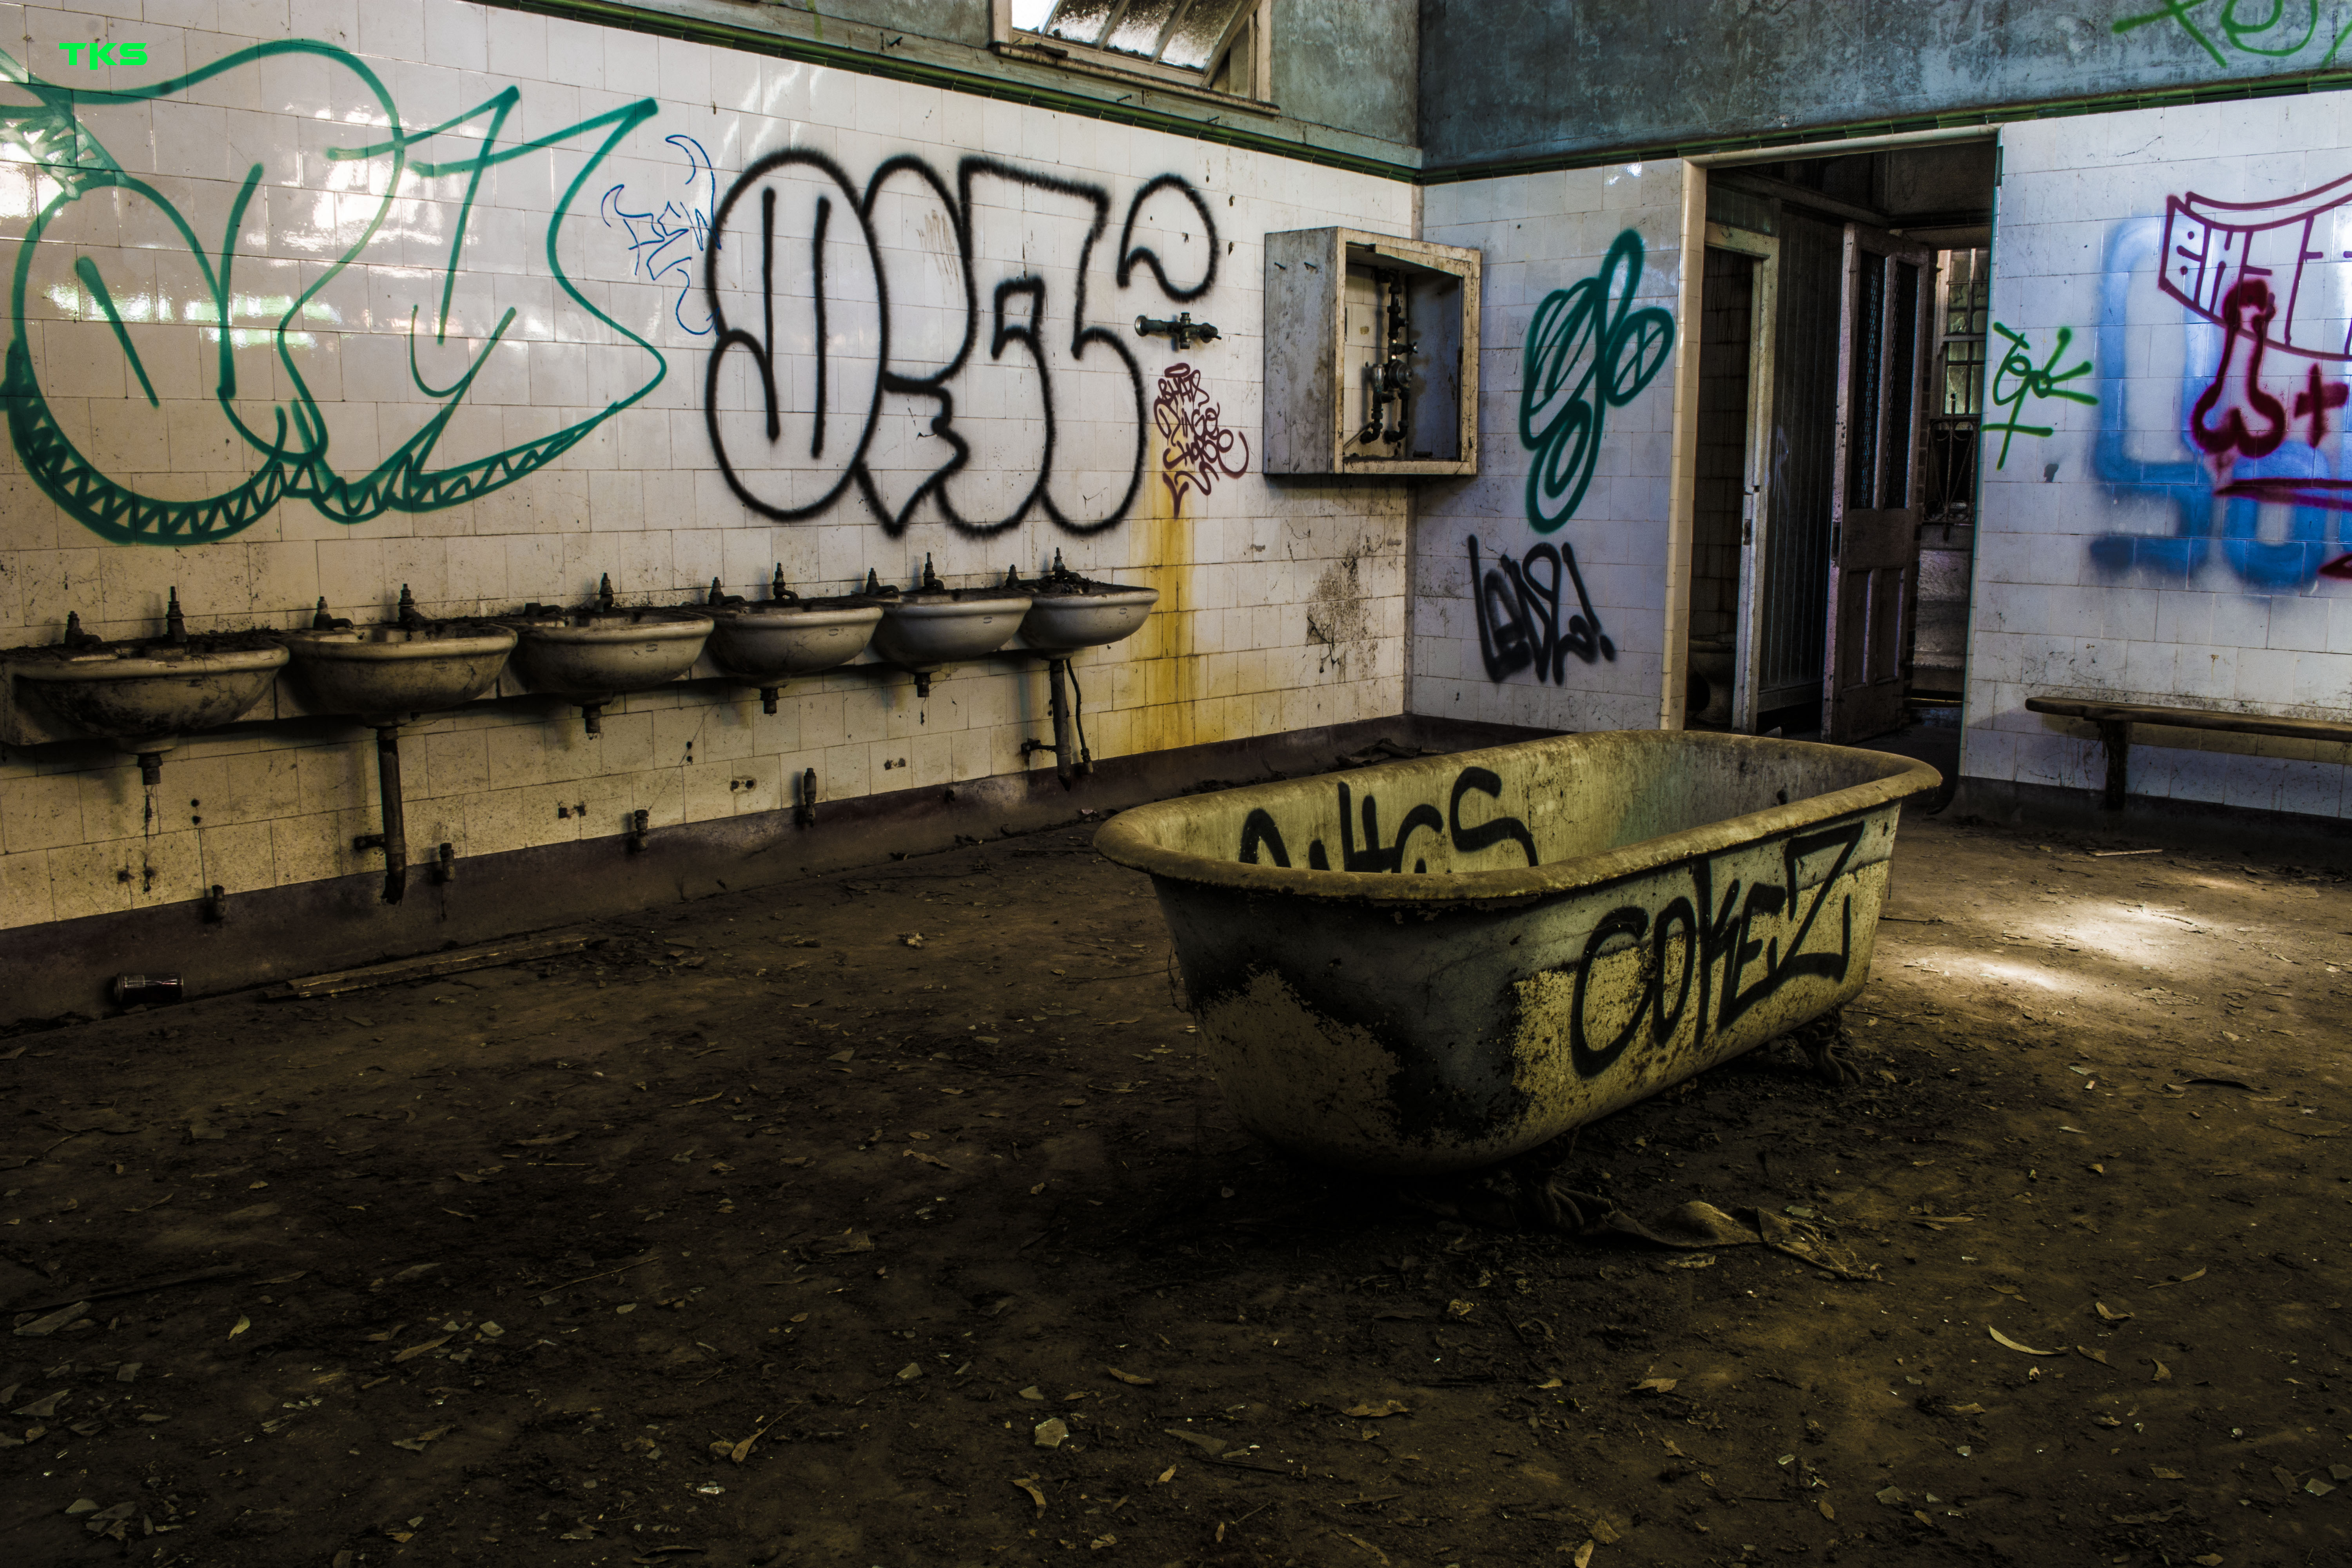
I lasted until Friday afternoon. I blindly hoped, that much like my desire to get away from work and start my weekend was akin to the security who patrol the area too – ready to clock off and put their feet up. I recall sitting at my desk, counting down the hours, then the minutes until I could leave and climb through the metal fence and explore. I arrived, parked my car, waited for the coast to clear, grabbed my gear, and quickly entered. Before my eyes, which had slowly adjusted to the sudden darkness from the outside world, was an abandoned, completely gutted building riddled with the history of inhumane moments. The walls told the stories – what it once was, and now what it had become. I was in my element.

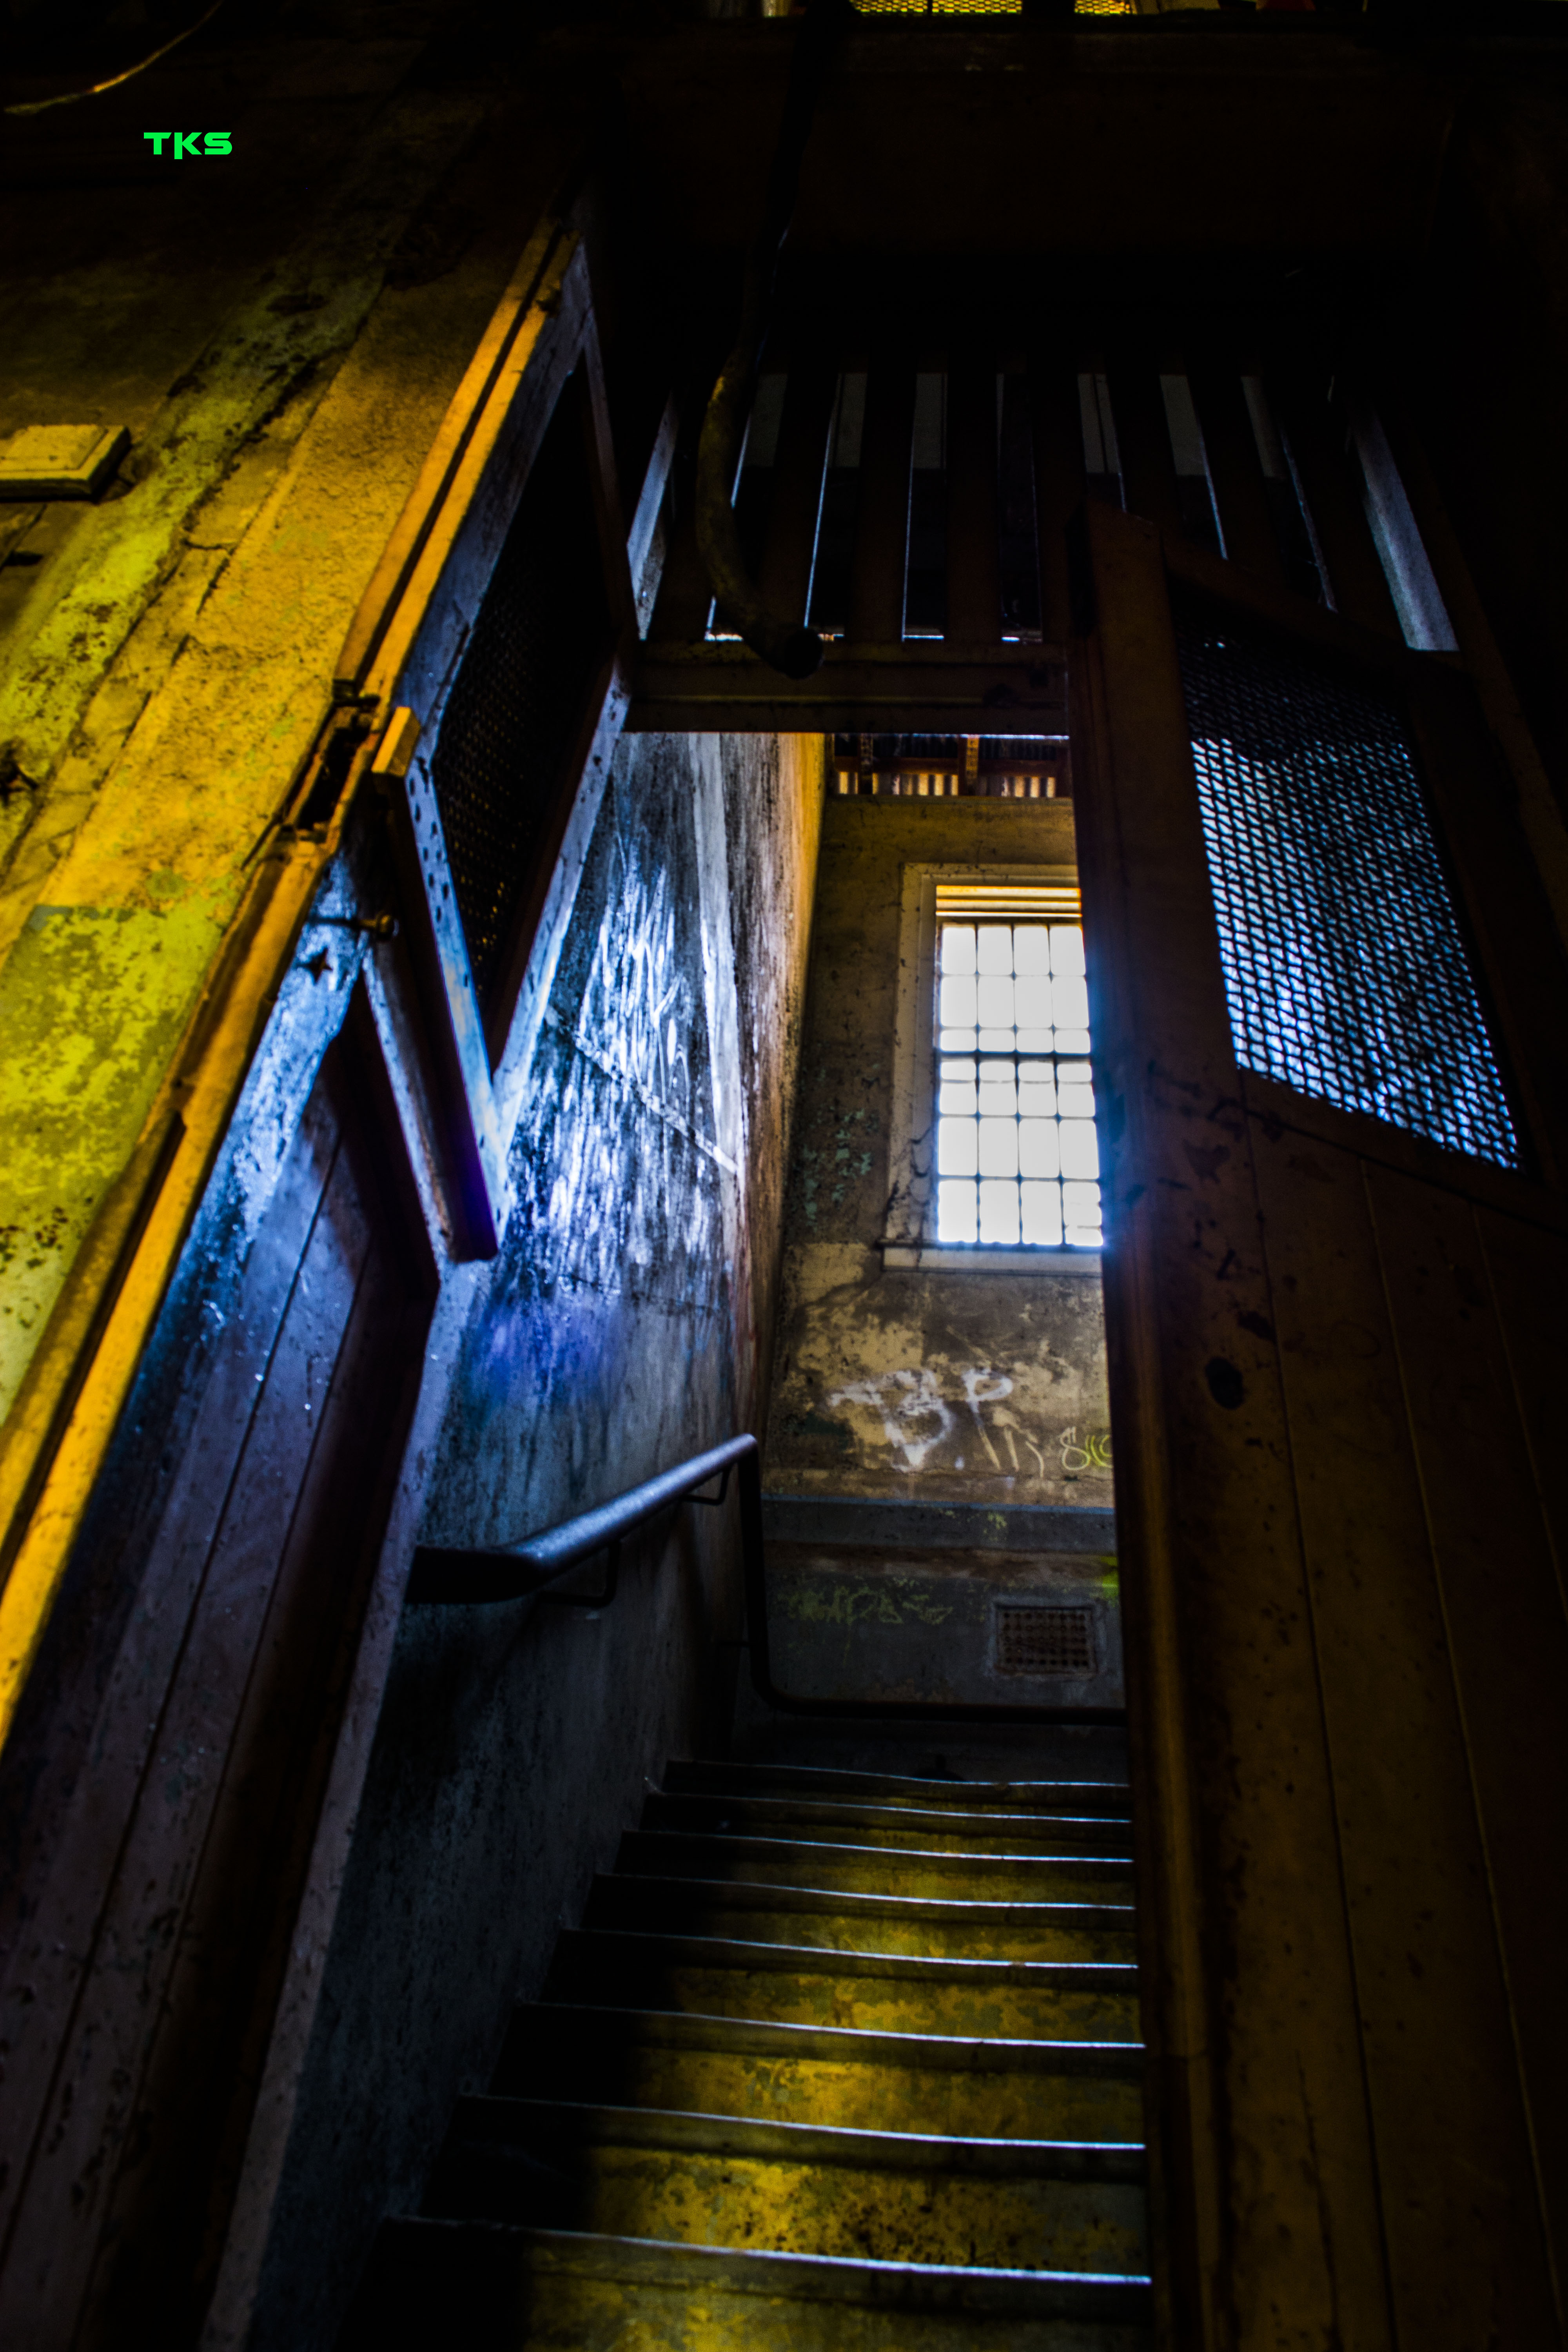
At one point whilst inside, I was at the foot of a stairway leading to the second floor. I went up, explored (nothing too exciting), and swiftly returned, closing the door behind me. I stepped 2m away to photograph the corridor, there was no wind, the door was closed tightly (by me), and I heard it. Thump! The door was ajar then closed, and I saw it happen. It made a slamming sound that not only reverberated off the walls of the deteriorating building around me, but it also penetrated deep in me; it made my body jolt, as if something brushed passed me after the door slammed. I’m not one to fear (or really believe in) ghosts, or run away, so I muttered some kind of profanity and that I was there to photograph only, and stayed another 15 minutes. I won’t deny that if I was in my 60’s I may well have needed a change of clothes; that adrenalin I searched for, I sure found. I then waited for the security patrol to pass, and exited.

No ghosts were harmed in the creation of this blog, but now to let the photos do the talking:

DSC_0935 DSC_0942 DSC_0943 DSC_0955 DSC_0975 DSC_0988 DSC_0993 DSC_0996 DSC_1007 DSC_1010 DSC_1015 DSC_1017 DSC_1030DSC_1027
Urban exploration was exciting, death-defying, a little debaucherous and I plan to do more, much more.

In fact it was so exciting I re-visited and did some further exploring. This time it was cut short due to a persistent security guard patrolling the area.

DSC_2469 DSC_2471 DSC_2479 DSC_2495_1 DSC_2502 DSC_2510

For more photos, past and present, join me over at Instagam: @tonnes.

Brisbane Festival.

  • 09/10/2013

Each September the Brisbane CBD comes alive and the skyline is transformed into a wonderful concoction of bright lights shining from every which way upward into the stratosphere.

For anyone who knows me, or my photos, then they know that bright lights with a cityscape background will always pique my interest . Like a moth to a flame, I just can’t help myself. A photo opportunity if I ever saw one!

Brisbane Festival ran from the 7th – 28th of September, and in total I believe I frequented the light show at least five times.

A quick self portrait between laser shows. I found the blue shaped seat and added it for reflective effect.

A quick self portrait between laser shows. I found the blue shaped seat and added it for reflective effect (and a place to rest).
These lanterns were a makeshift open roof for the outside pub below (out of shot).

These lanterns were a makeshift open roof for the pub below (out of shot, next photo).

The decorative lanterns above the pub.

The decorative lanterns above the outdoor pub.

Brisbane Airport Light Garden by Tony Assness (l bet he's the butt of all jokes). LEDs which changed colour synchronously with music.

Brisbane Airport Light Garden by Tony Assness (l bet he’s the butt of all jokes).  These LEDs changed colour synchronously with music.

In the eye of the action on the green at the Santos GLNG City of Light show.

In the eye of the action on the green at the Santos GLNG City of Light show.

Another vantage point;  Cultural Centre bus terminal.

Vantage point; Cultural Centre bus terminal.

Vantage point along the river of Southbank.

Vantage point: Southbank.

Lasers from another vantage point on the William Jolly Bridge.

Vantage point: William Jolly Bridge.

Vantage point from the Goodwill bridge. Little less colour this time around.

Vantage point: Goodwill bridge.

Stomie Mills' project. 4 metre tall pink rabbits interchangeably placed around Brisbane. This one was spotted at Kangaroo Point.

Stomie Mills’ project. 4 metre tall pink rabbits interchangeably placed around Brisbane. This one was spotted at Kangaroo Point.


For more photos, past and present, join me over at Instagam: @tonnes.